September 2016
1st
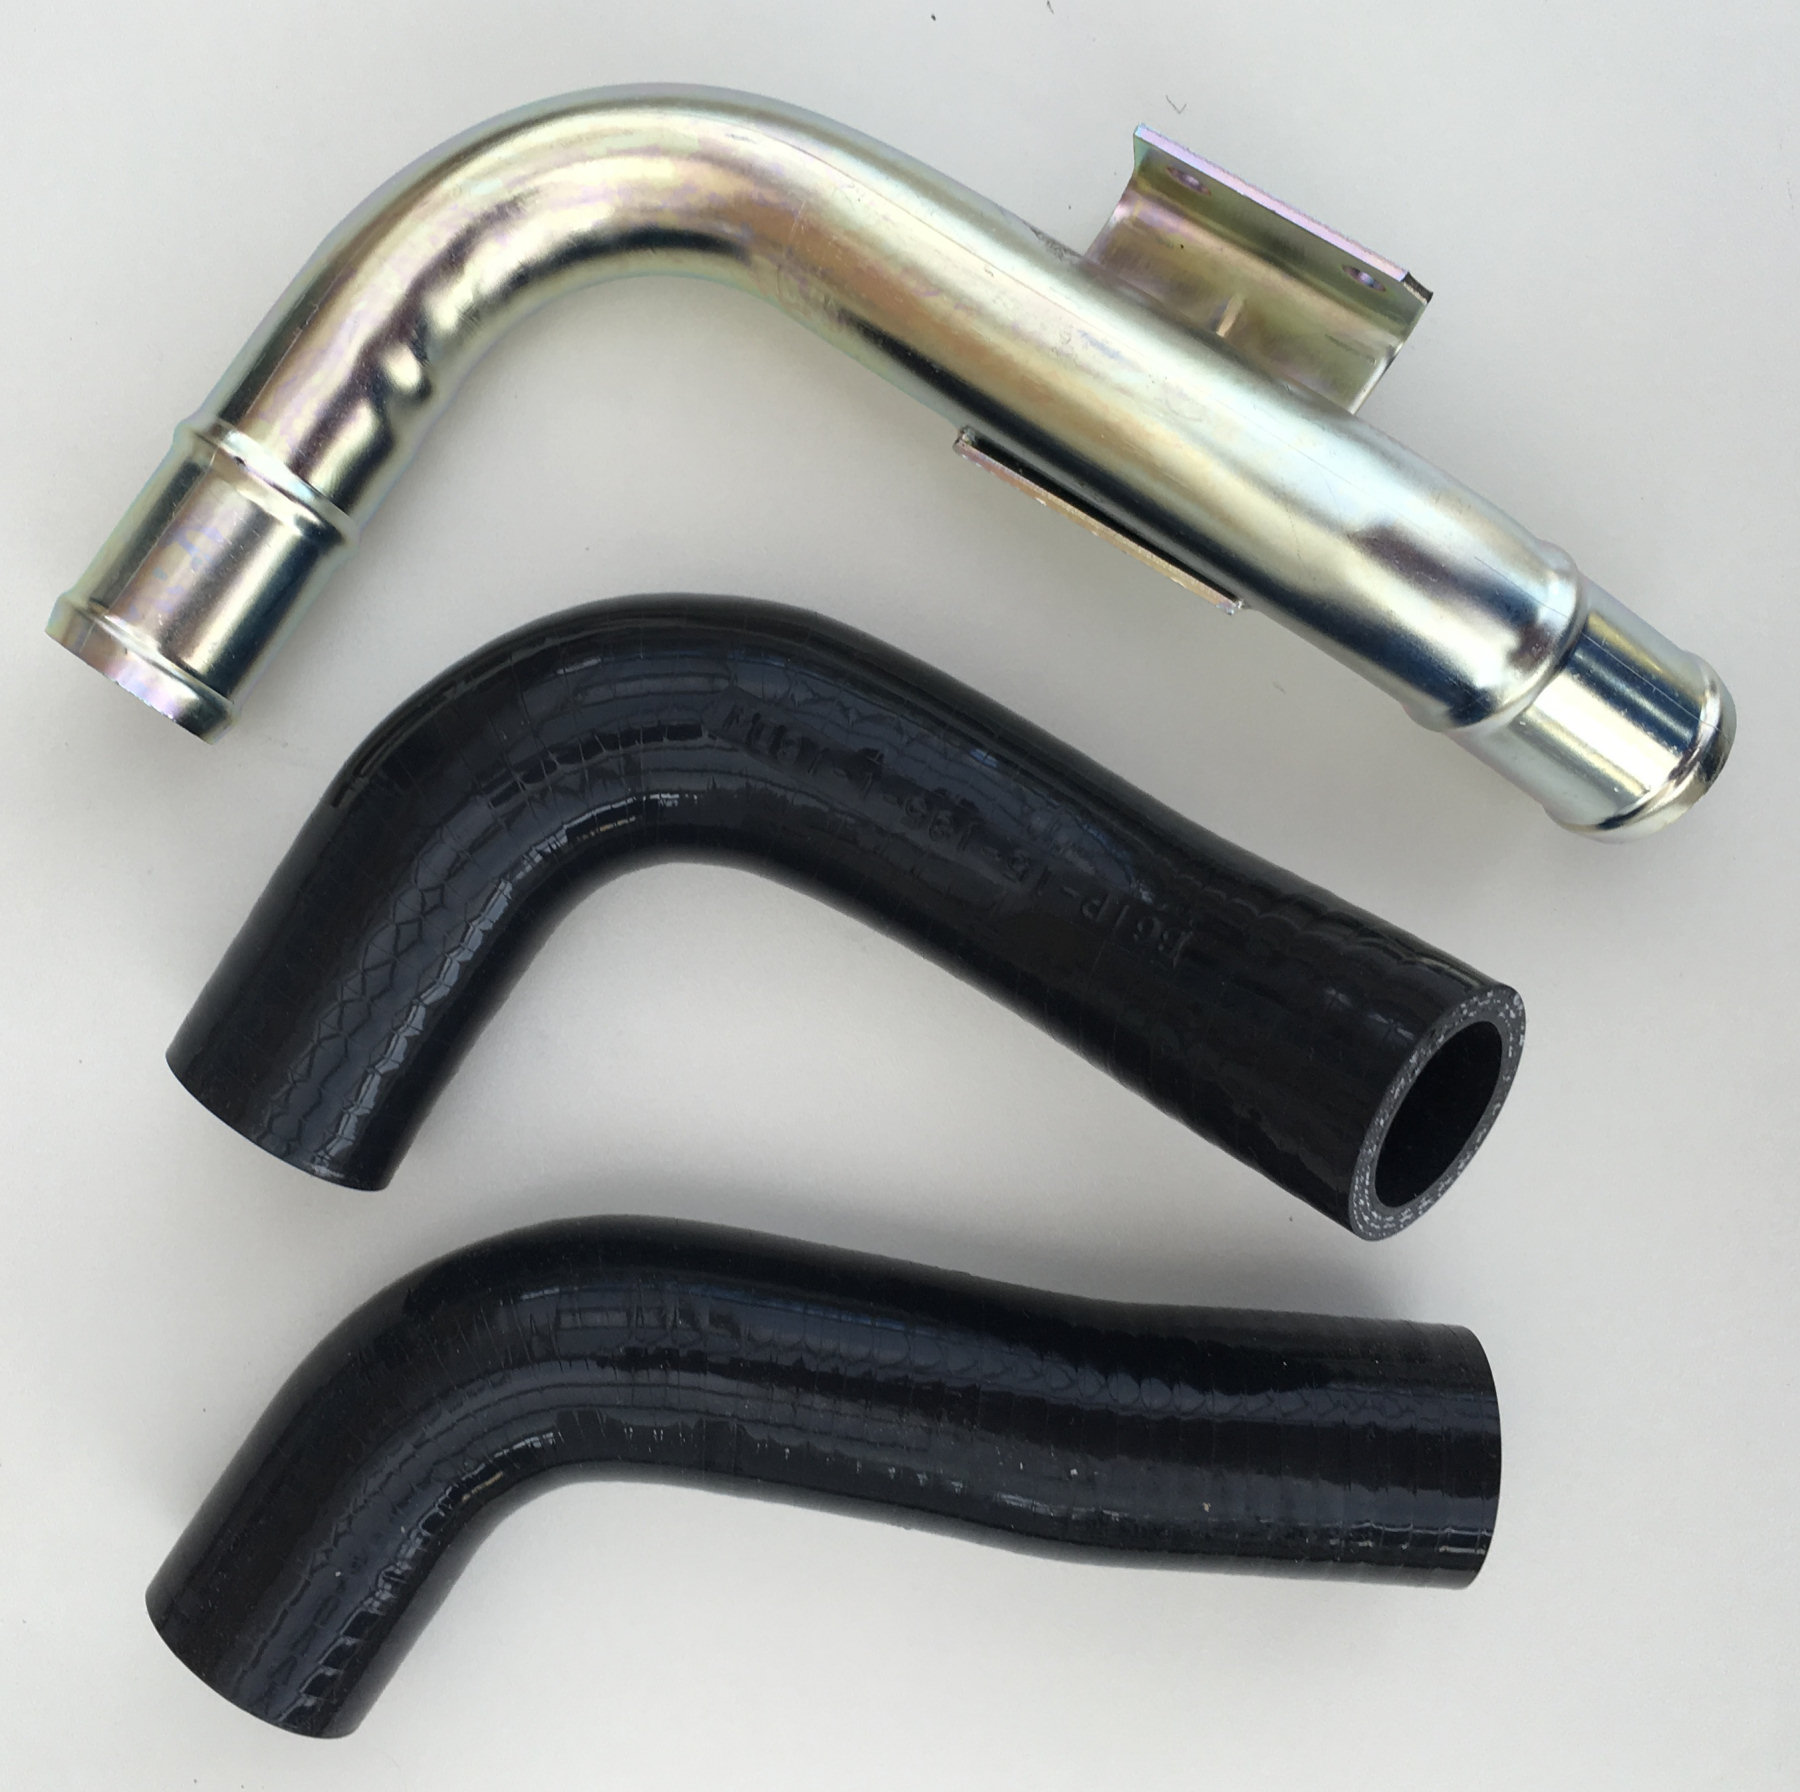
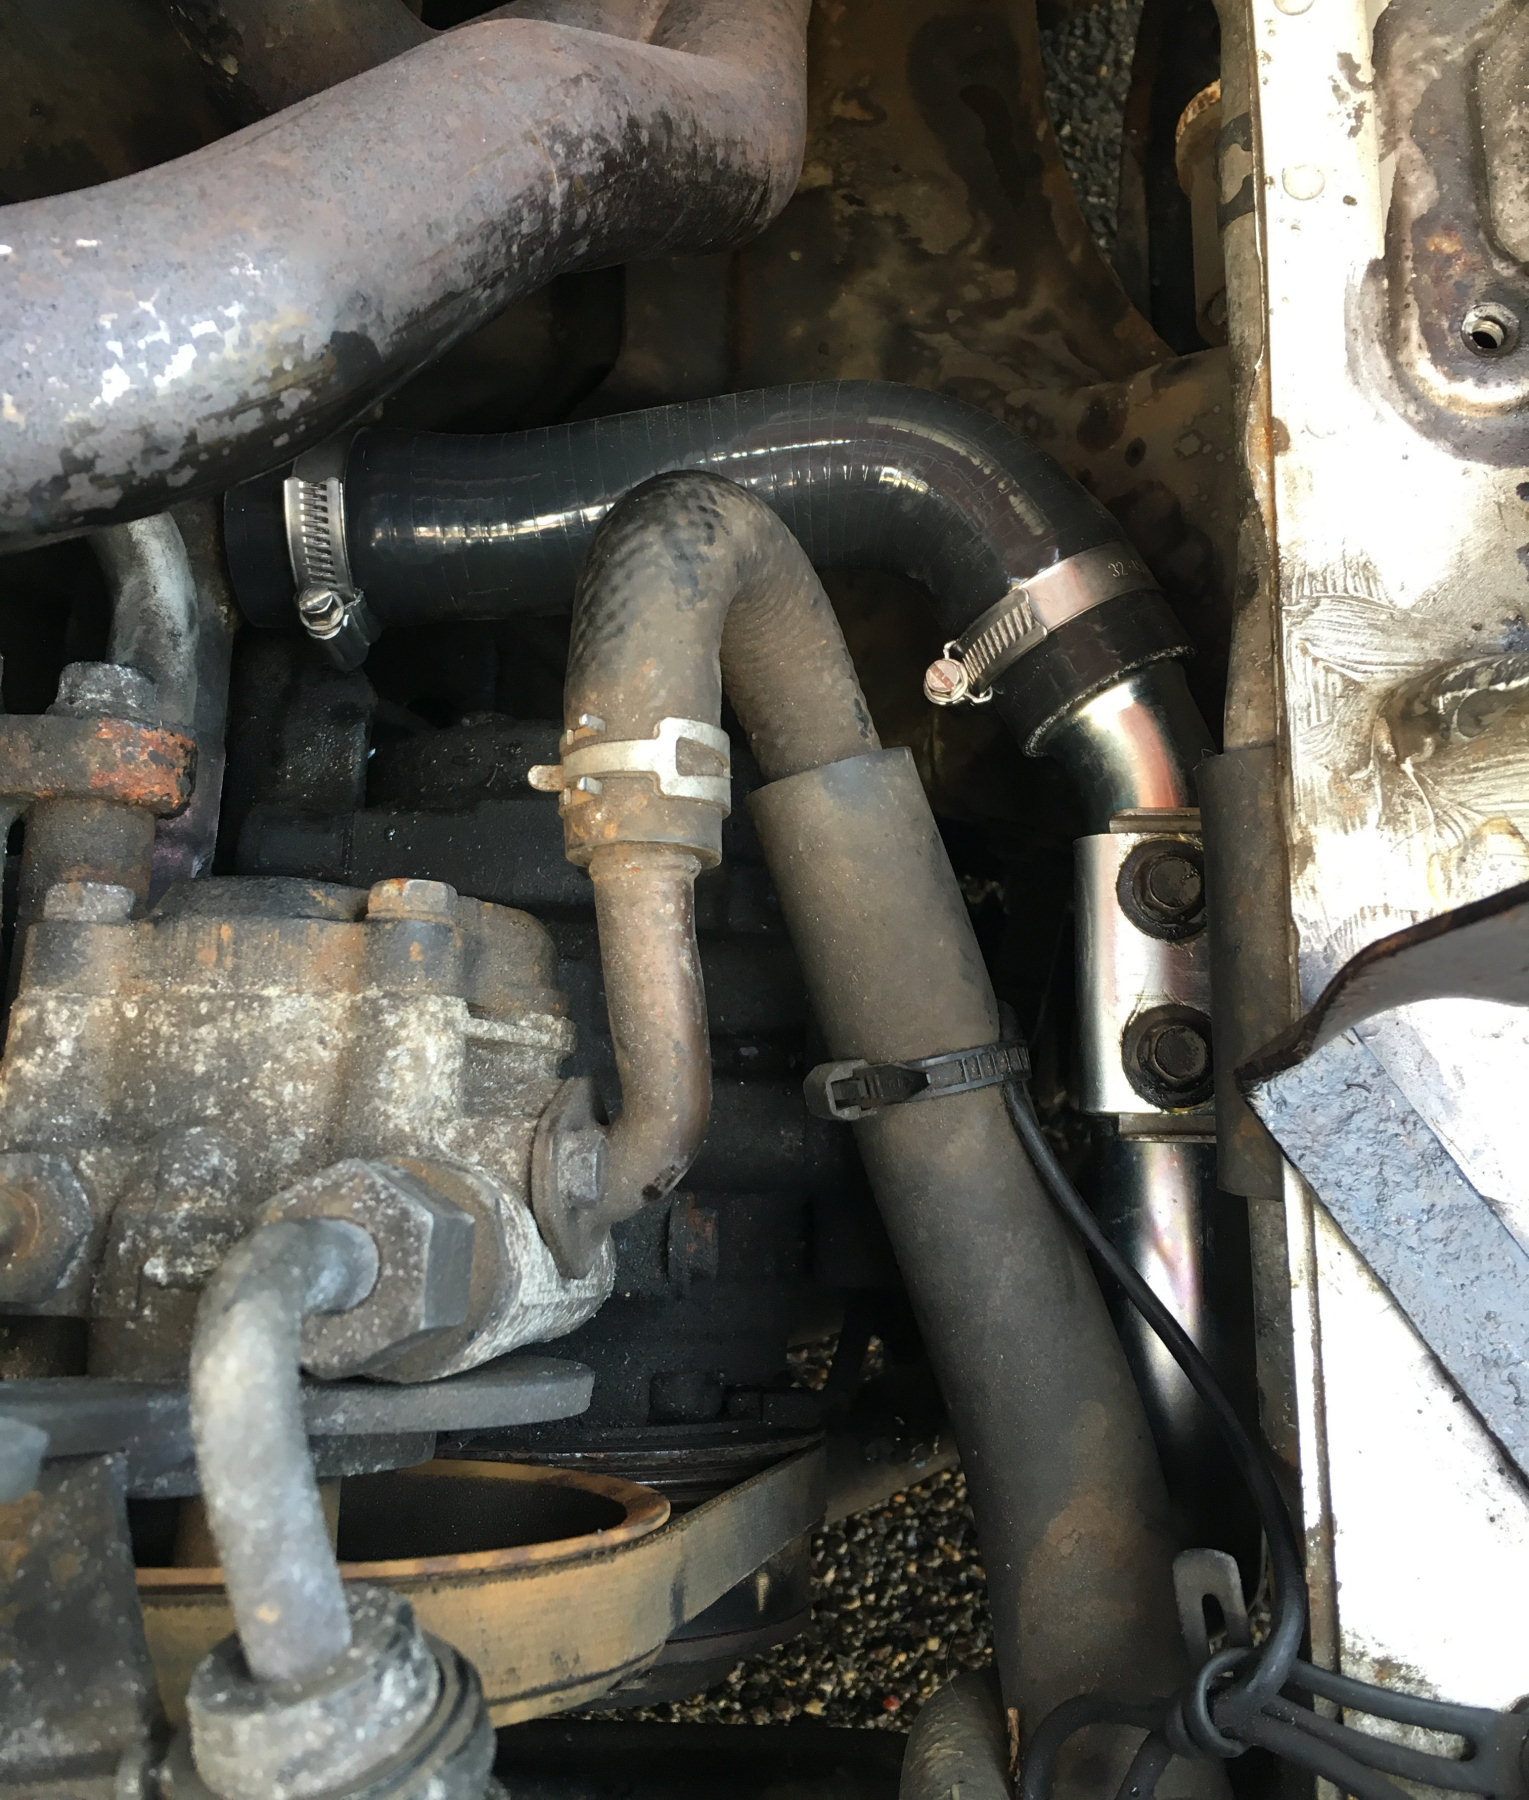
Started to investigate the coolant leak and removed the upper radiator hose. This clearly had a small slit in it about 5mm long. This obviously meant partially draining the coolant system.
|
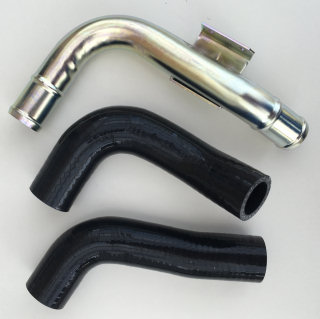
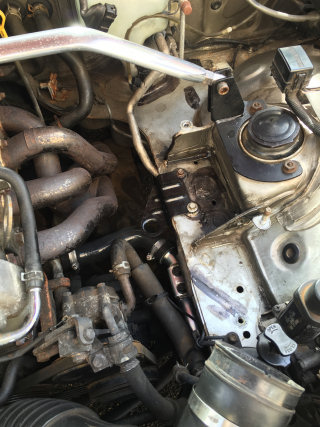
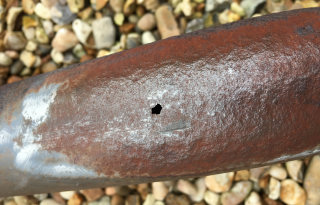
Removing the above hose showed the metal connecting pipe to the lower radiator hose was fairly badly corroded, so we removed this to get a better look. This was a good move as the beading had collapsed in places. This part had to be replaced as well and why we are it, we might as well replace the lower hose too! At this point we had fully drained the cooling system.
|
Another order to MX5 Parts for the lower hose and connecting pipe.

|
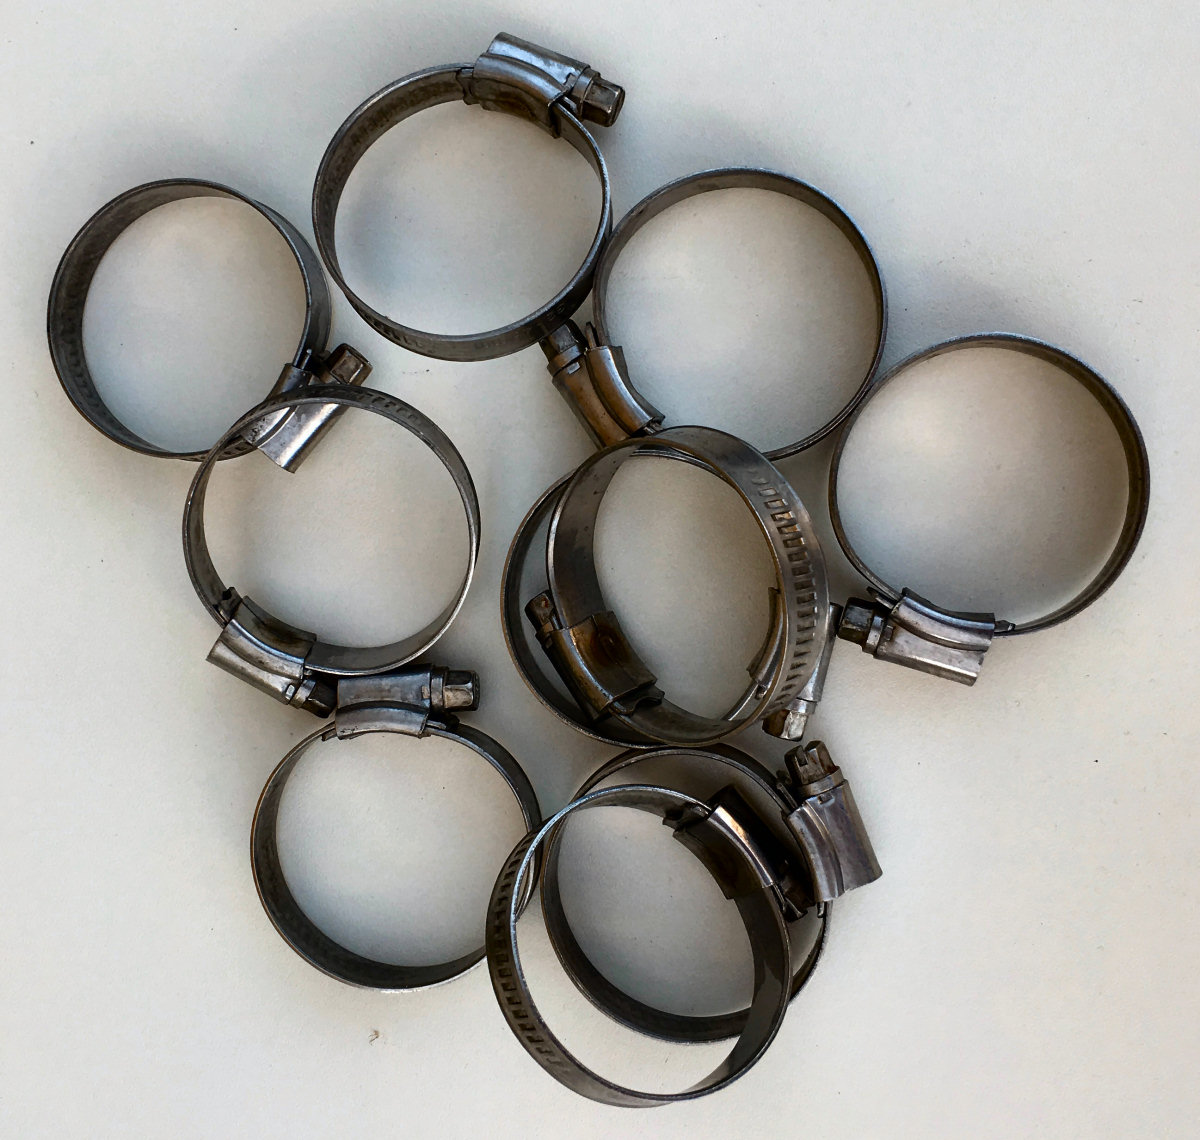
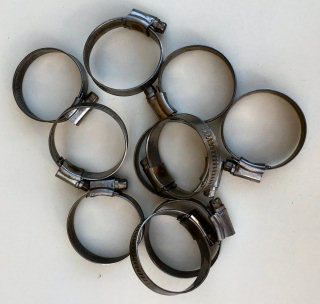
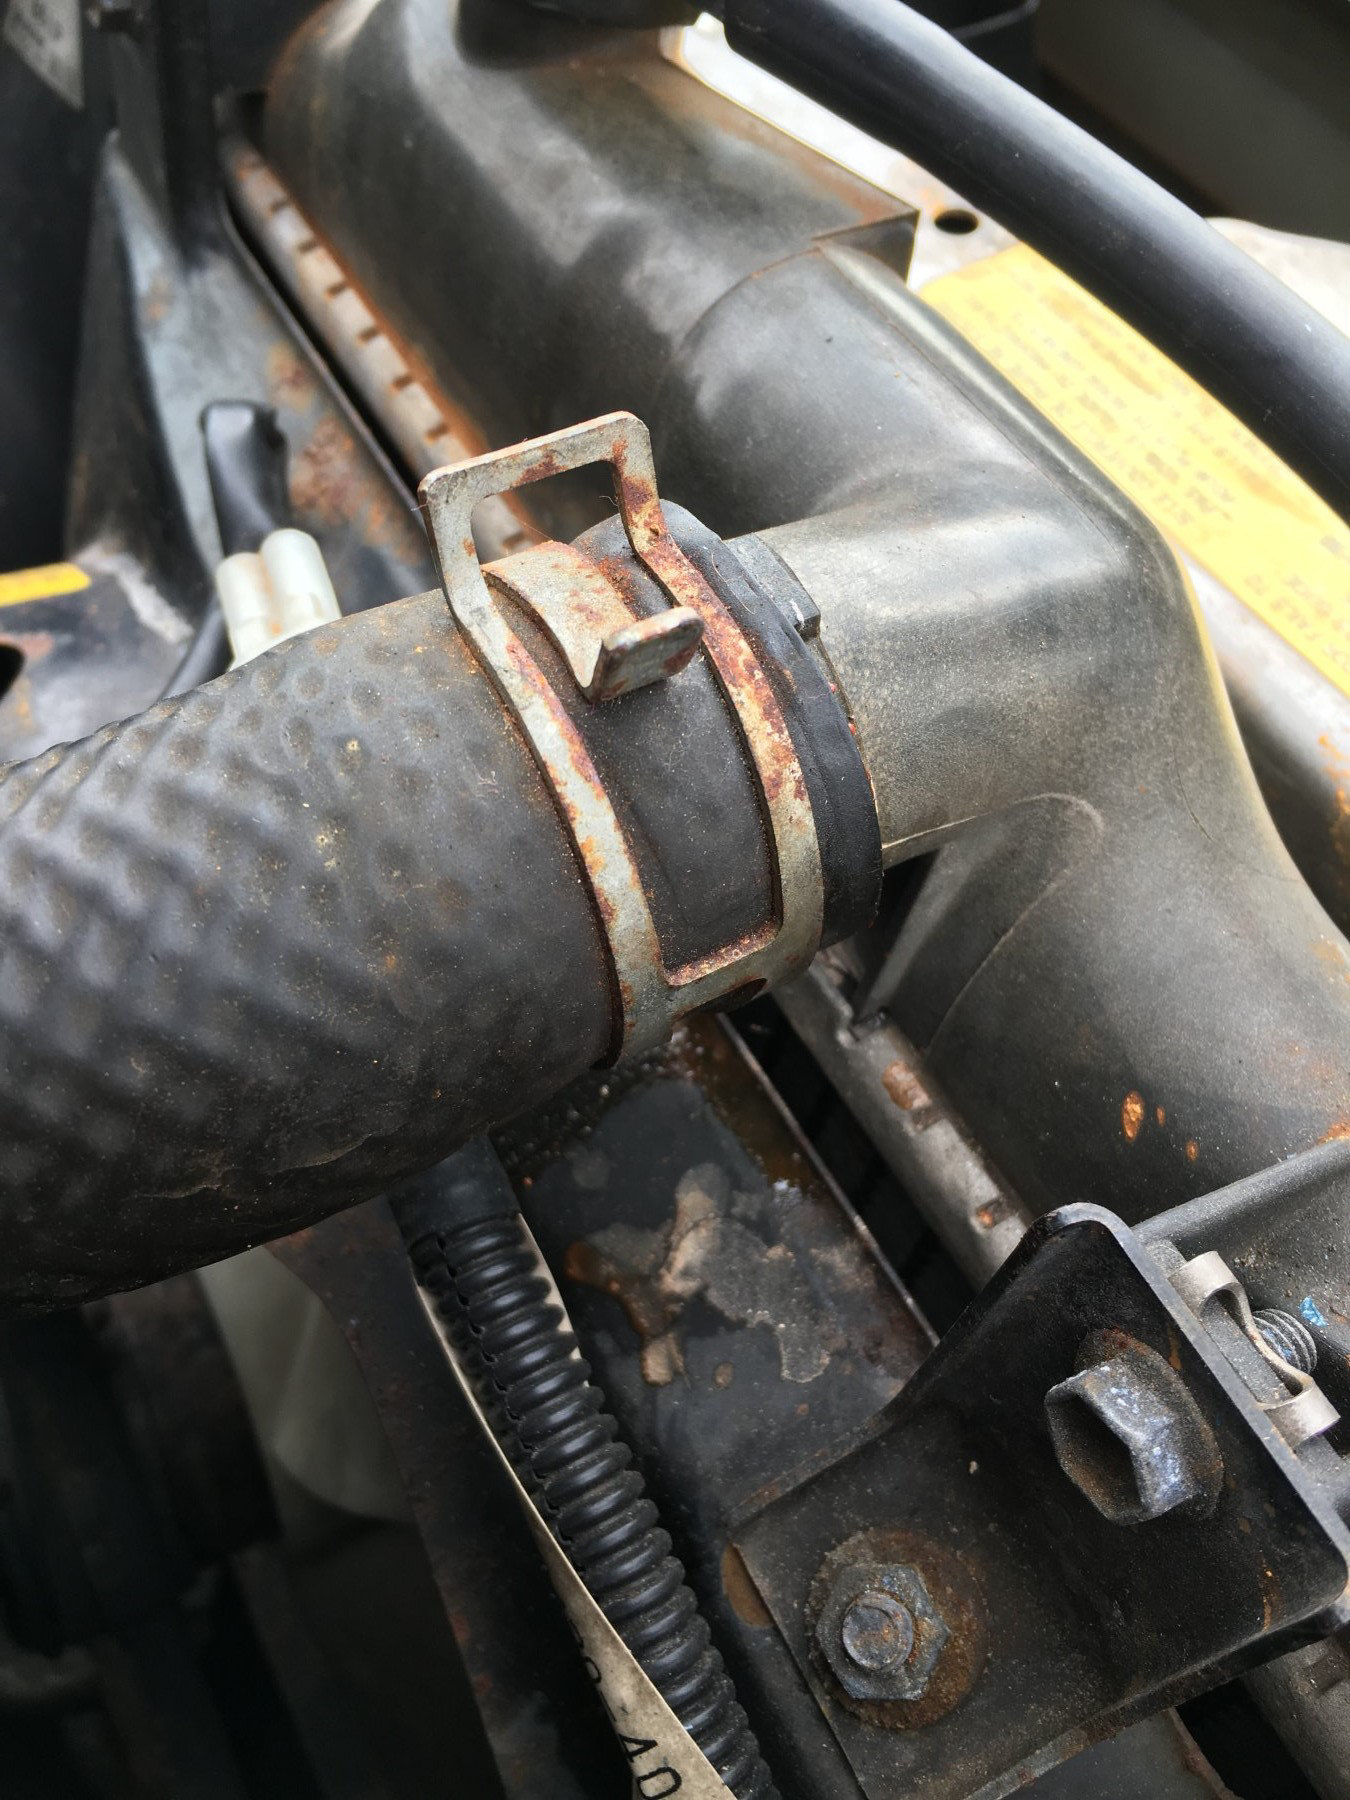
Mazda use these clamping clips to fix hoses but they are a pain to undo and reuse. We are also planning to use fatter silicon hoses and putting these on them would be hard work. Our plan to use stainless steel jubilee clips instead.
|
3rd
|
Excellent service by MX5 Parts and these all arrived by Saturday morning, ready for us to finish the job.
|
|
I had also ordered a pack of 10 stainless steel Jubilee clips as we expect to be using more of these in the future. These clips are marked as 32-45mm.
|
|
We had drained most of the coolant out of the radiator when we removed the hoses but we wanted to flush the whole system out, so we removed the drain plug on the bottom of the radiator.
|
|
The radiator drain plug is plastic and easy to damage, so care needs to be taken with it. We then flushed out the system with a hose. We also cleaned out the header tank using a pressure washer as this is where most debris ends up.
|
|
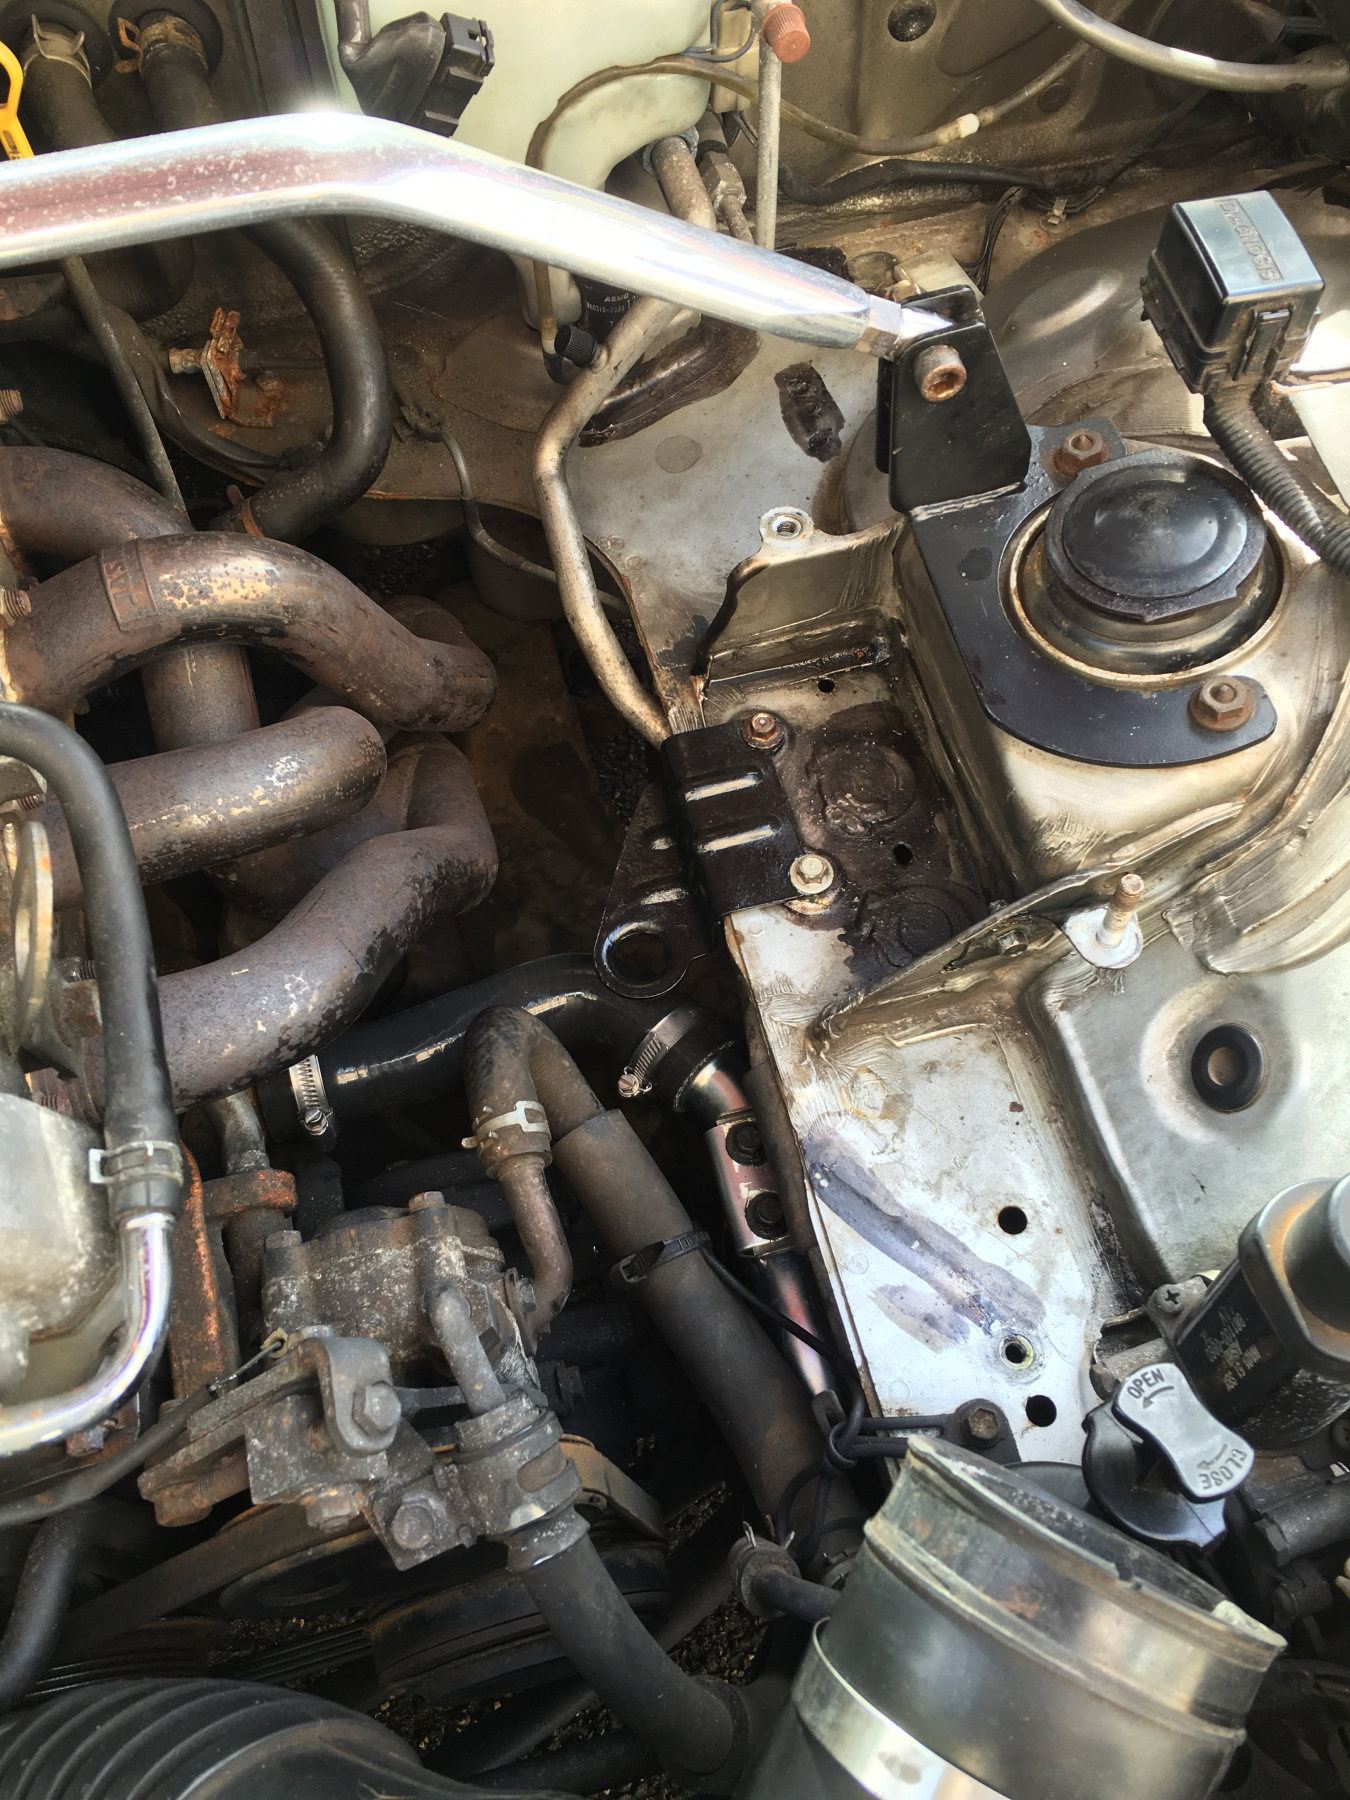
We removed the air filter to get better access to the top hose and connecting pipe. Fitting the news parts was quite easy to do.
|
|
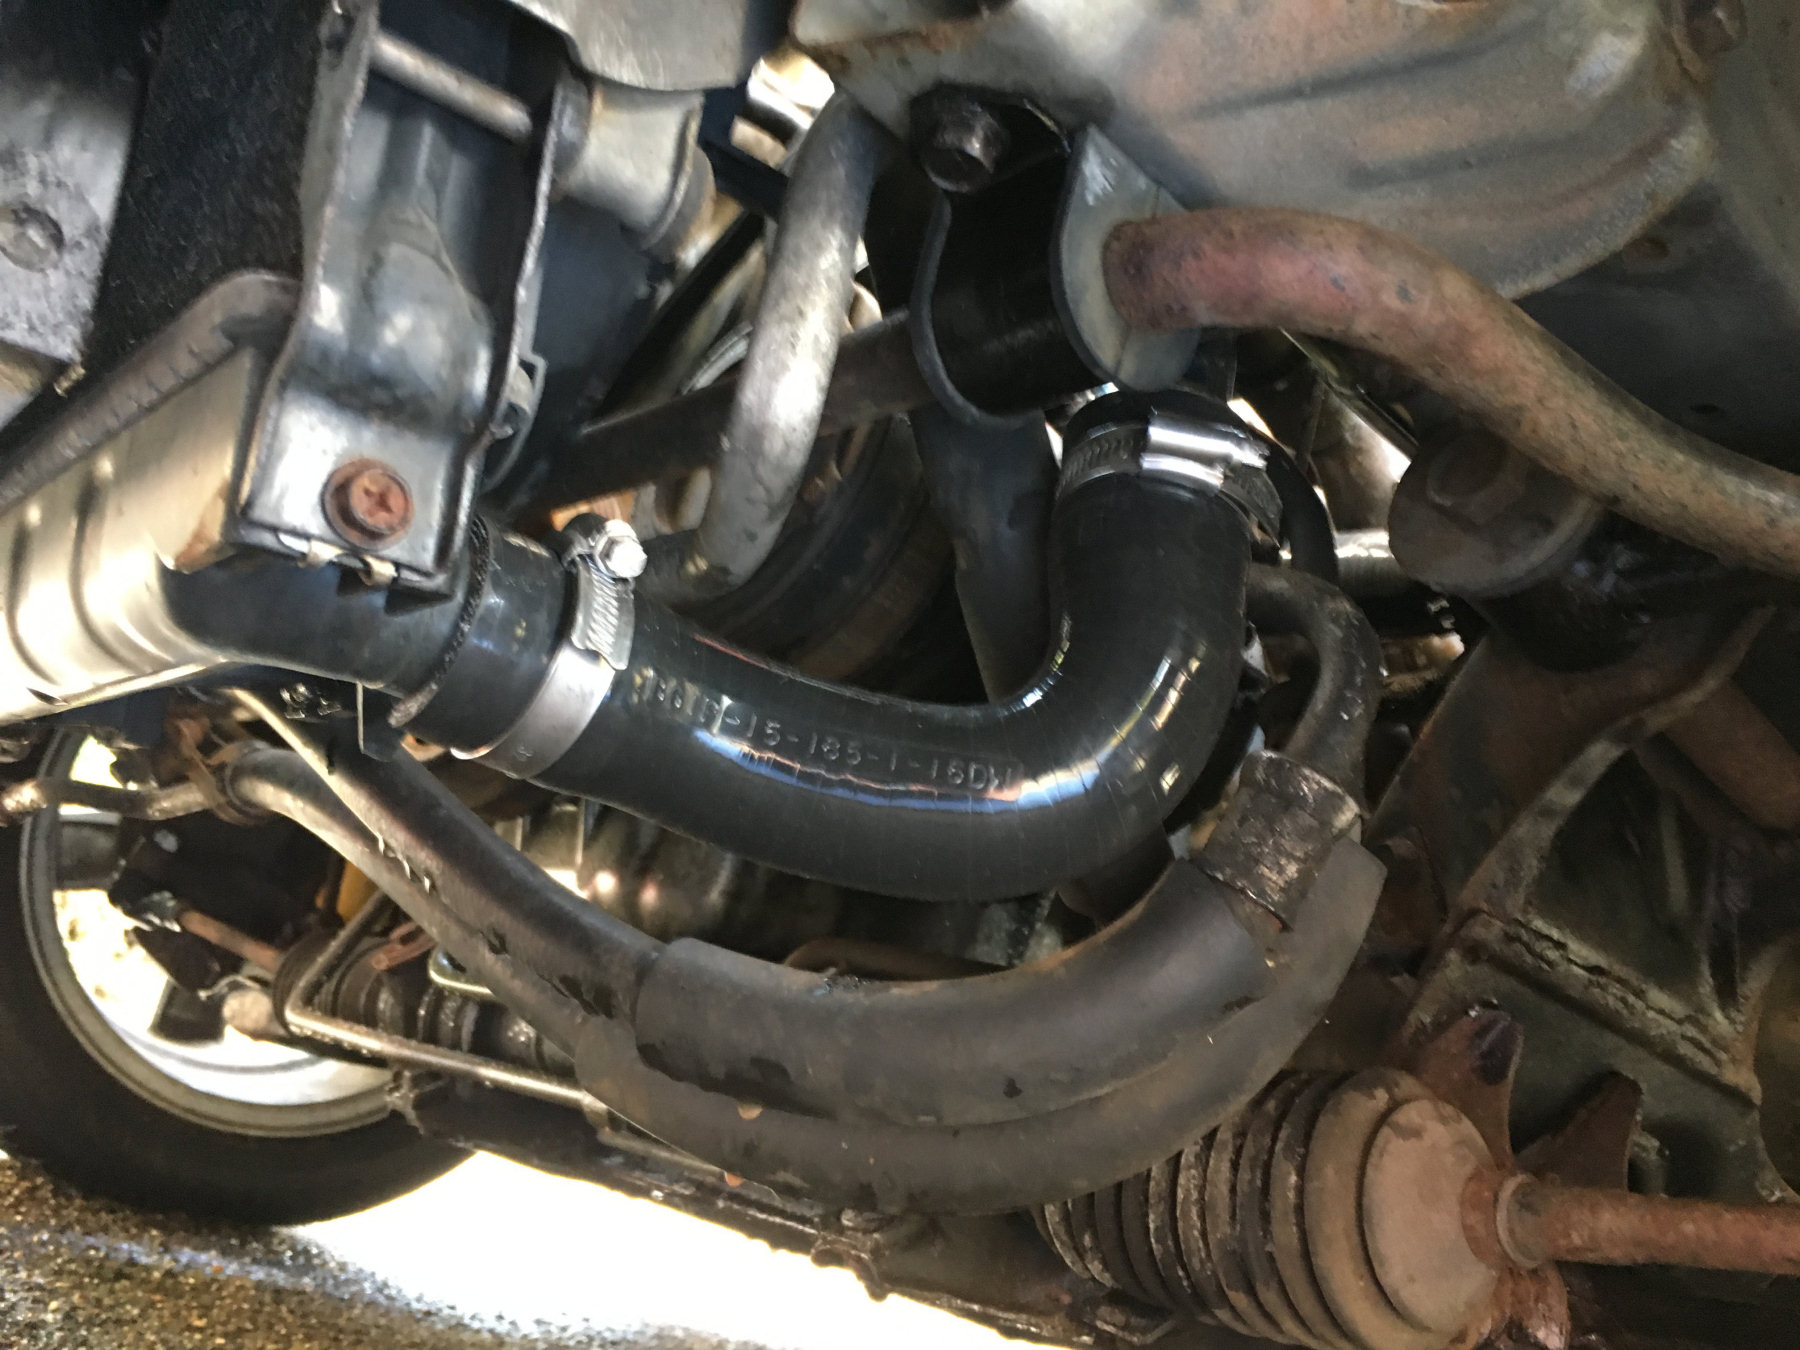
Once the metal pipe was fitted, installing the lower hose was also quite an easy task :-)
|
|
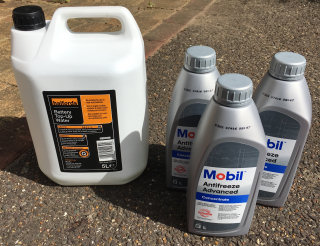
Filled the cooling system back up with a 50:50 mix of anti-freeze and distilled water. The cooling system is supposed to be 4.5 litres but we could only get 4.0 litres in. There may have been some water left in pipes and the engine block though.
|
Before we tested the car, we thought we might as well sort out the air box.
|
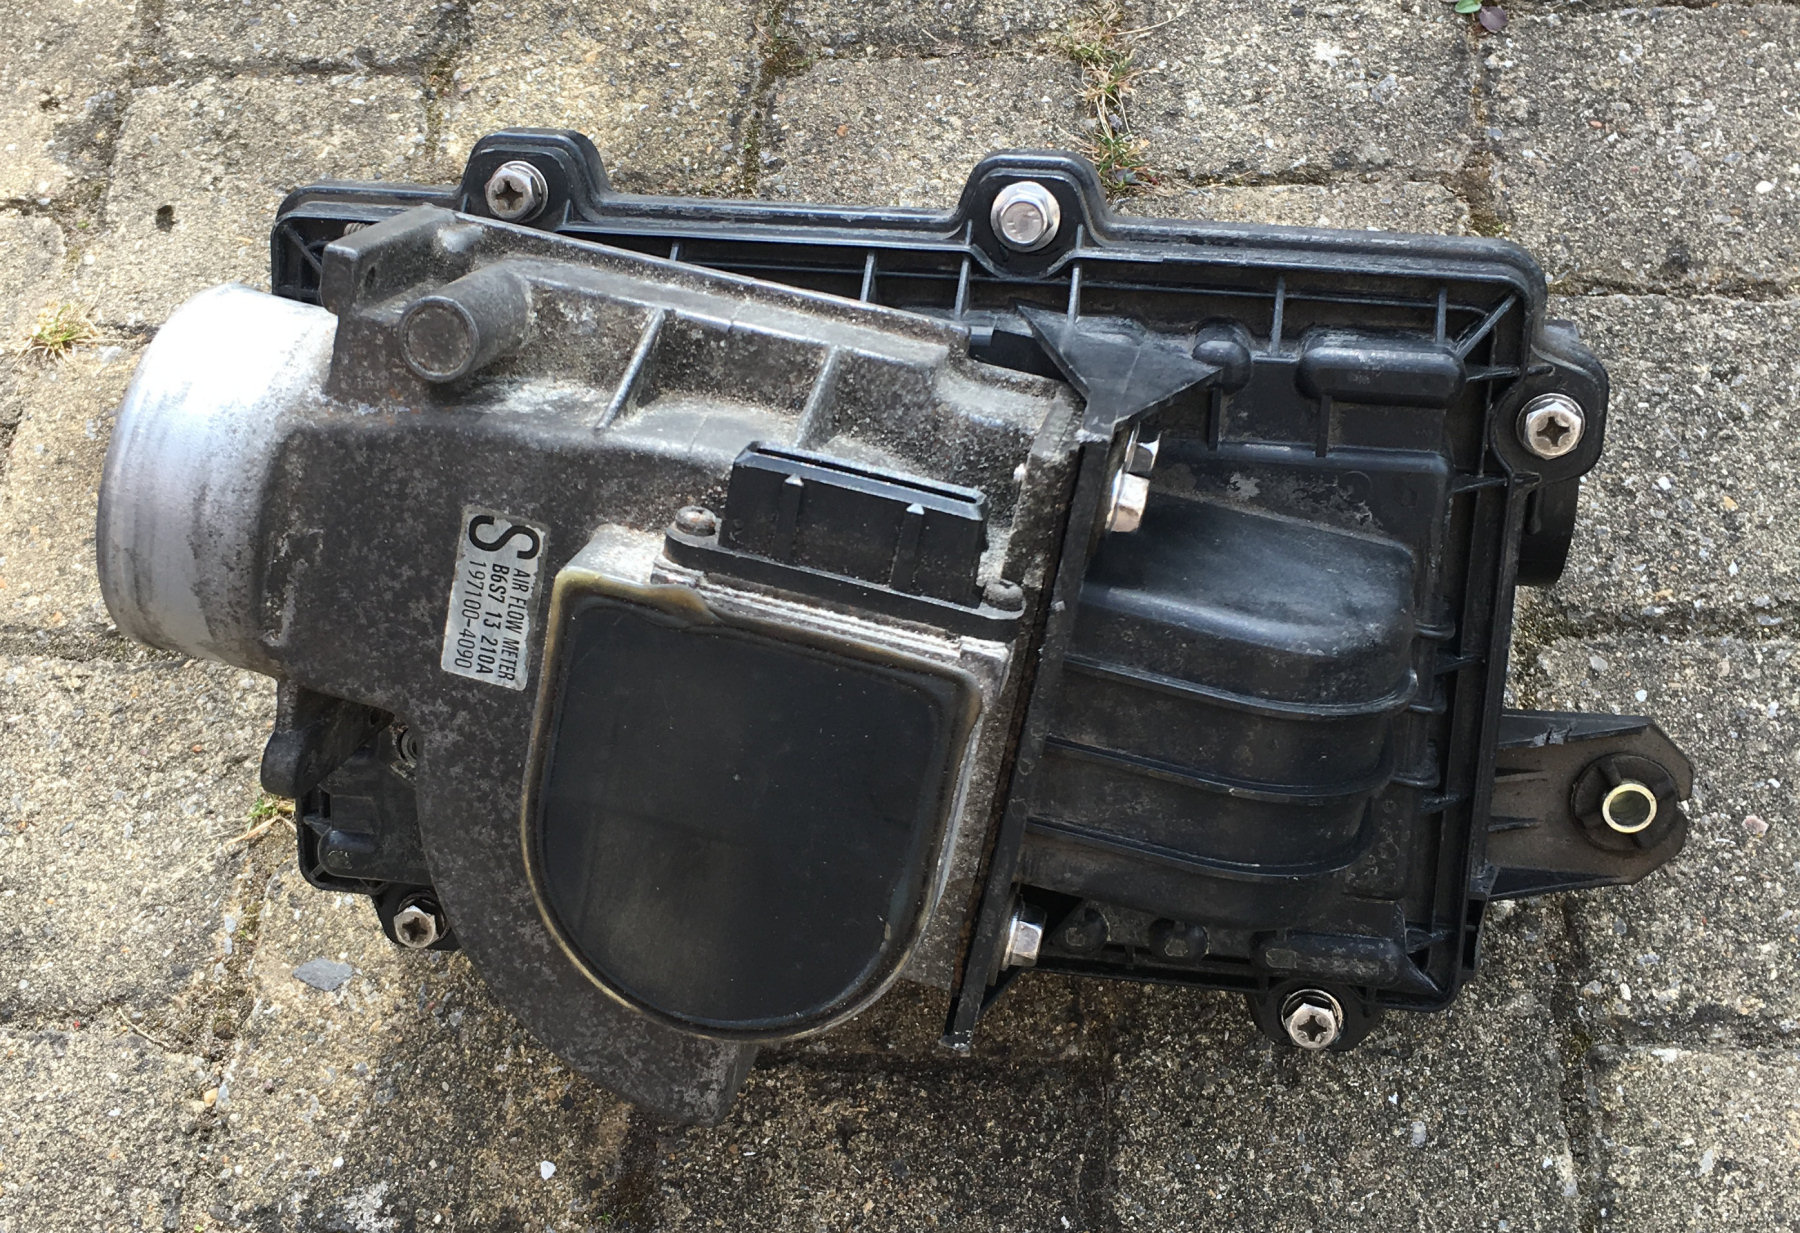
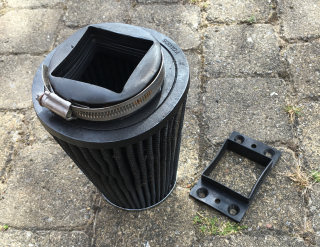
This car came with a K&N cone air filter. Unfortunately it is located right next to the exhaust manifold on the end of the flow meter. It must be sucking in warm air here and losing us valuable power. The plan is to go back to a standard air box and performance filter. We can then add ducting onto the air box later if need be but, the pipe that comes with it pulls in air from above the wheel arch.
|
|
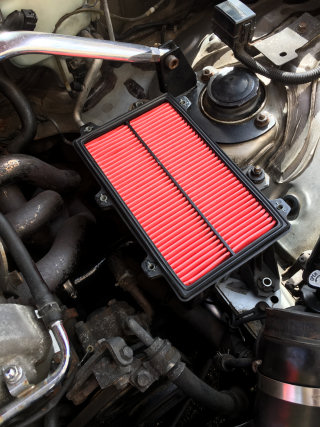
The air box sits on a metal bracket. Fortunately this was left in place when the K&N filter was fitted but we cleaned it up and resprayed it black. The air box fits easily around the strut brace.
|
|
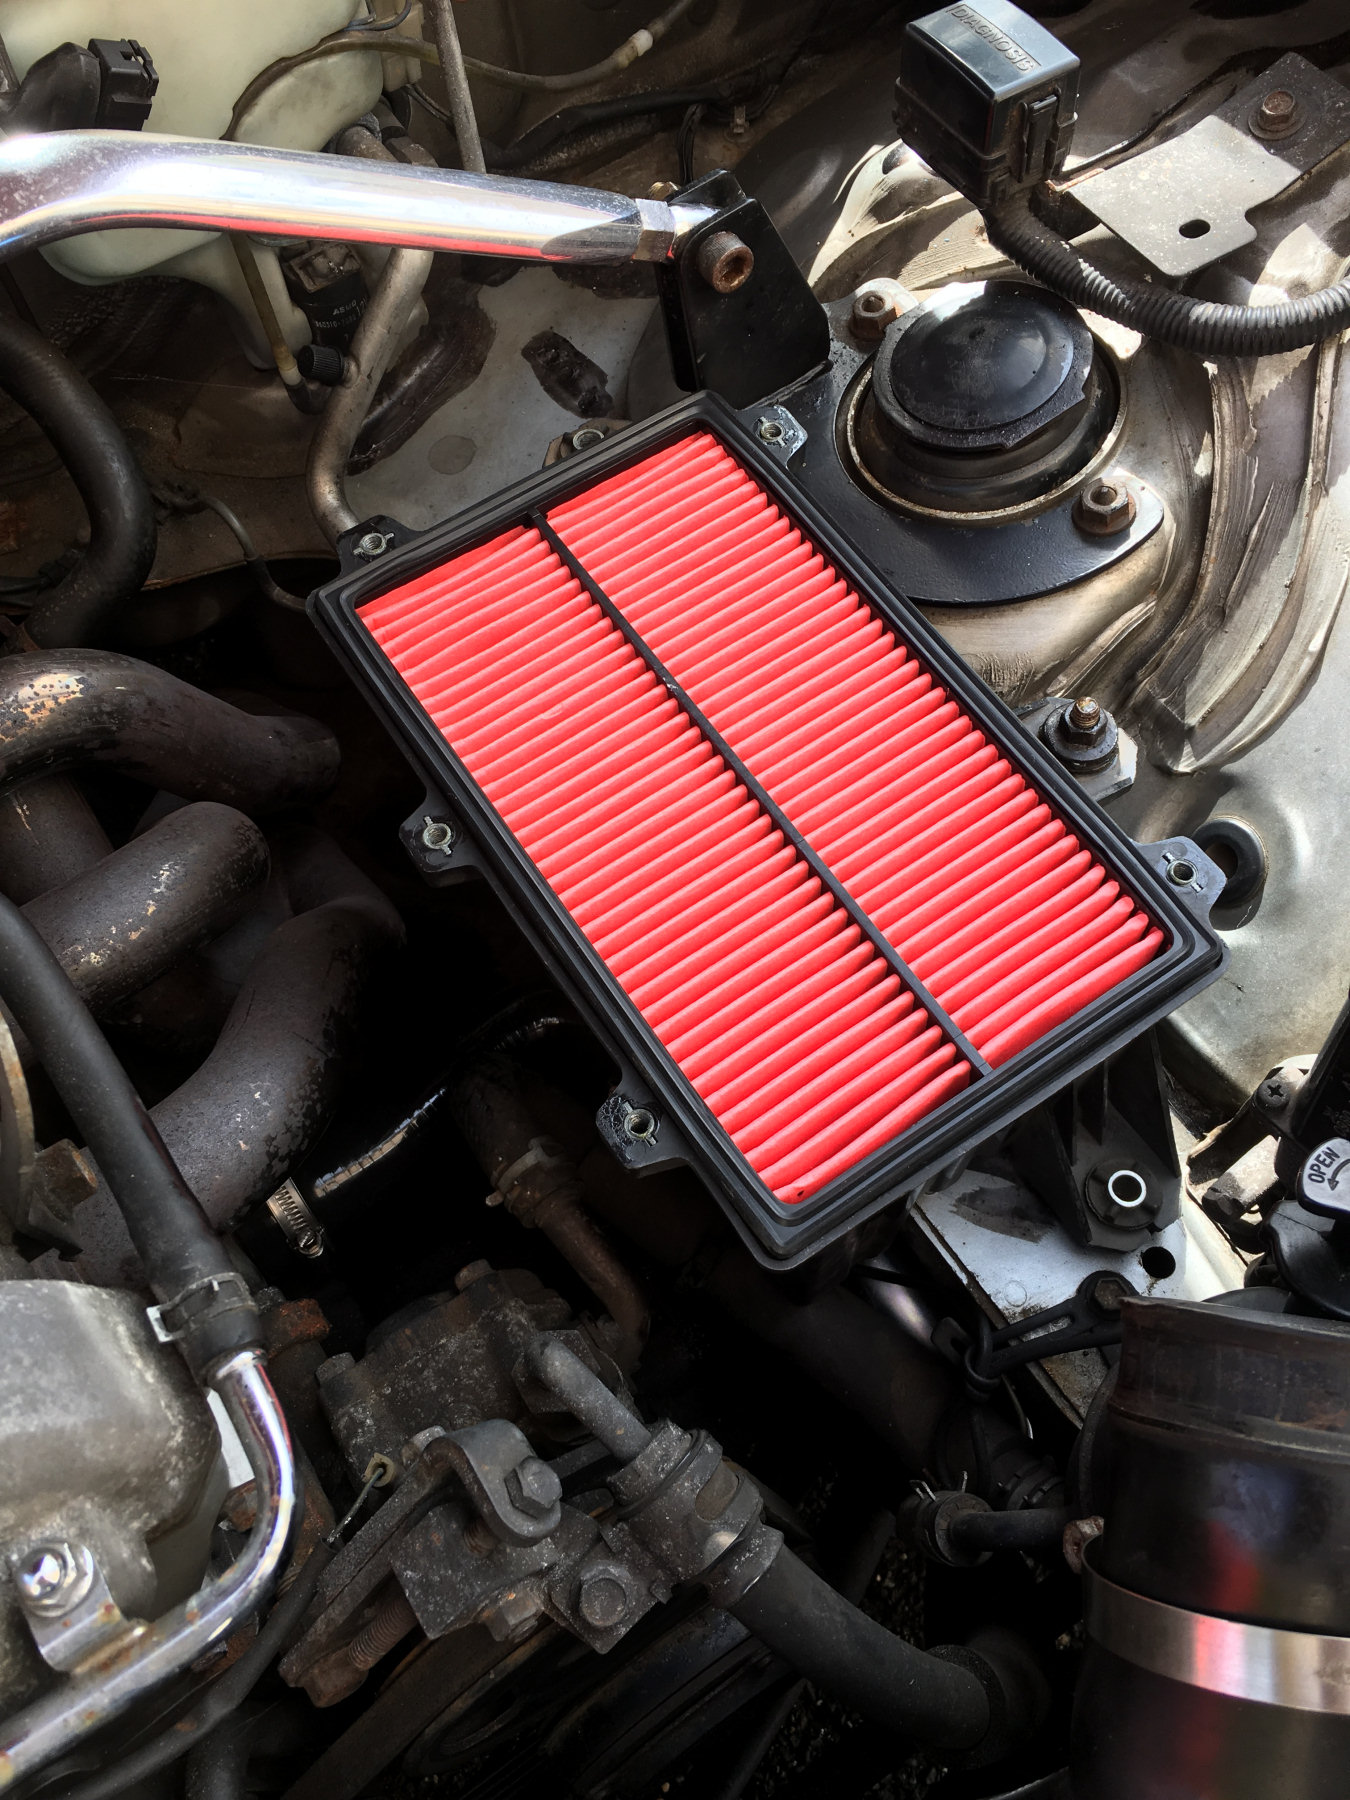
We are using a performance filter to improve air flow through the standard air box.
|
Next step was to check the cooling system and make sure we had no air locks. The radiator cap has a pressure valve that vents air and water into the header tank. On cooling, it sucks only water back into the radiator. We got the engine up to temperature and everything seemed to be looking good. We then went on a short, gentle drive to test it out a bit more. With things looking good, we then went on a longer, harder test drive and really got the engine up to temperature. The temperature gauge behavior was consistent and the needle stayed exactly where we expected it to. Looking good! :-)
4th
|
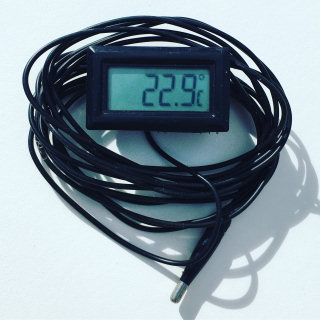
We want to be sure that the standard air box is pulling in cool air and not hot air under the bonnet. To test this we are using this cheap, wired temperature probe and meter from Maplin. It has a long enough lead that we can strap it to pretty much anything under the bonnet but for now, it is tie-wrapped to the air box inlet tube.
|

|
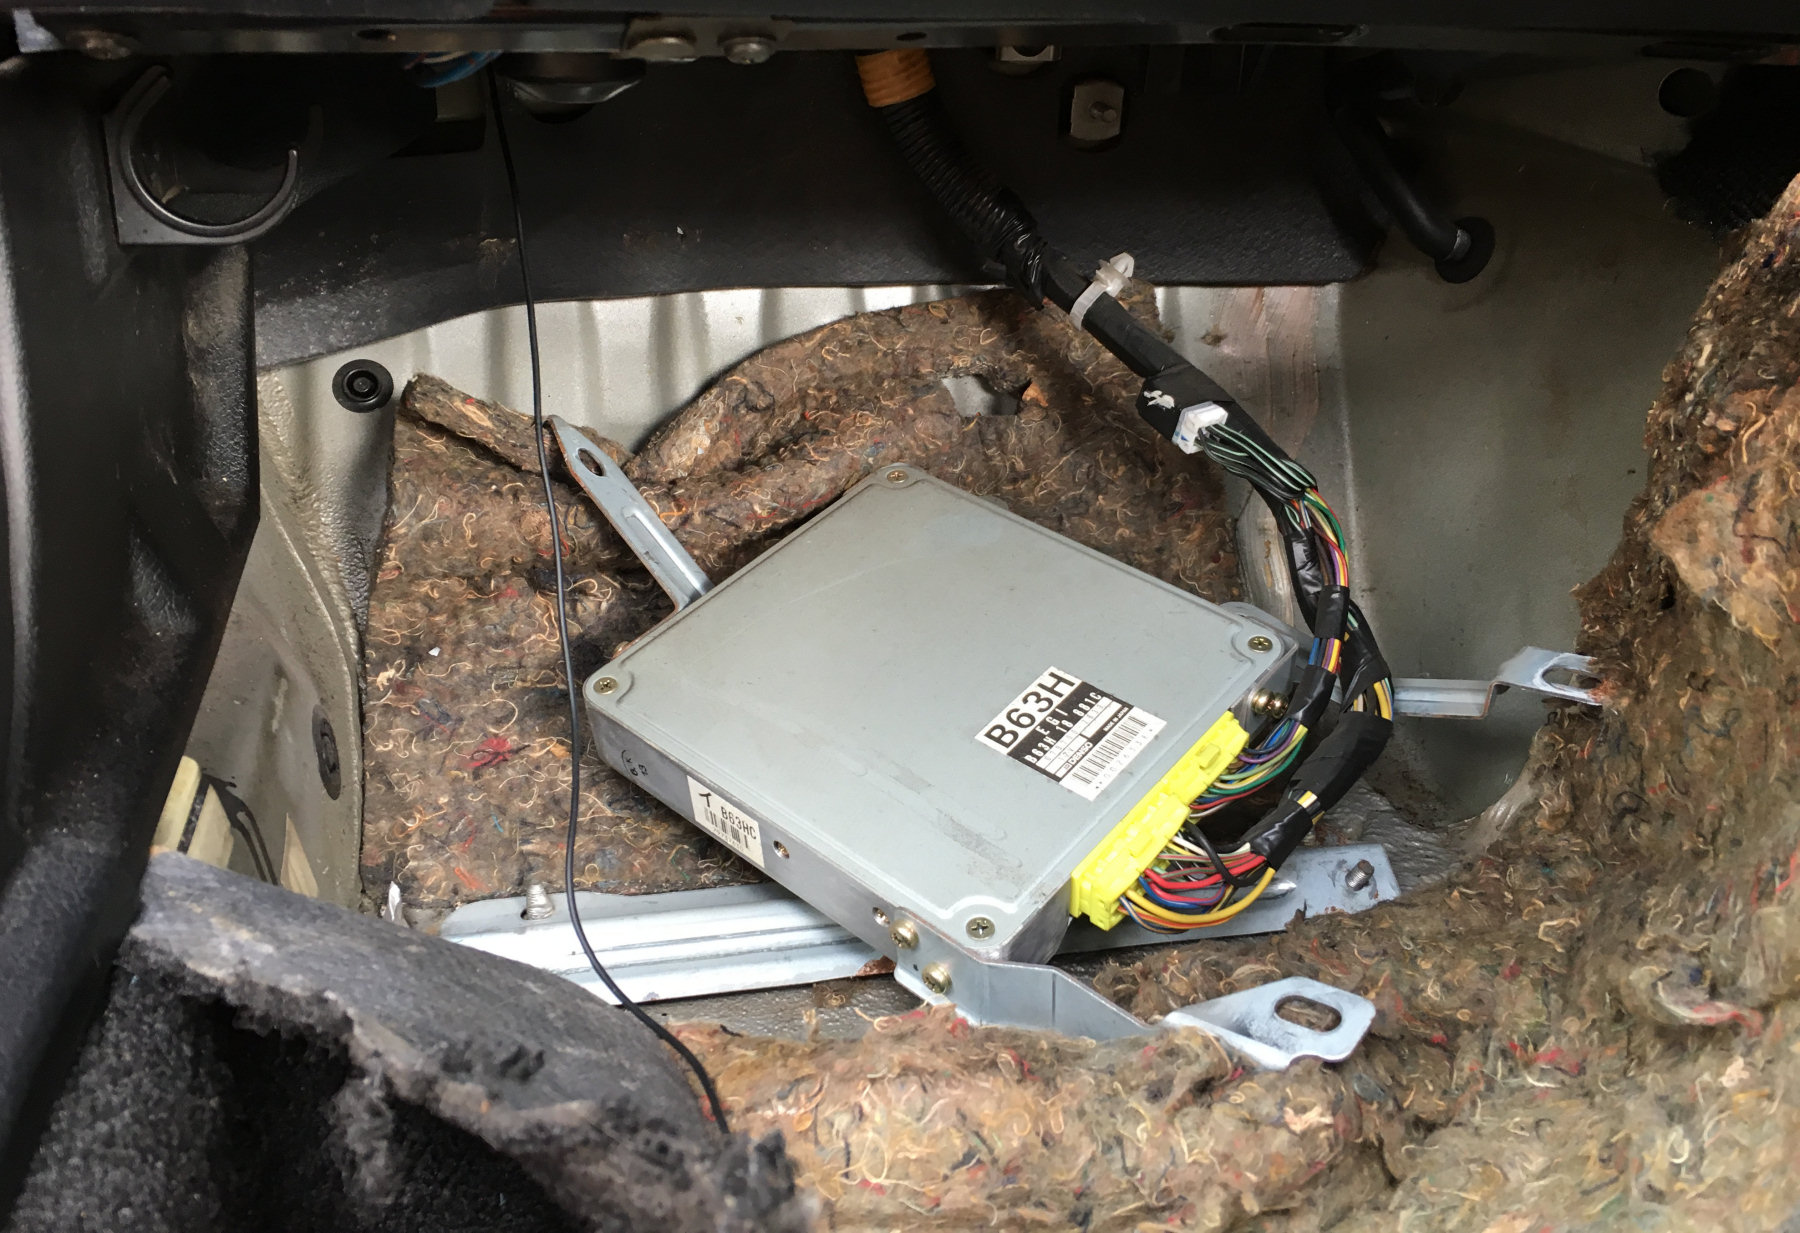
We needed to pass the probe through the bulkhead and there is a very handy rubber bung in the bulkhead on the passenger side. We removed this and pushed a rod through into the passenger footwall. It comes out into some acoustic padding just below the dash. Pulling up the carpet revealed a protective metal plate held in place with 5 nuts/bolts (not shown here). This sits over the ECU. We removed it and pulled the ECU out of the way, to allow us to pull the temperature probe through.
|

|
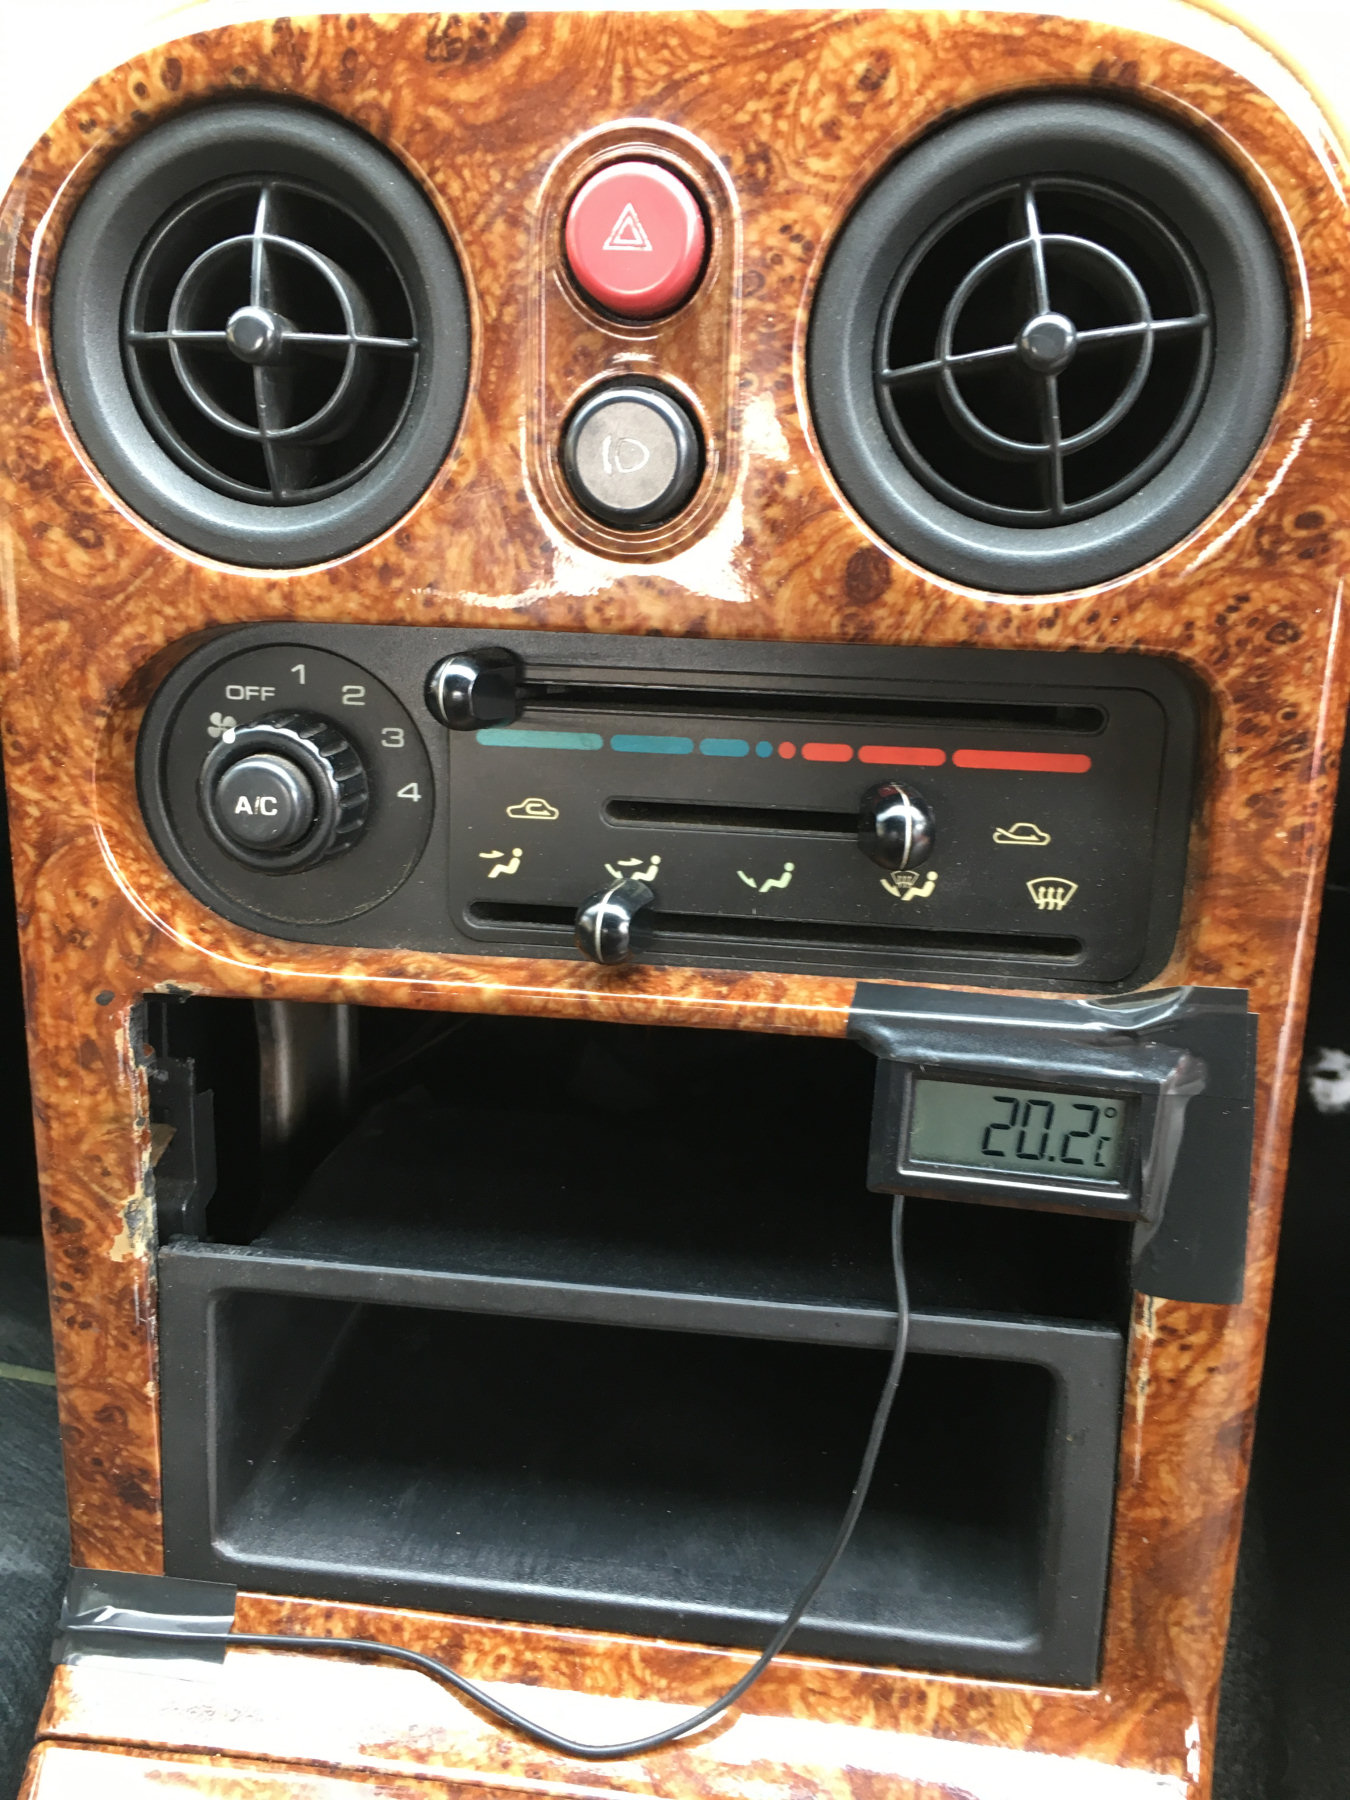
We have simply taped the meter in place for now, where the CD/radio unit was.
|

|
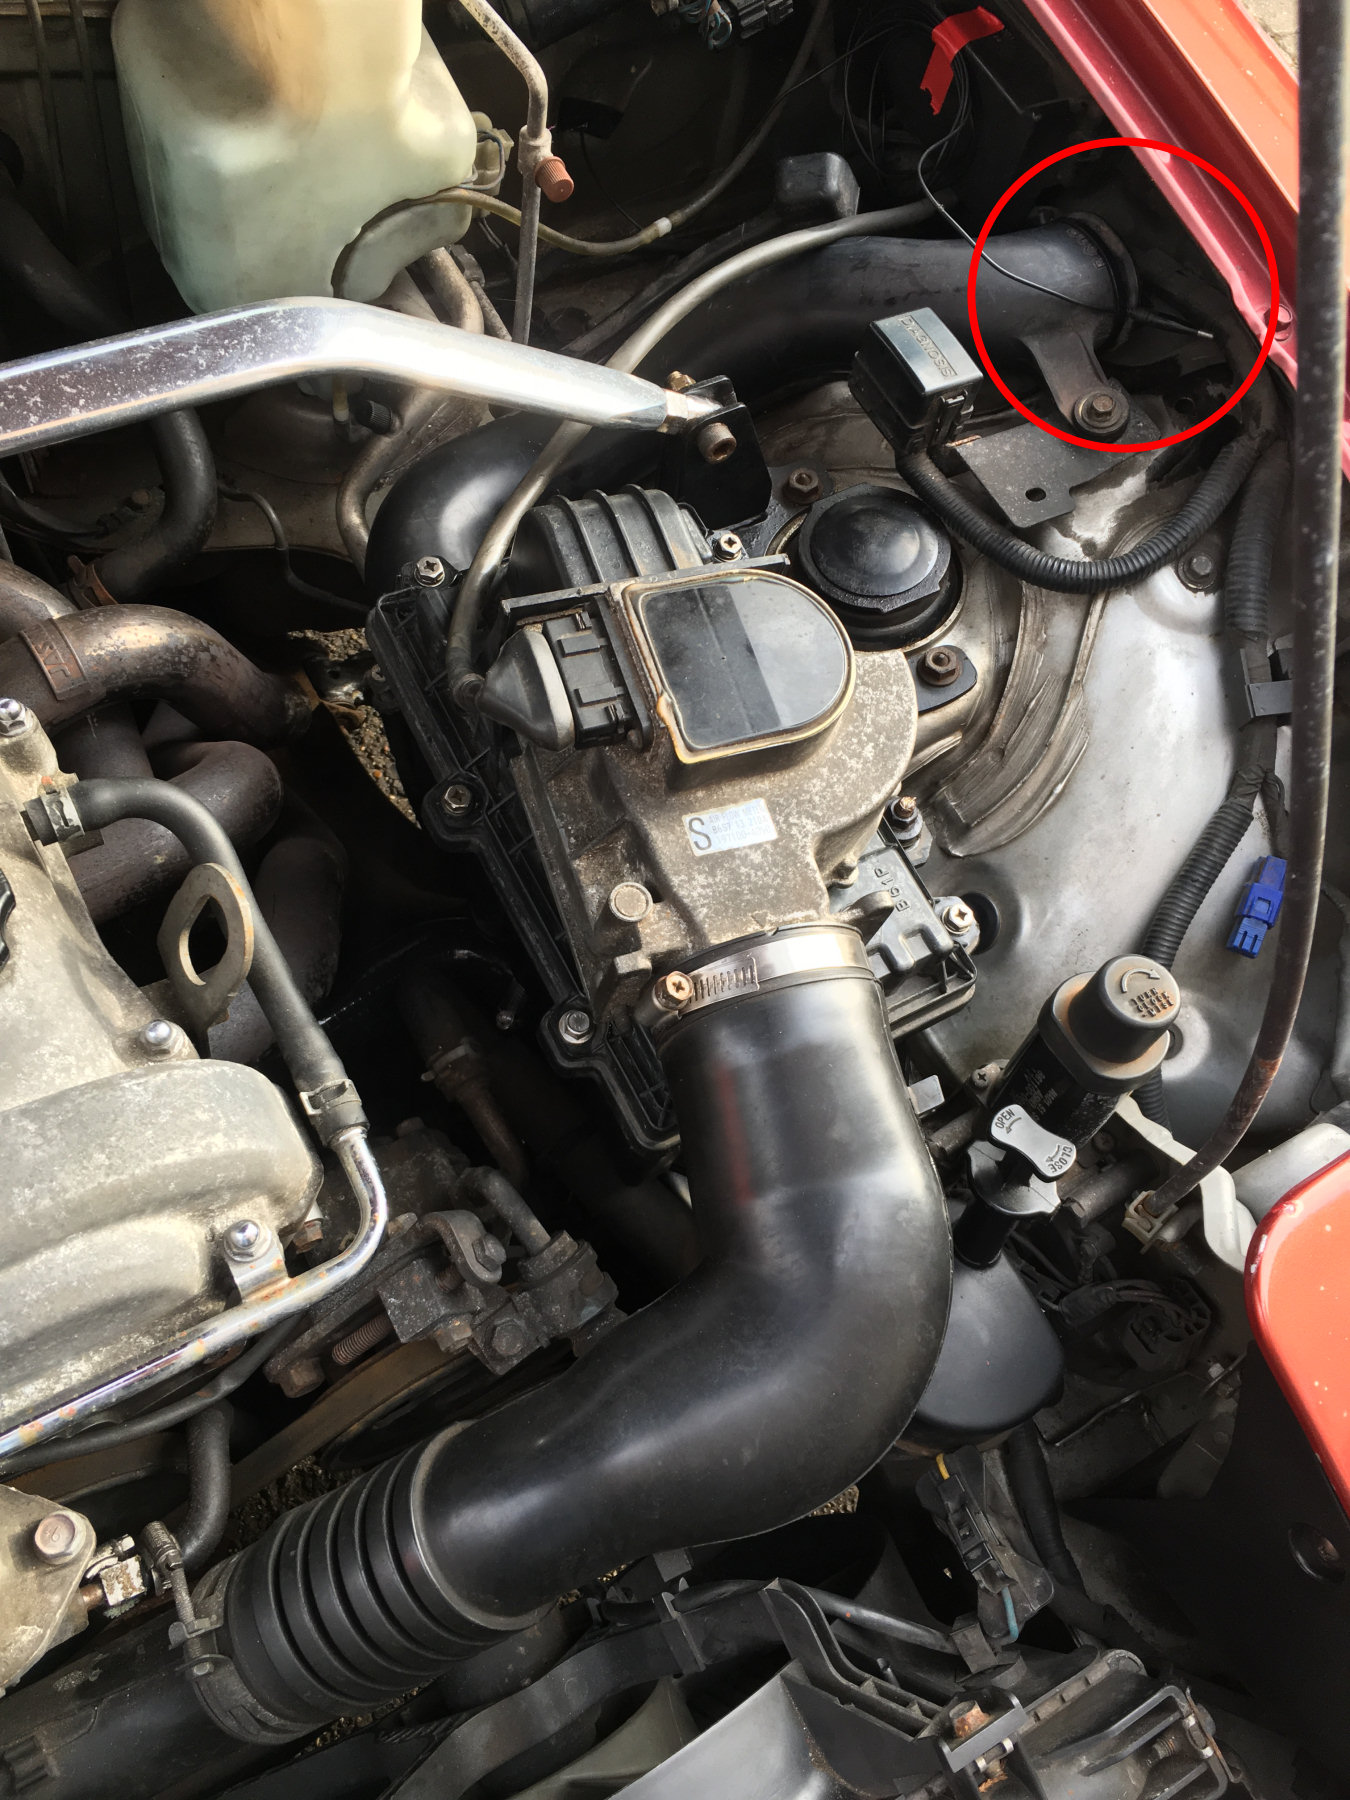
This is the completed air box installation with the inlet pipe going to the back corner of the engine bay. Not sure if this is ideal but you can see the temperature sensor fixed at the inlet (circled), to allow us to see how warm it gets under here.
|
6th
Spend most of this evening drilling out the two sheared bolts on the chassis front rails that hold the under tray on. These are exposed on the inside of the wheel arch and both sides snapped on trying to remove them.
|
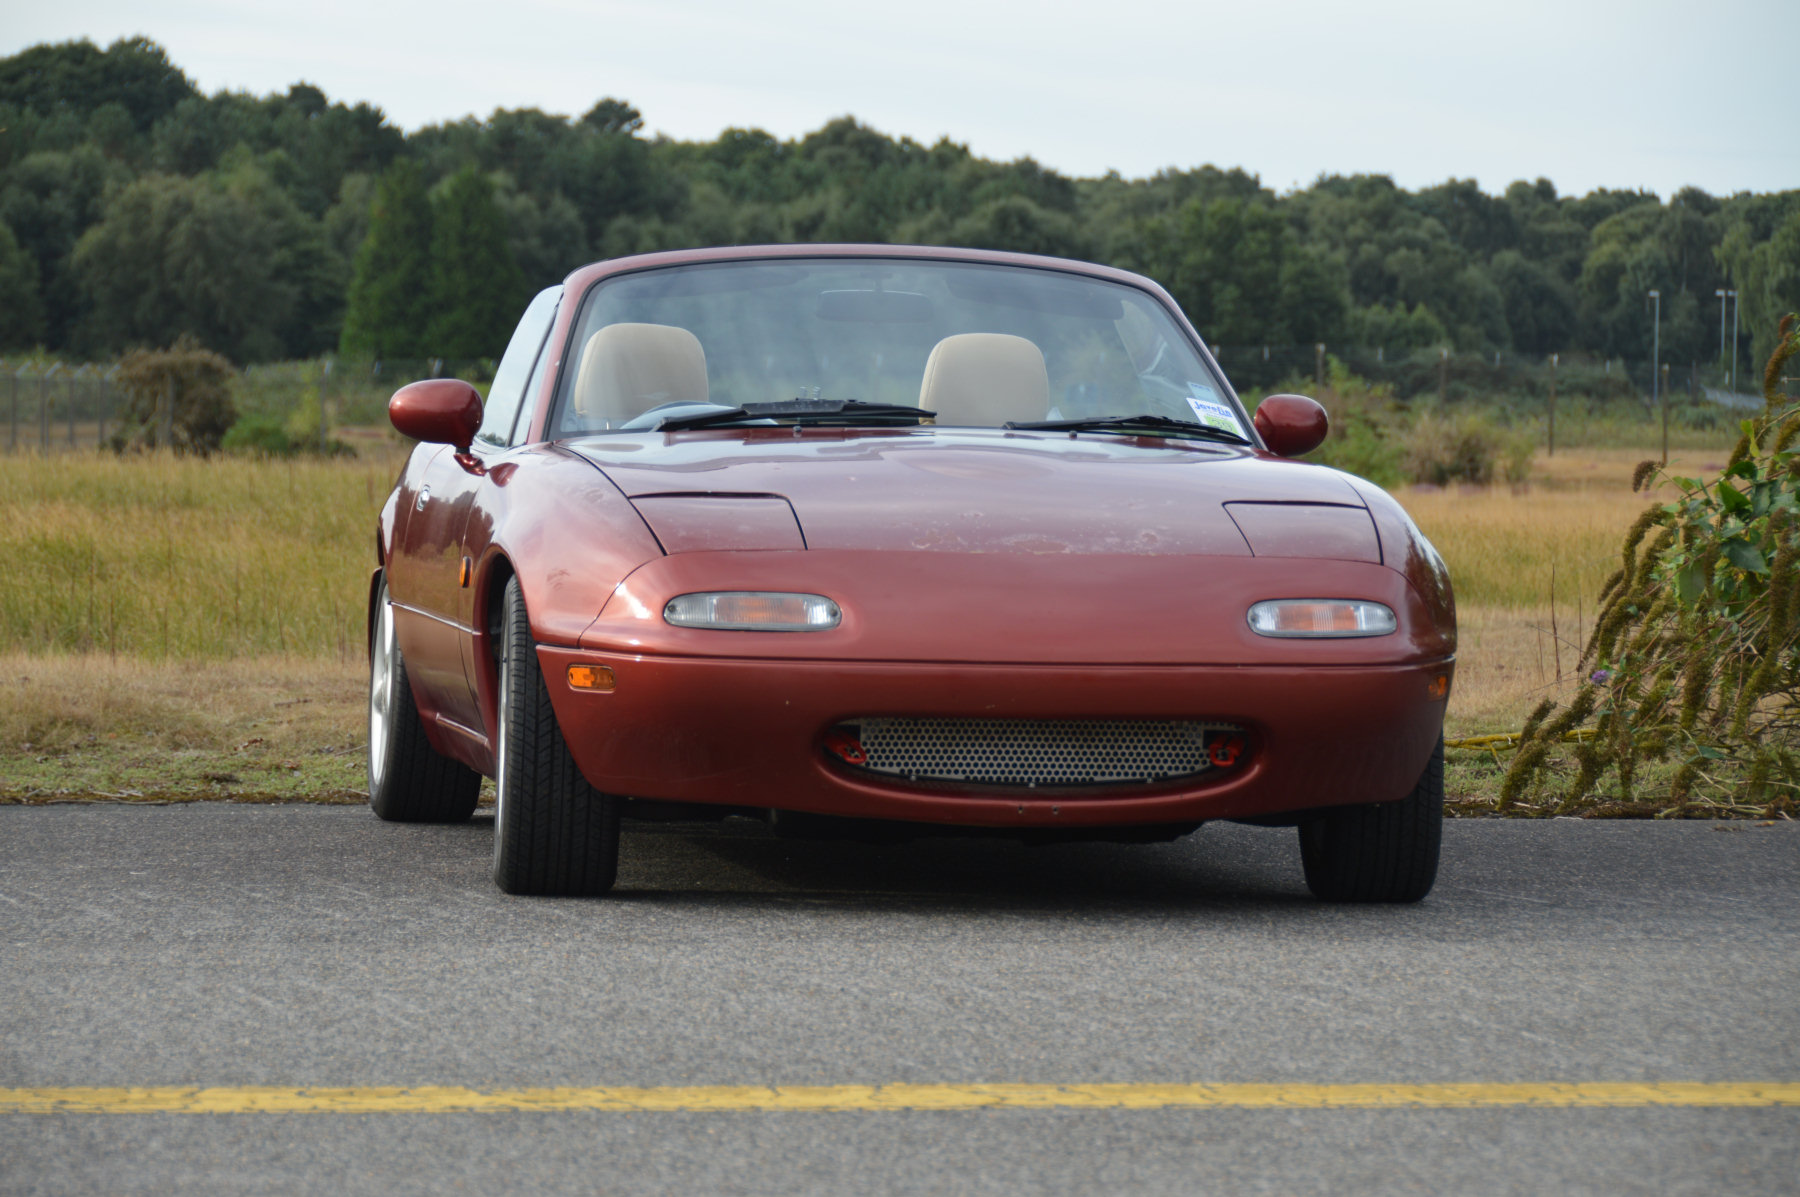
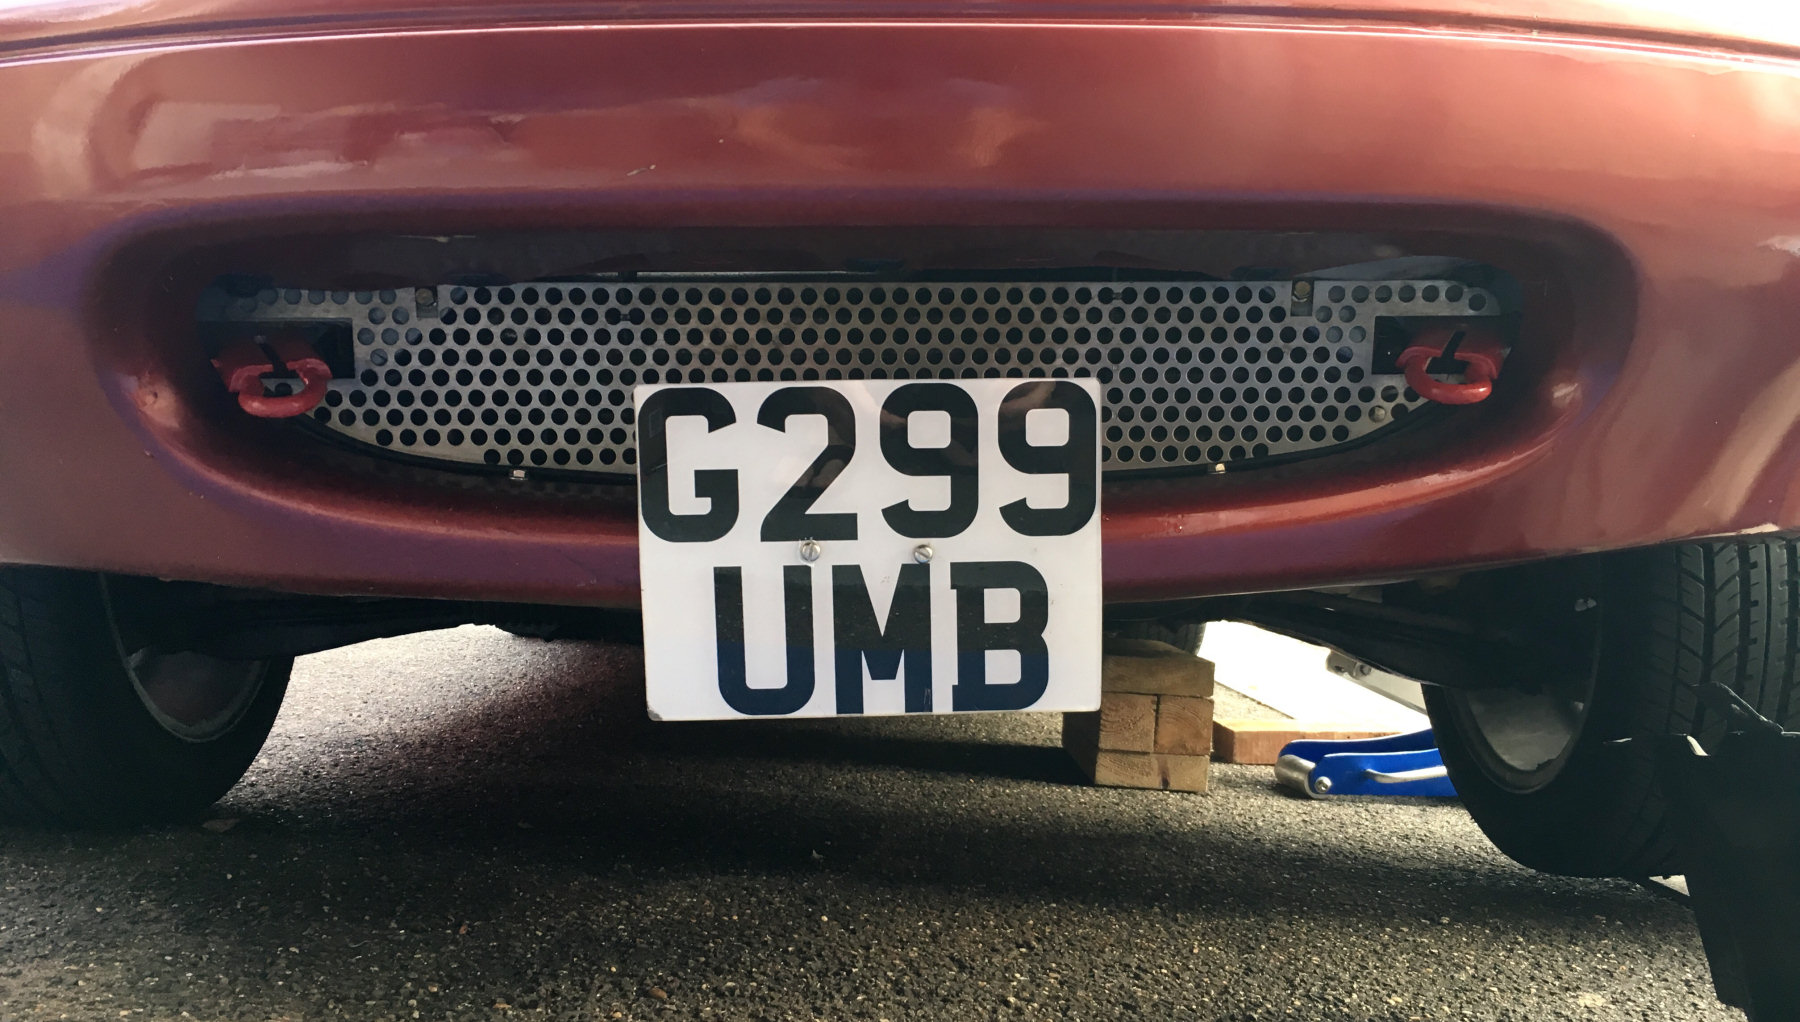
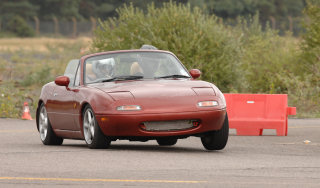
Fitted the stainless steel grille properly. It wasn't when I bought the car. Hoping this doesn't reduce the airflow too much and we have enough cooling this weekend. The car does need something to protect the radiator from stones though, especially on track days.
|
7th
The days are getting shorter :-( Ran out of light this evening as I was fitting the under tray and bumper stays back on the car. This is slighly complicated by some of the bolts having seized and two bolts extending out from the chassis also shearing, leaving them too short.
8th
Last few jobs done on putting the front end back together. Front bumper support rods are now on and under tray is back on the car.
Final preparation for the track day and the car is then ready!
- Check tyres and pressure. Measured tread depth on front tyres was 6.5mm tread and 5.5mm on the rears.
- Torque wheel nuts to 100Nm.
- Check battery clamp is secure and charged battery.
- Check oil level.
- Check coolant level.
- Check brake fluid level and brake pad thickness.
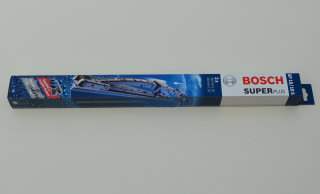
- Fitted new windscreen wipers as they looked worn and rain is forecast for Saturday.
- Applied Rain-X to the windscreen and side windows.
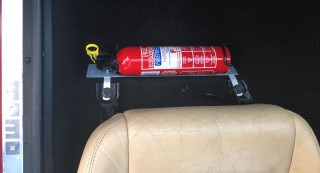
- Fit fire extinguisher.
- Fit video camera mount to rear parcel shelf.
- Remove front number plate to reduce drag and improve air flow in to the radiator.
- Remove spare wheel from boot.
9th
|
With rain due this weekend, I checked the wipers and they didn't look very healthy. For some reason the previous owner had fitted 16" blades as well. Replaced them with some 18" Bosch Super Plus blades. I also cleaned the windscreen and applied some Rain-X.
|
|
The next job was to fabricate a mount for the fire extinguisher. I'm really hoping we don't need to use this! We made this from some 15mm aluminium flat and some 40mm aluminium flat. It uses the existing seat mounting bolts to hold it firmly in place.
|
|
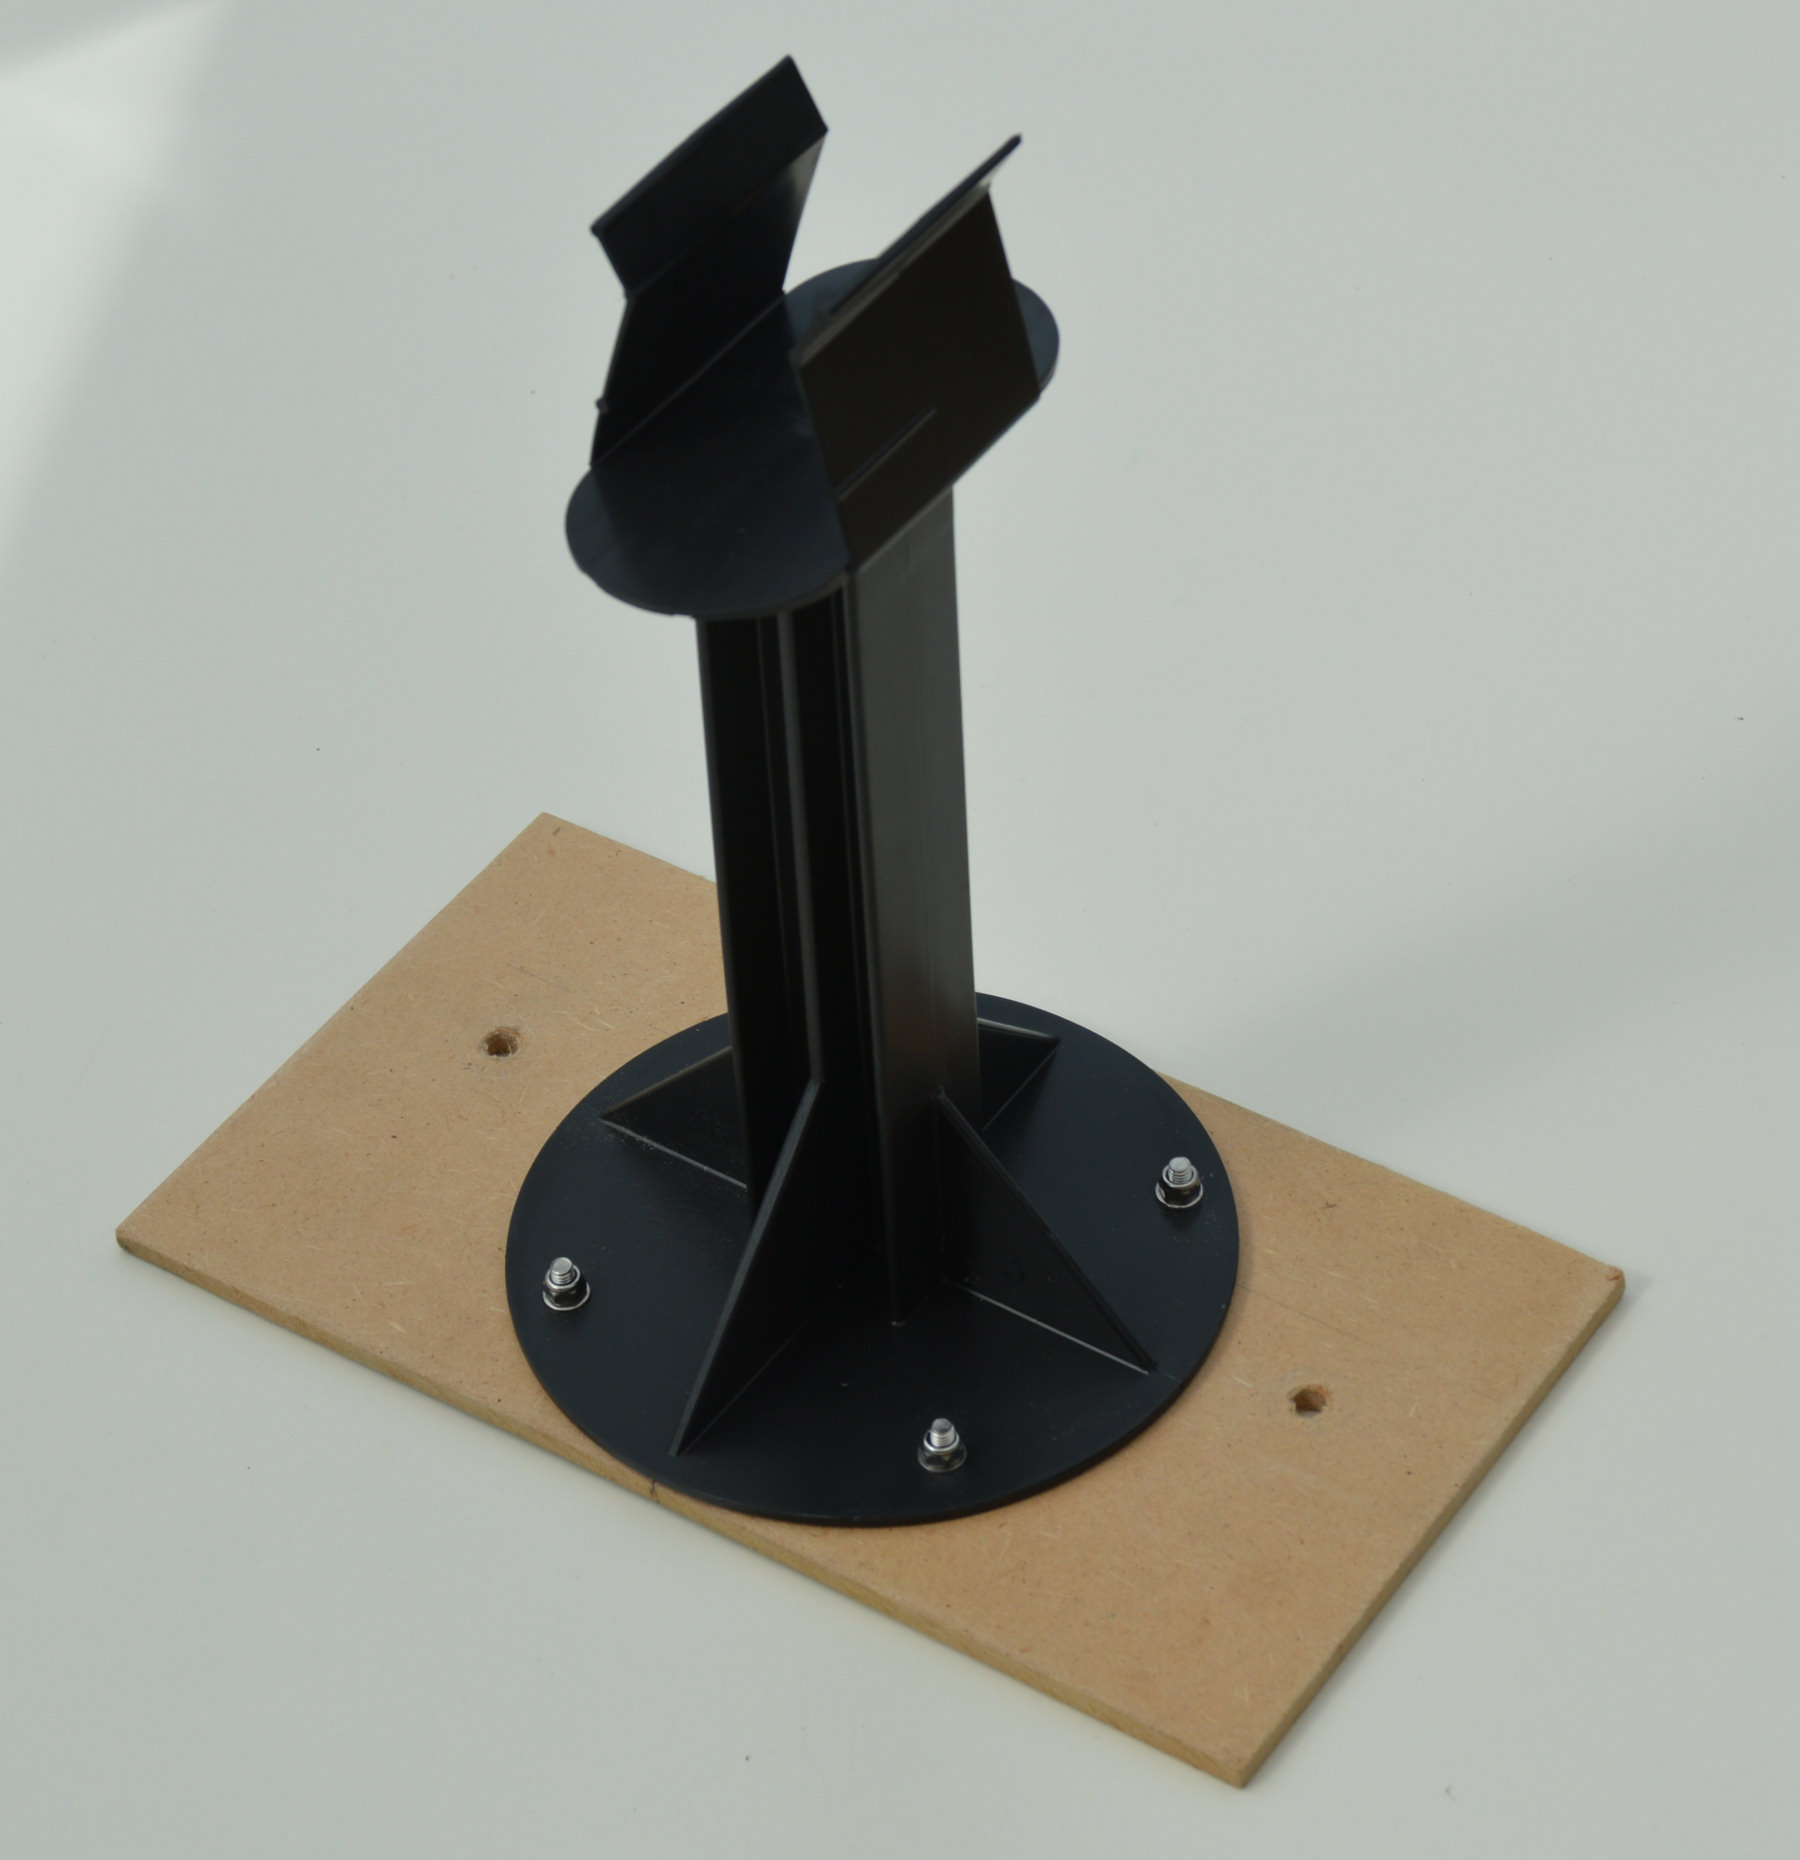
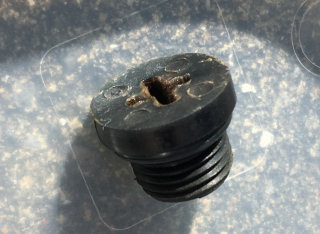
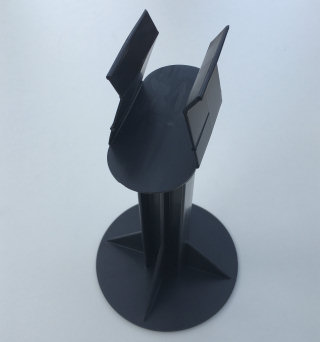
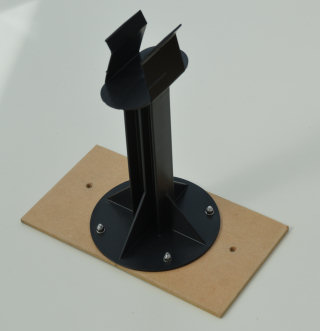
The final job was to fit the video camera. My dad spotted this loft insulation spacer in B&Q and it looked ideal to use as a cheap (only £1.78) camera mount.
|
|
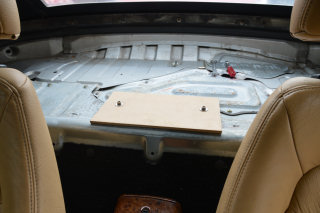
To get a solid fixing to the car we used a piece of 9mm thick MDF and two existing bolts in the rear parcel shelf.
|
|
This was then drilled and bolted to the loft spacer.
|
|
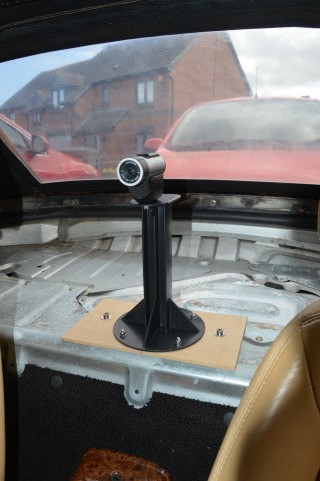
Finally, this was installed and the Countour Plus camera mount bolted to it. Hopefully this will be stable enough for decent quality video.
|
A final test drive on the road to make sure everything looks good and to test the video camera mounting. It is not as solid as we had hoped but we have no time to do anything different now. It will have to do until we install a roll bar.
10th

|
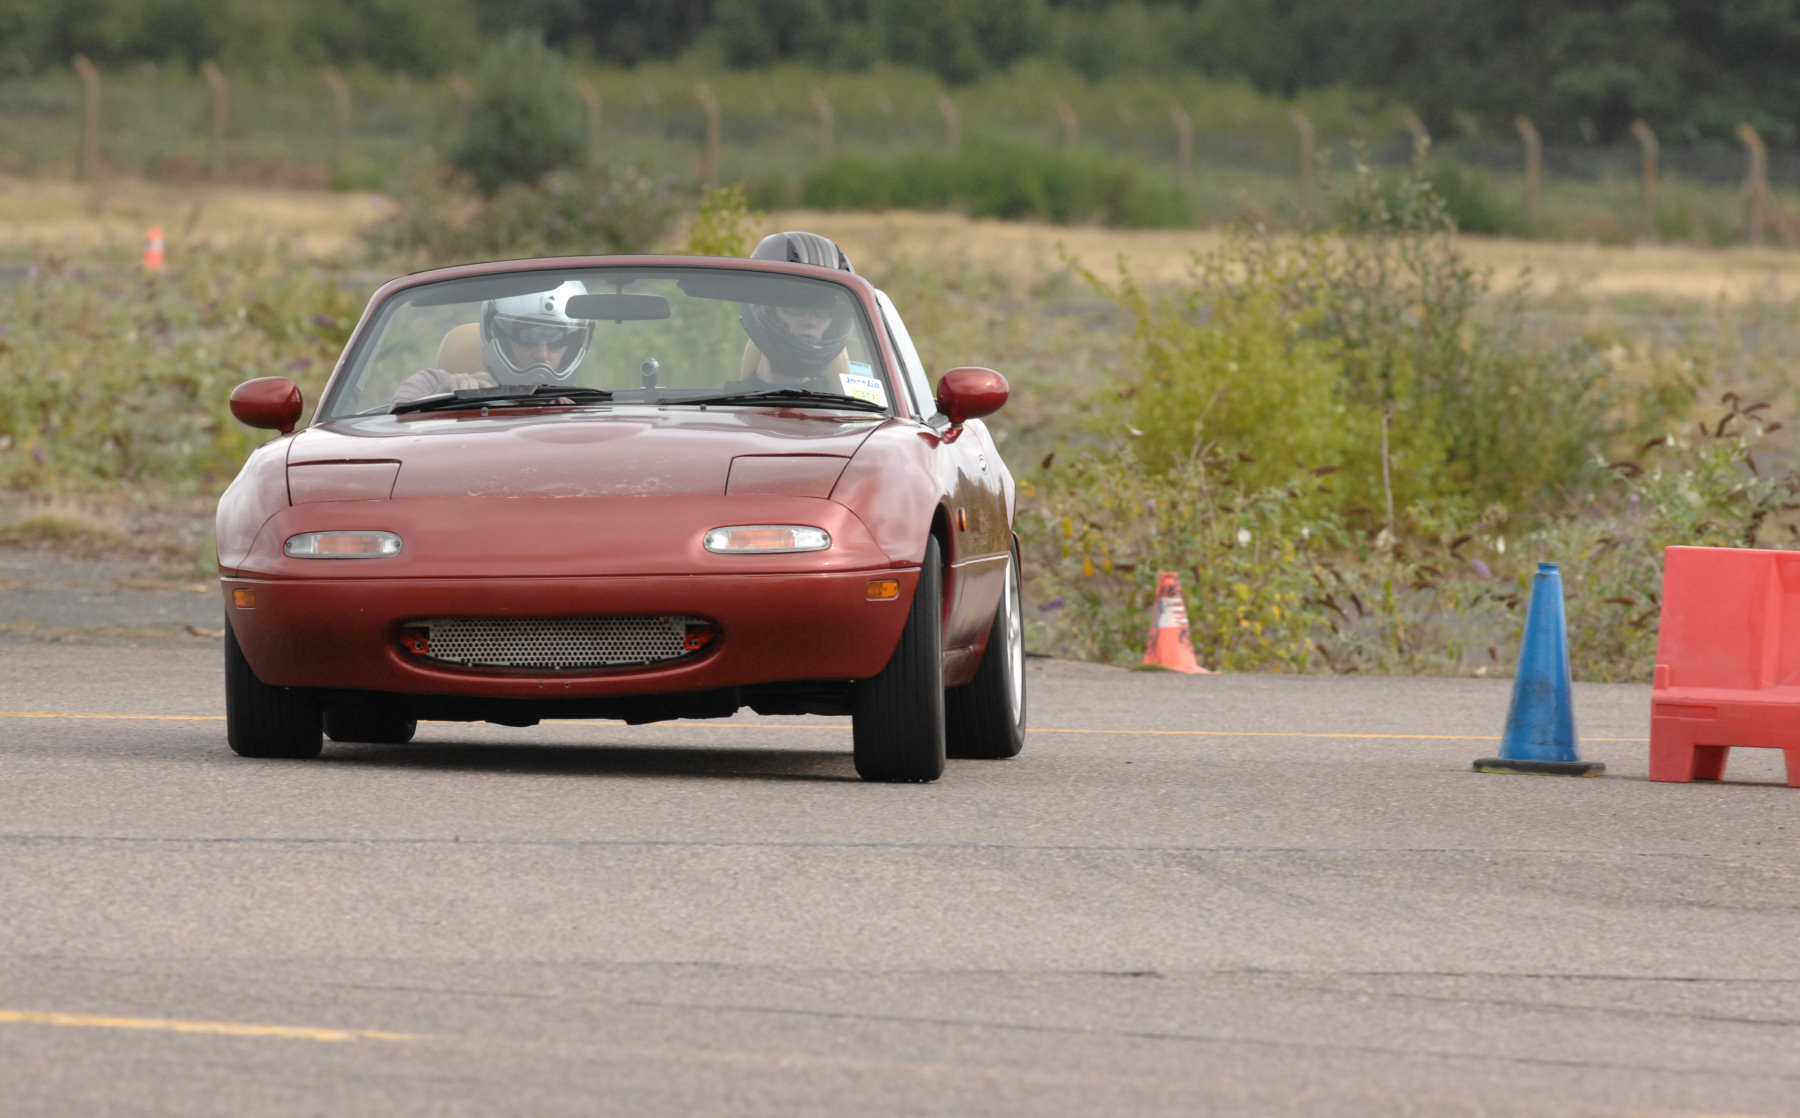
Trackday today at RAF Woodbridge (my Dad driving). We hired a trailer to get the car to the event because we weren't sure how she would hold up to the abuse. She is 26 years old afterall! The forecast had been for lots of rain but we woke up to clouds and an updated forecast showing that the rain would arrive around noon.
We arrived at 8am for sign-on and my Dad attended the safety briefing. We then did 3 sighting laps to get familiar with the layout.
|

|
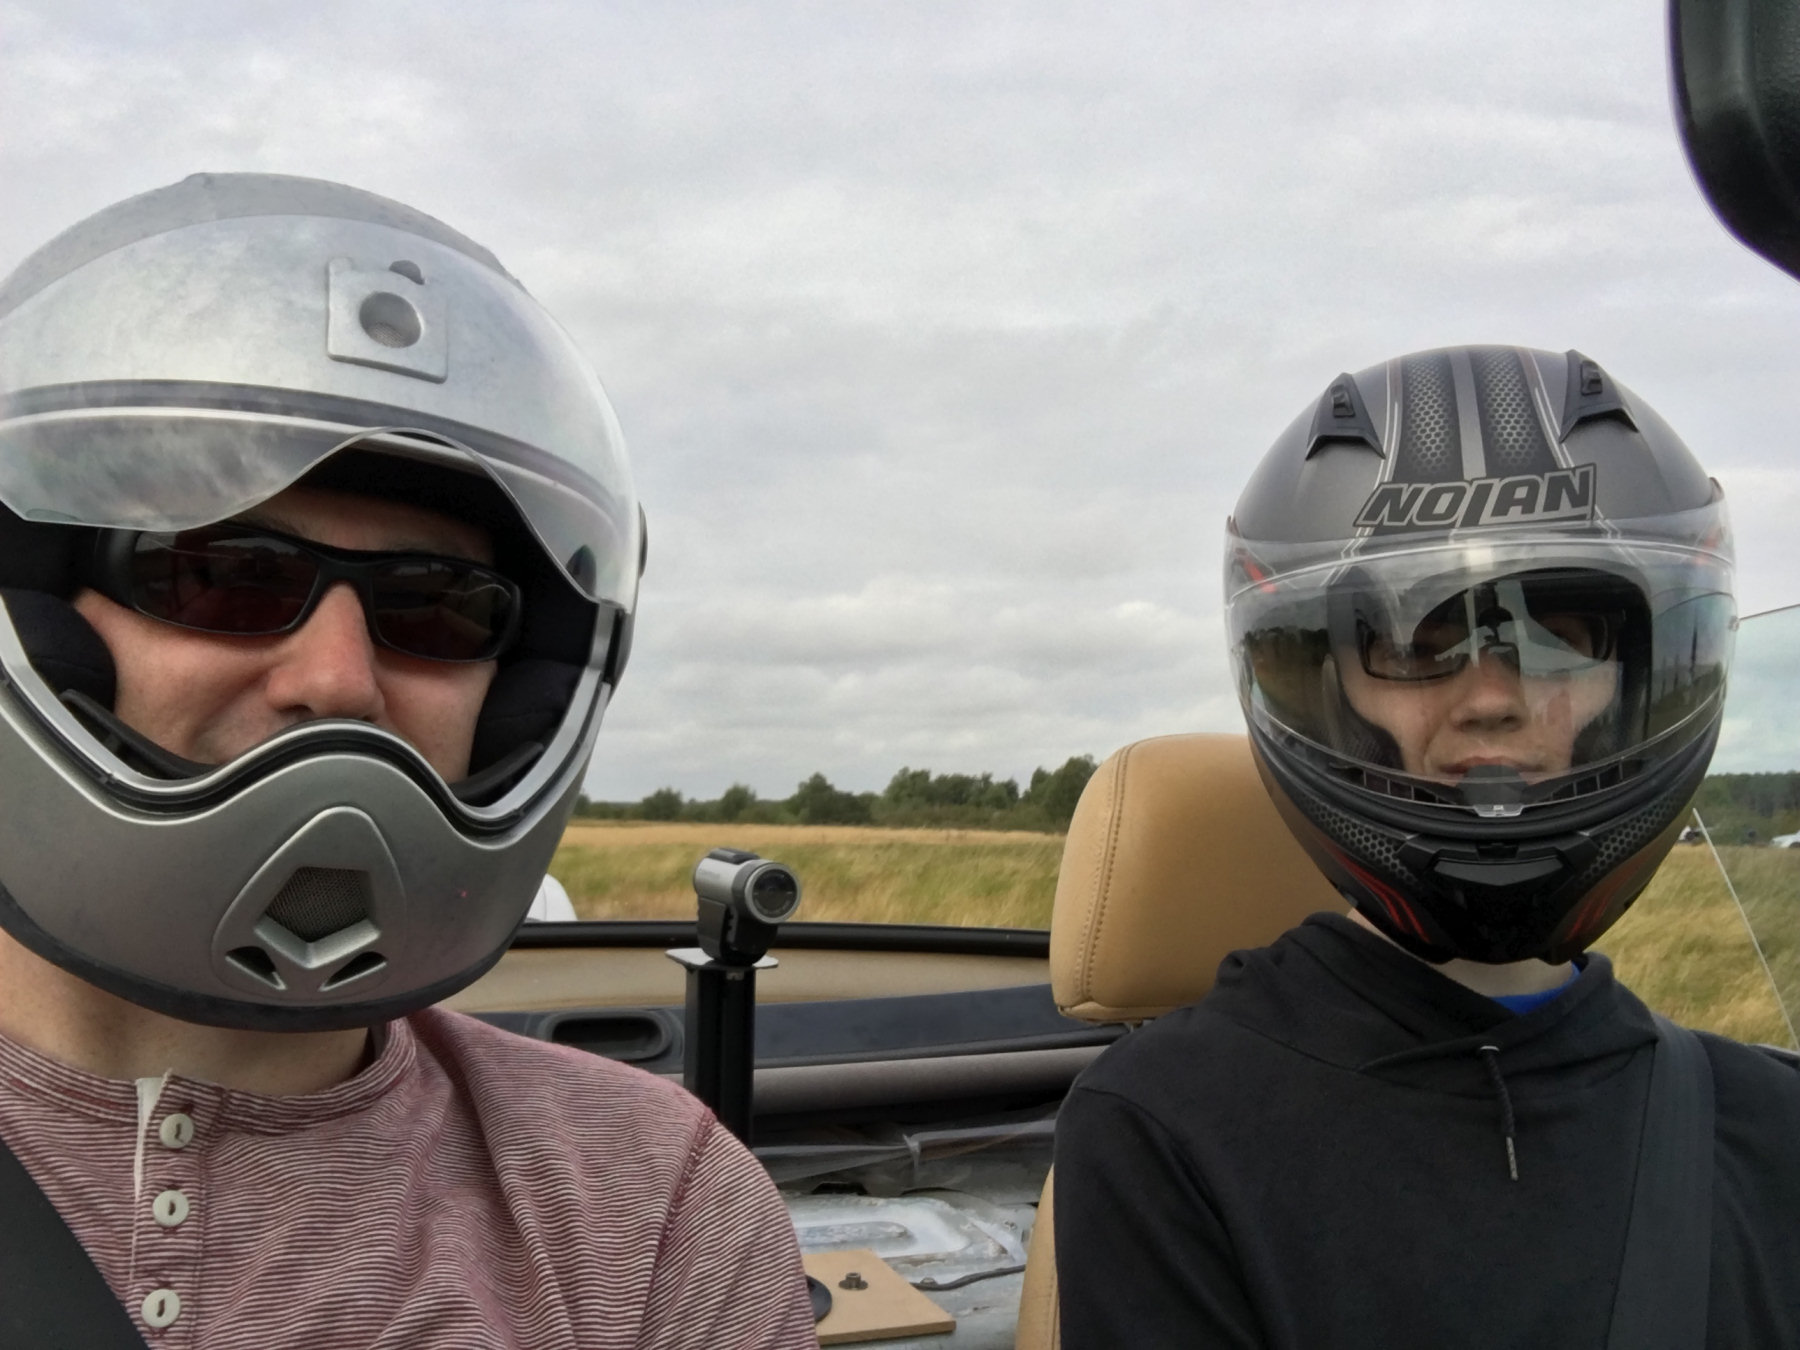
Selfie whilst in queue. The sighting laps were not slow and quickly showed that the Yokohama S306 tyres didn't have a huge amount of grip. They felt like they were an incredibly hard compound.
|
In the first session we did three laps and then came in to give the car a check over. Tyres pressures have gone from 26psi front/rear to 30psi. The cooling system seemed fine and the temperatures stable. The temperature sensor on the air inlet was showing temperatures around 30°C whilst on the move, though this rose to 50+°C when at speeds below 50mph. Generally it looks like the OEM air box and inlet arrangement works pretty well.
We then went out for 2 more sessions of around 5 or 6 laps and everything was still going well. We may have been the slowest car there but, it was still huge fun. The seats in the car initially seemed pretty supportive too but, not as good as the Tillet race seats in my Dad's Fisher Fury R1. At the end of the day though the lack of support could be felt though. Your body spends a lot of time fighting the G-forces and the lower back muscles eventually suffer.
It started raining at around noon as expected. This made the track very slippery and resulted in a few minor accidents. We stopped for lunch in the rain and by the time we had finished lunch it had stopped raining.
|
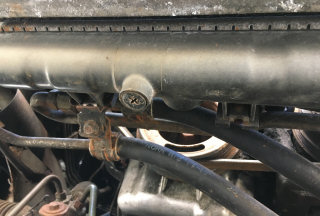
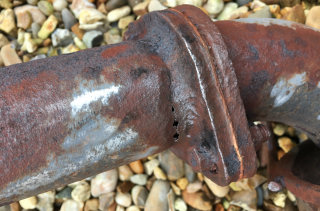
Whilst checking over the car at lunch time, we noticed that the only large coolant hose we hadn't replaced was weeping a little bit. Not enough to cause concern but this will be replaced next week. We checked this every time we came back in and it never got any worse. You can't tighten these type of clips but we are using stainless-steel jubilee clips when we fit new silicon hoses.
|
After lunch we carried on doing more sessions of 5 to 6 laps. The track dried up very quickly and we started going much quicker again. If we tried to do more than 6 laps the temperature gauge on the dash started to creep up towards the red line, so we limited ourselves to 6 laps in each session. We started the day with ¾ tank of fuel and by mid-afternoon were nearly empty. We have bought a 20 litre Jerry can along though and emptied this into the tank. By the end of the day we had done 12 or more sessions.
|
My dad's friend was also at this track day with his 250bhp turbo-charged MX-5. Not only was this much more powerful, it also had some decent tyres on it. This is me having a ride as a passenger. This car had enough torque to break traction on demand. It was much quicker down the straights and through the corners.
|
Whilst the seats in the car are fairly supportive, I need something much more so for track days. At the end of the day my lower back was aching from fighting to stay upright.
|
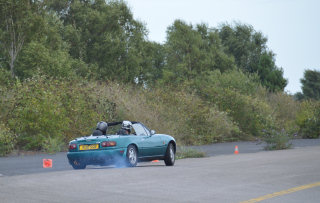
The current suspension set up is just too hard for regular road use but it seemed just about perfect on track. There was very little body roll despite driving at 100% for most of the day. It certainly inspired confidence going into the corners and there was also very little nose dive under hard braking too.
After a bit more research it turns out we have some of the stiffest springs you can fit to this car, which explains a lot.
Photography by Ken Carrington
|
|
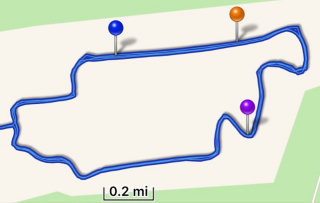
This is a GPS trace of the first session from the GPS Speed HD iPhone app. It shows the circuit layout and the starte/end point. This basically records each sessions and provides things like top speed, etc. The orange pin represents teh highest speed point and we were doing 93mph in 4th (~6500rpm) before we had to start braking. 5th gear was never used on this circuit.
|
The video camera mount didn't actually work as well as had been hoped. It still had a bit too much flex in it as you will see from the video. Coming soon.
Late in the afternoon, one of the MX-5's had an off and ended up stuck in in some long grass, which was then set alight by the hot exhaust. This is why you carry a fire extinguisher on track days! He was waving frantically at marshalls to come and put the fire out before his whole car went up in flames. Fortunately they were fairly close to hand and there was also a proper fire truck at the event. This is why you should go to well organised track day events. Hopefully not too much damage done.
|
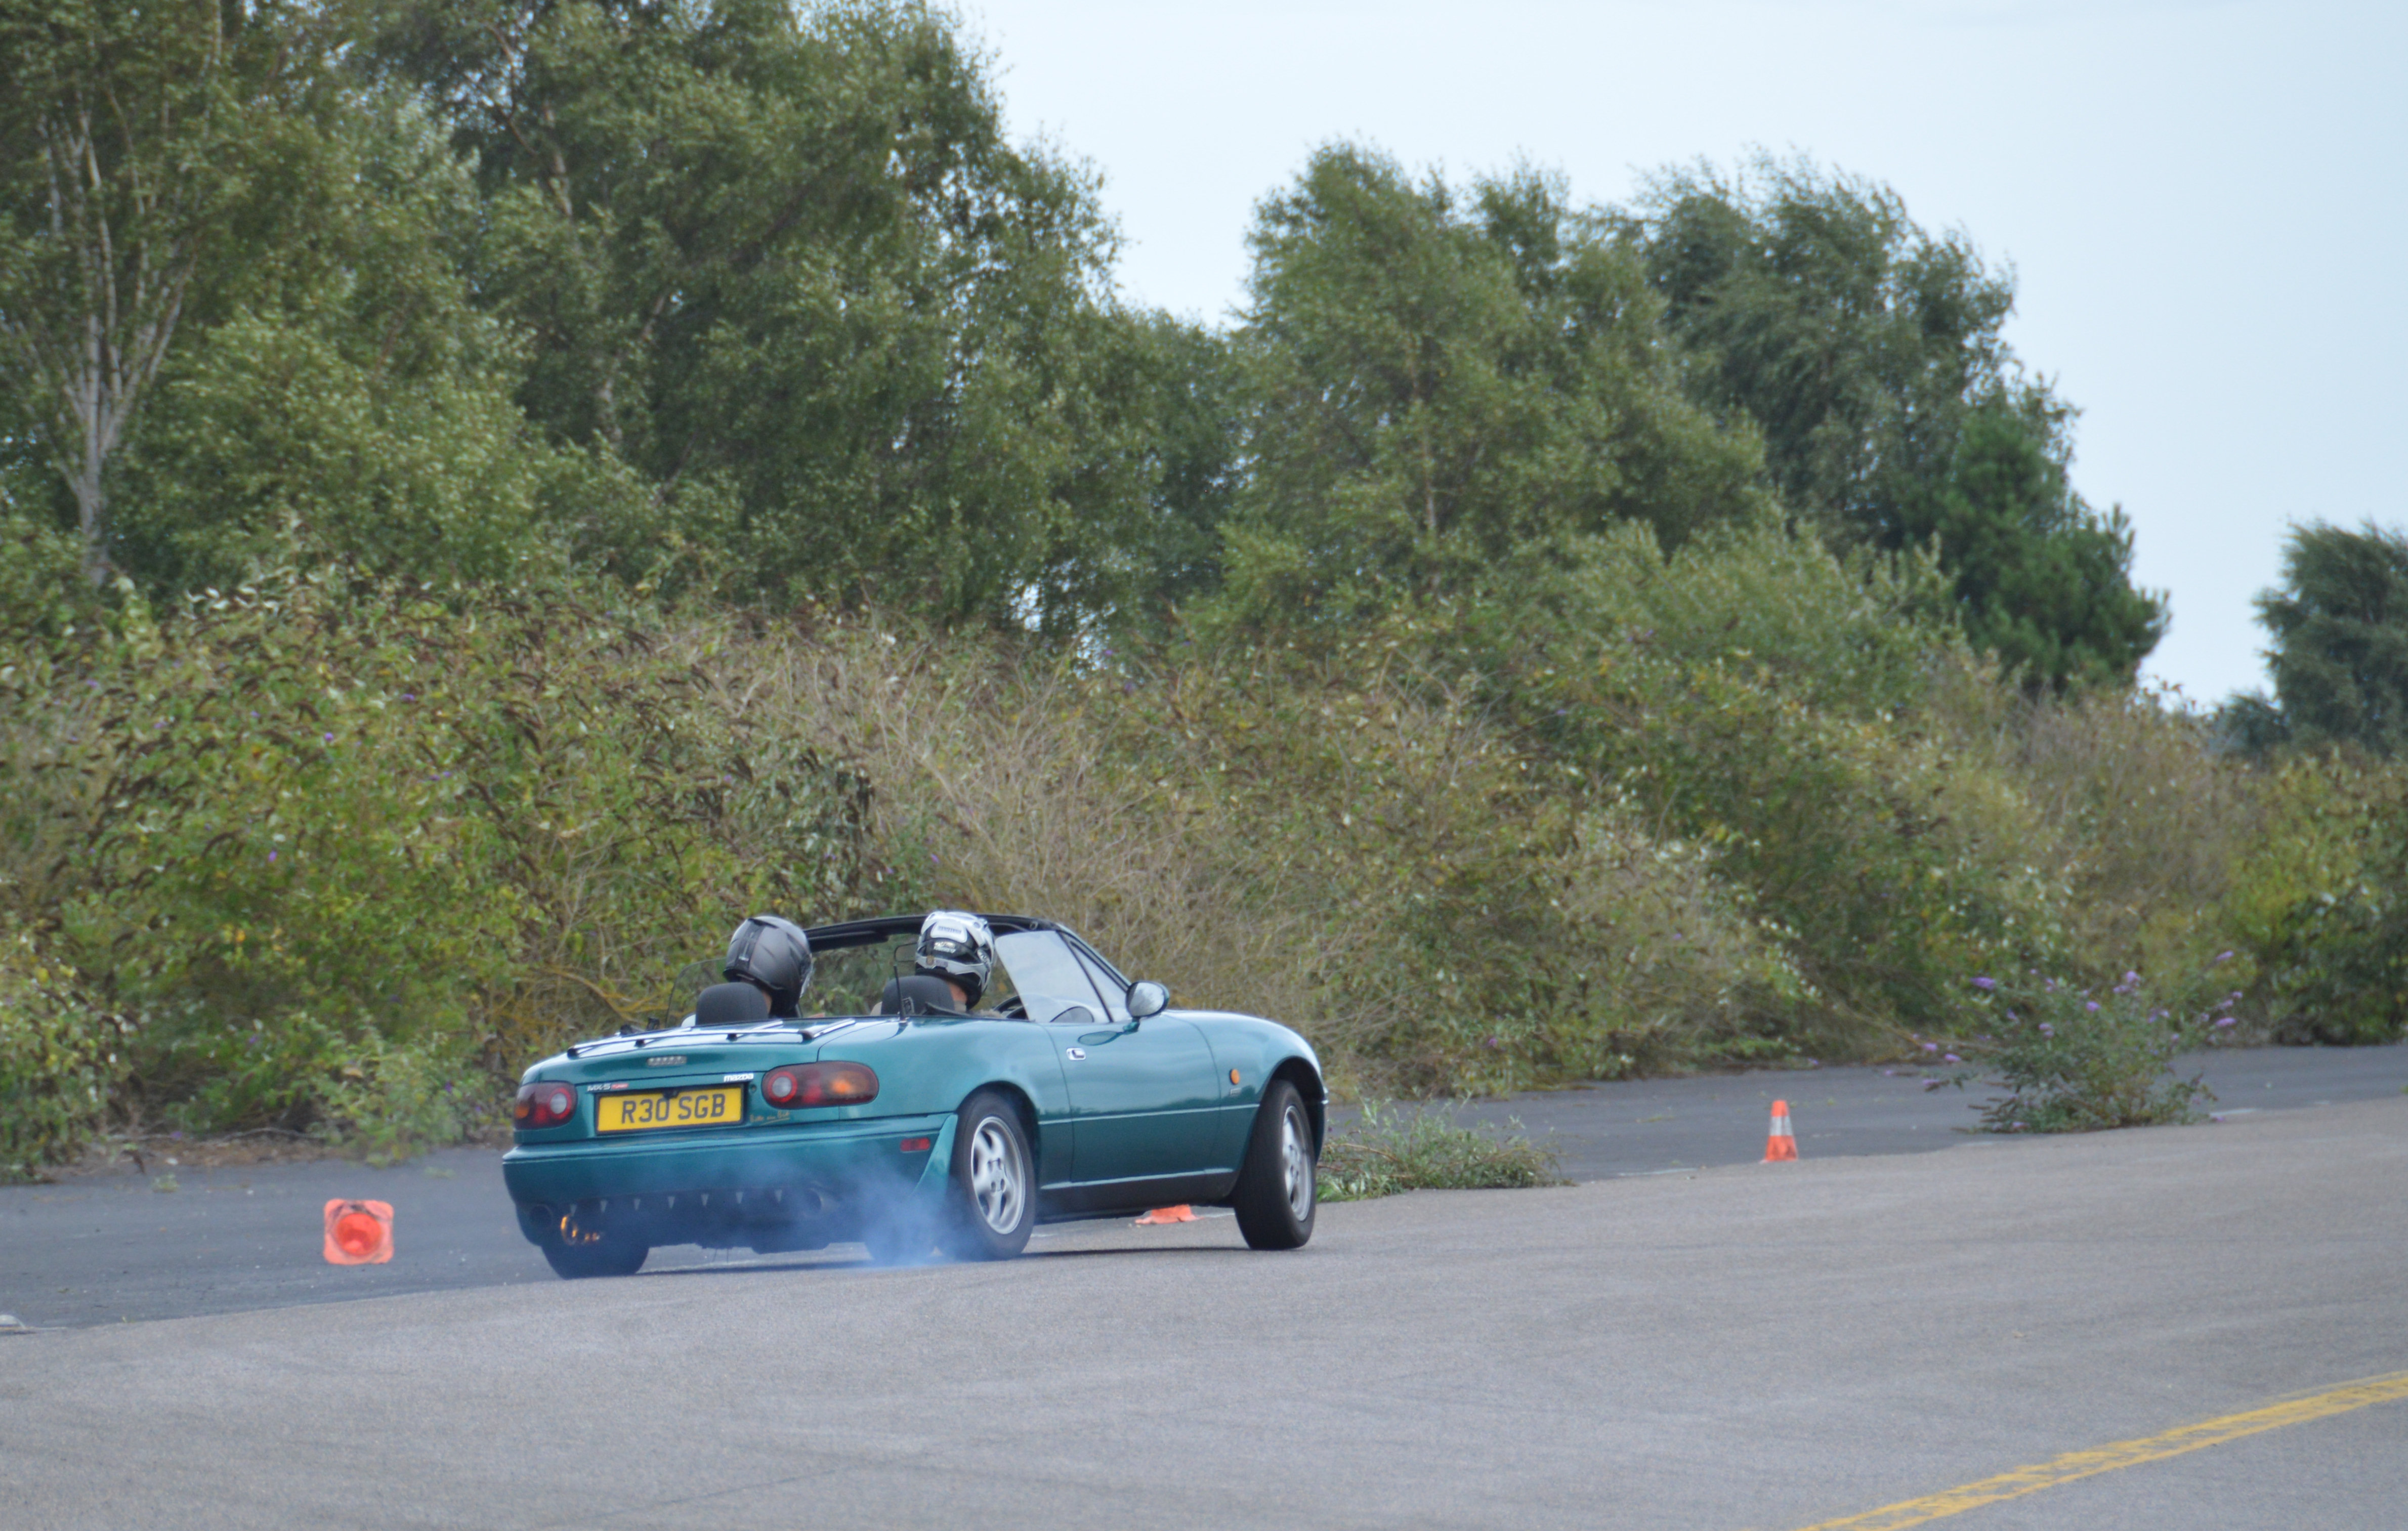
As you enter the home sequence of tighter corners, the surface drops away a bit causing the inside front to leave the tarmac.
Photography by Ken Carrington
|
11th
Measured the tyre tread depth today and as suspected the Yokohama S306 are an incredibly hard compound. This might explain why they had so little grip! The fronts are still at 6mm (were 6.5mm) and the rears are over 5mm (were 5.5mm). Given that we did 12 or more hard sessions, each being 4 to 6 laps this is amazing.
Checked the oil level and it hadn't moved either, which is good.
The main jobs to do now are:
- The wheel arches need investigating and cleaning up.
- At the same time the new shock absorber boots need fitting.
- The top radiator hose needs replacing.
- At the same time I will also replace the water pump and timing belt.
- Buy and fit a roll bar.
- Buy some 15" track day wheels and sticky tyres.
- Get the geometry done.
- Fit more supportive race seats and harnesses.
- The soft-top needs some repair work to the stitching.
13th

|
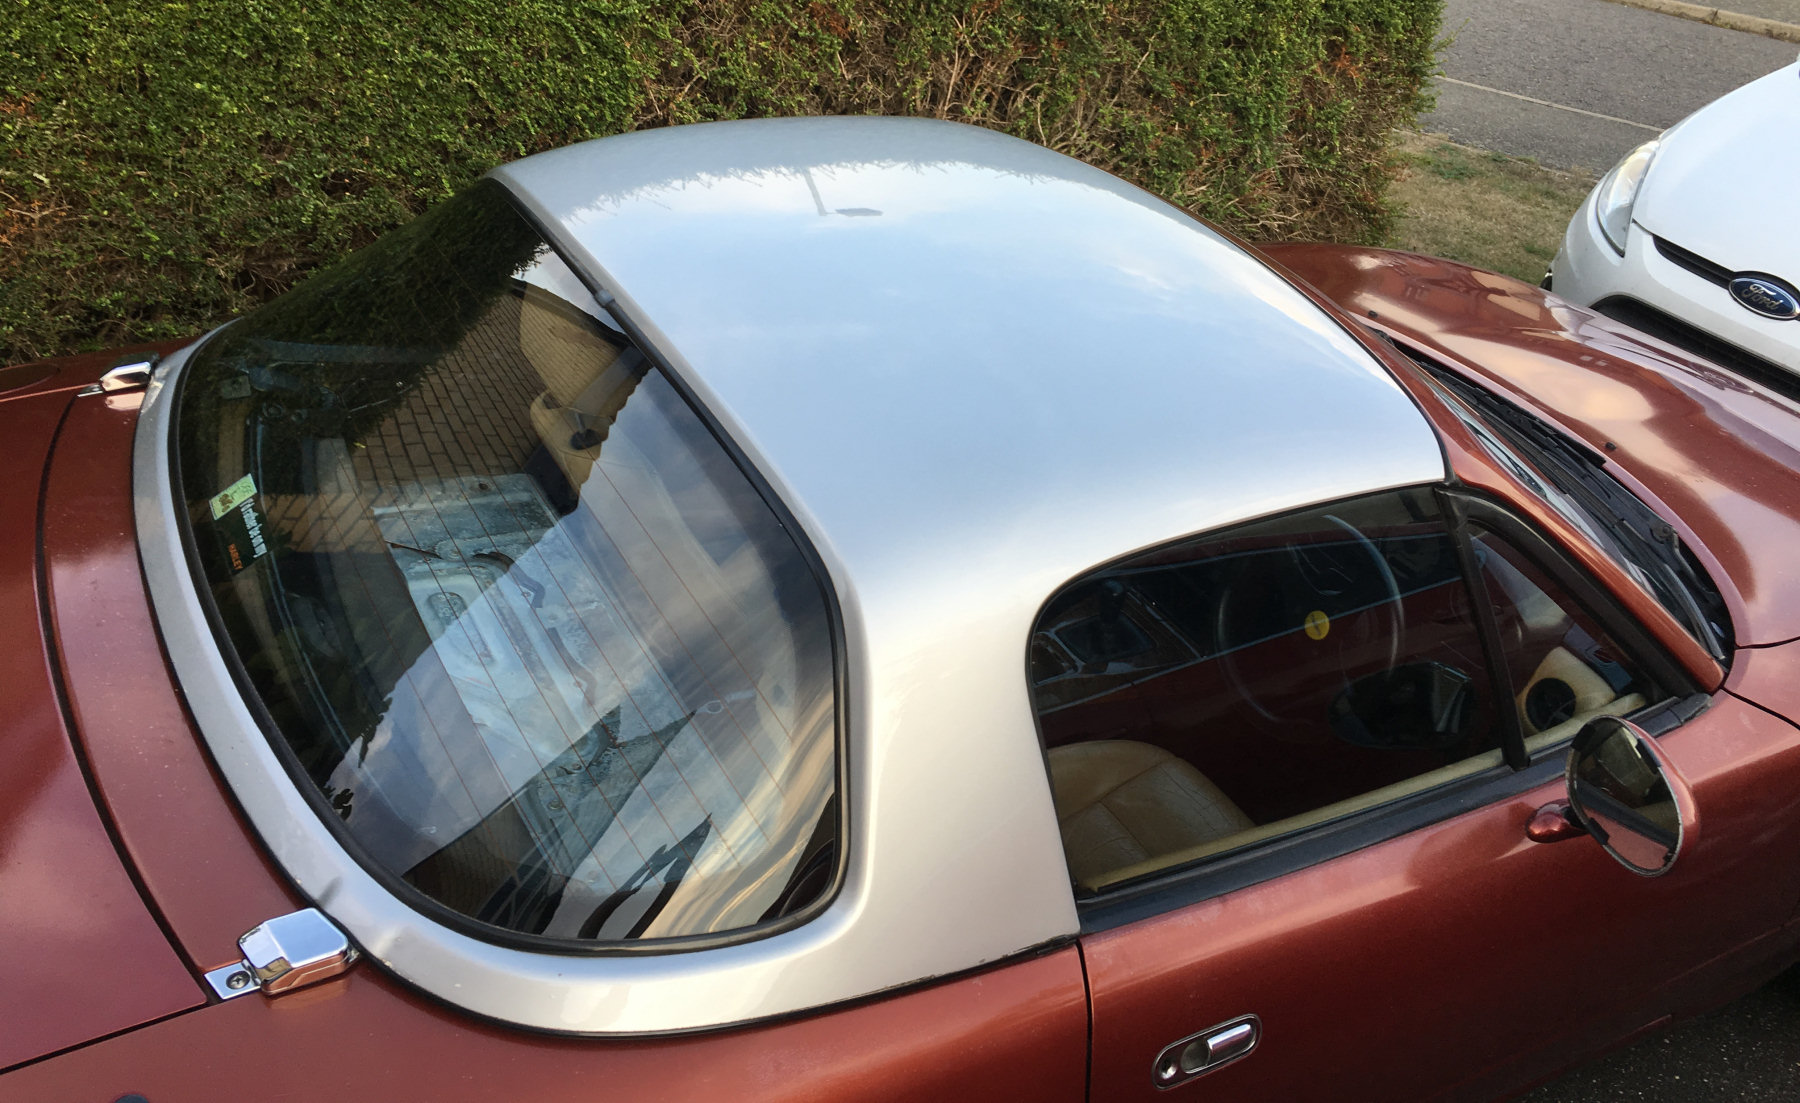
Popped into Retro & Modern Automotive Ltd (was Suffolk Mazda) to have a look at a hardtop they had for sale, taking Yoko just in case. Came away with it fitted to the her. It was a very good price and although it doesn't match the car colour, I don't mind. It is perfect for wet track days and you can already feel the car is stiffer with it on.
|
|
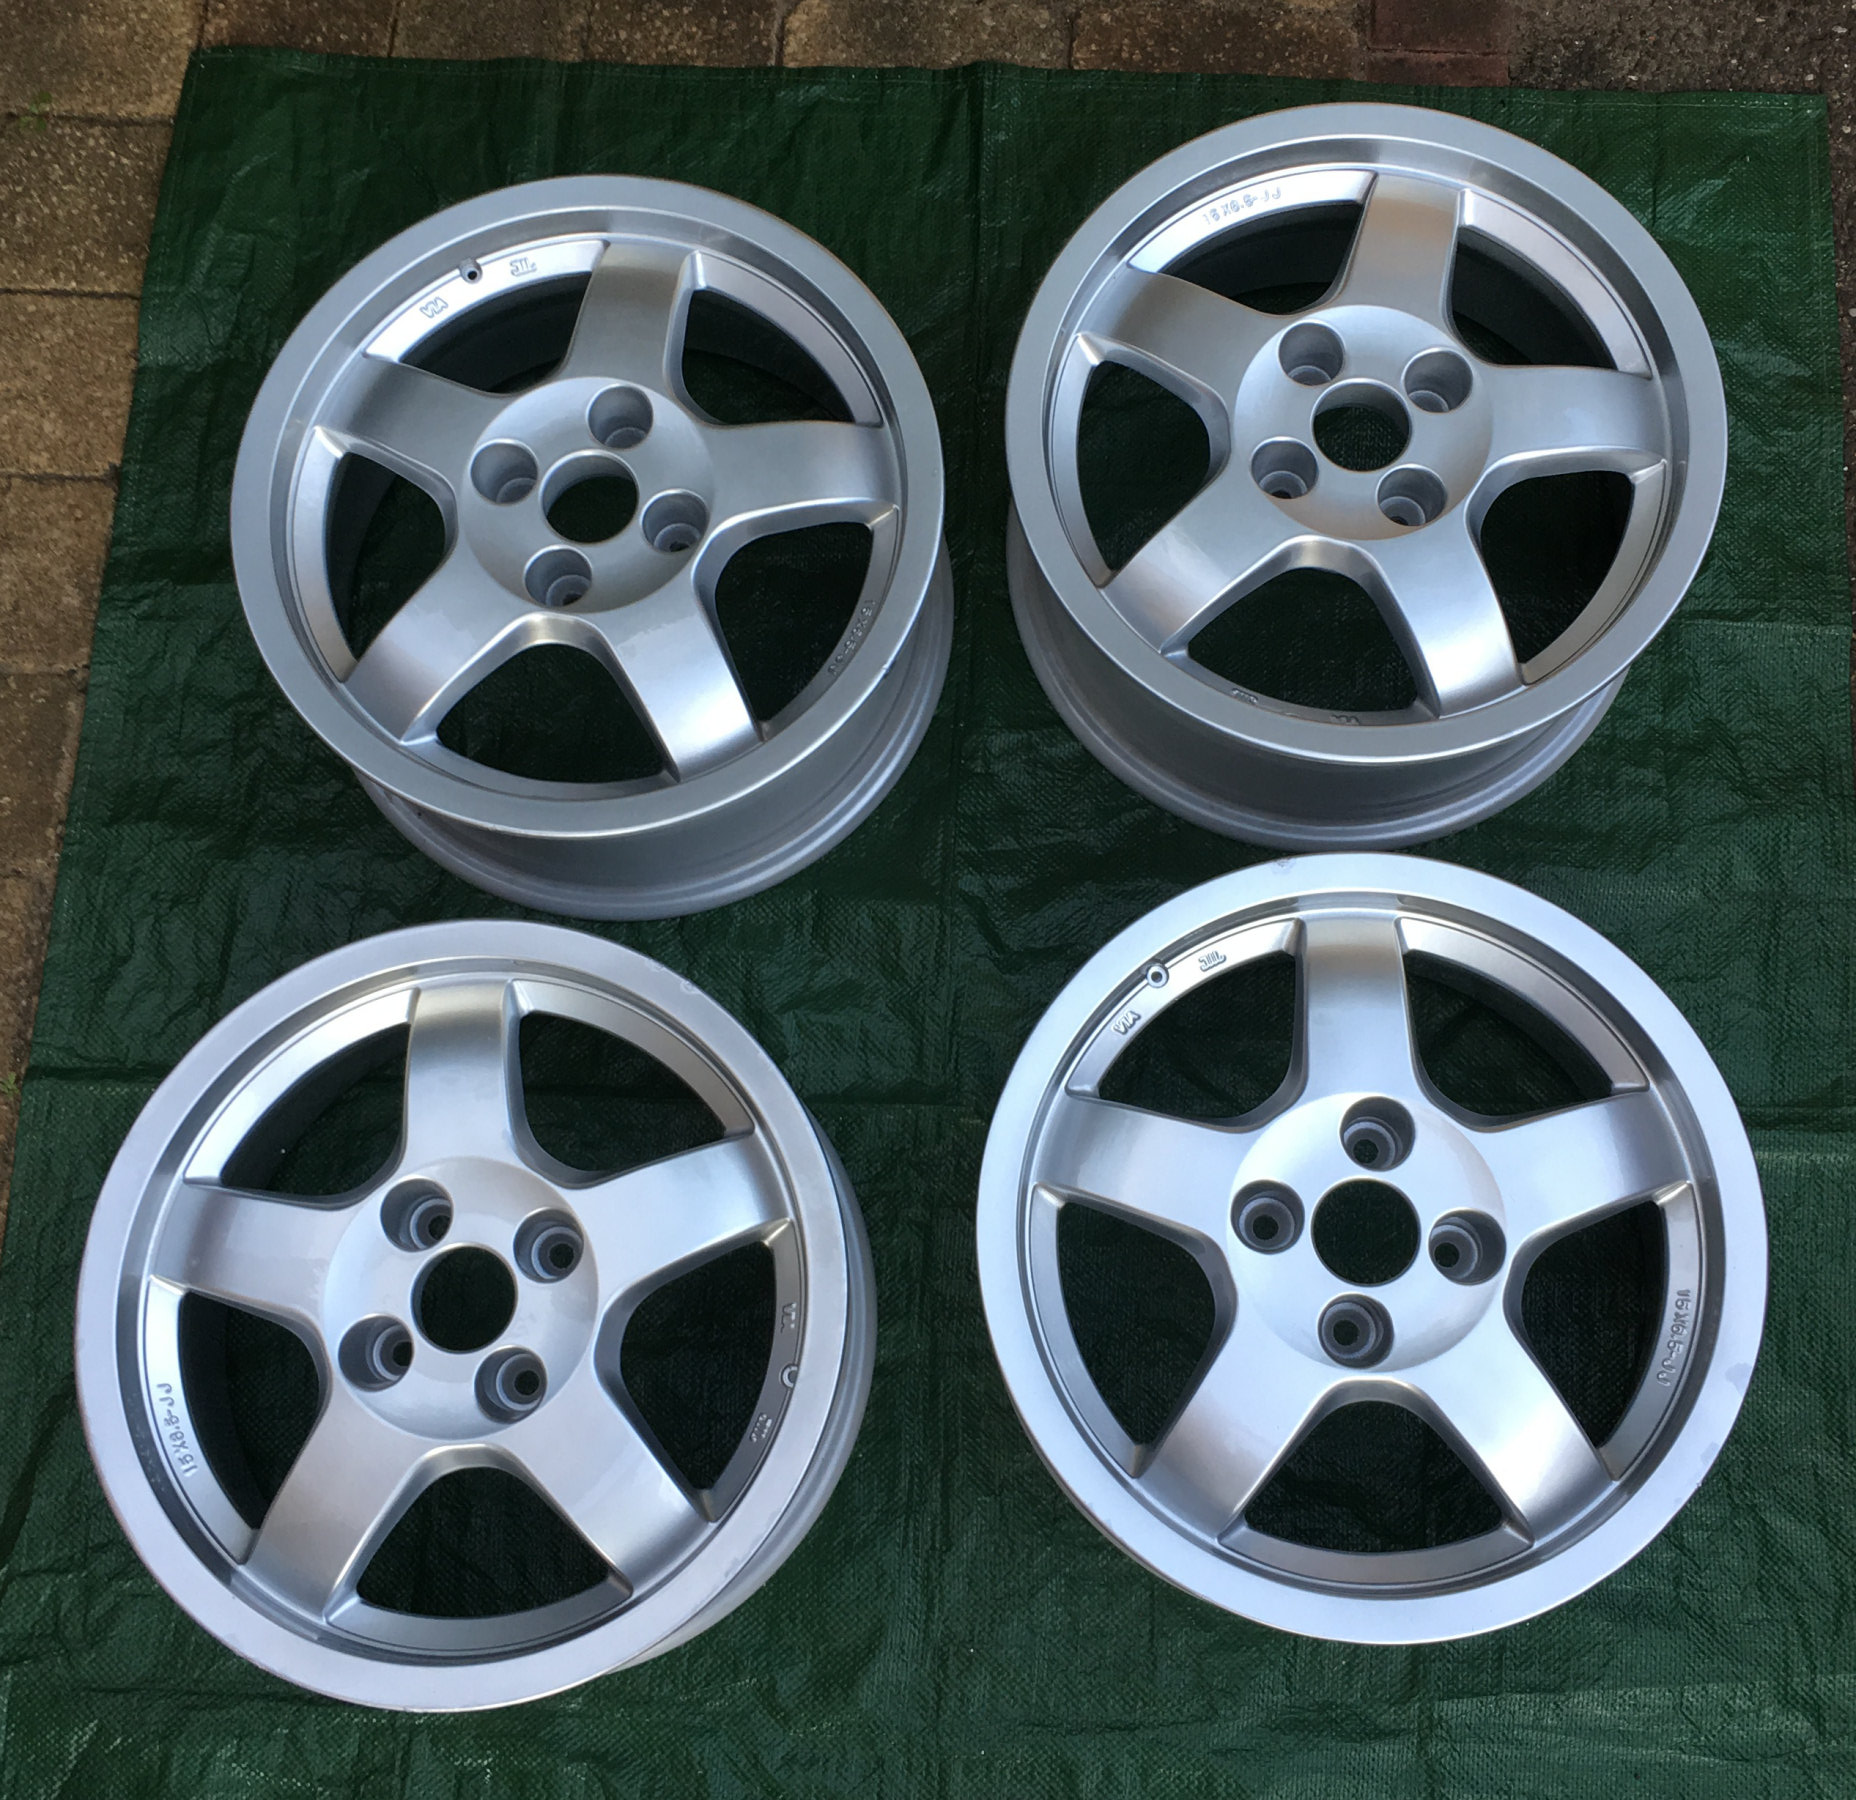
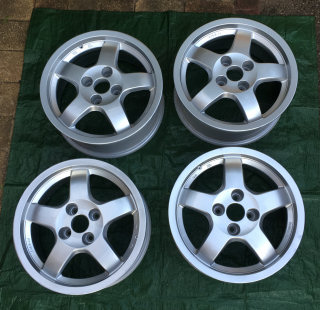
Whilst we were there, we also picked up some newly refurbish 15 × 6.5" alloy wheels. The plan is to fit some sticky trackday tyres to these wheels.
|
|
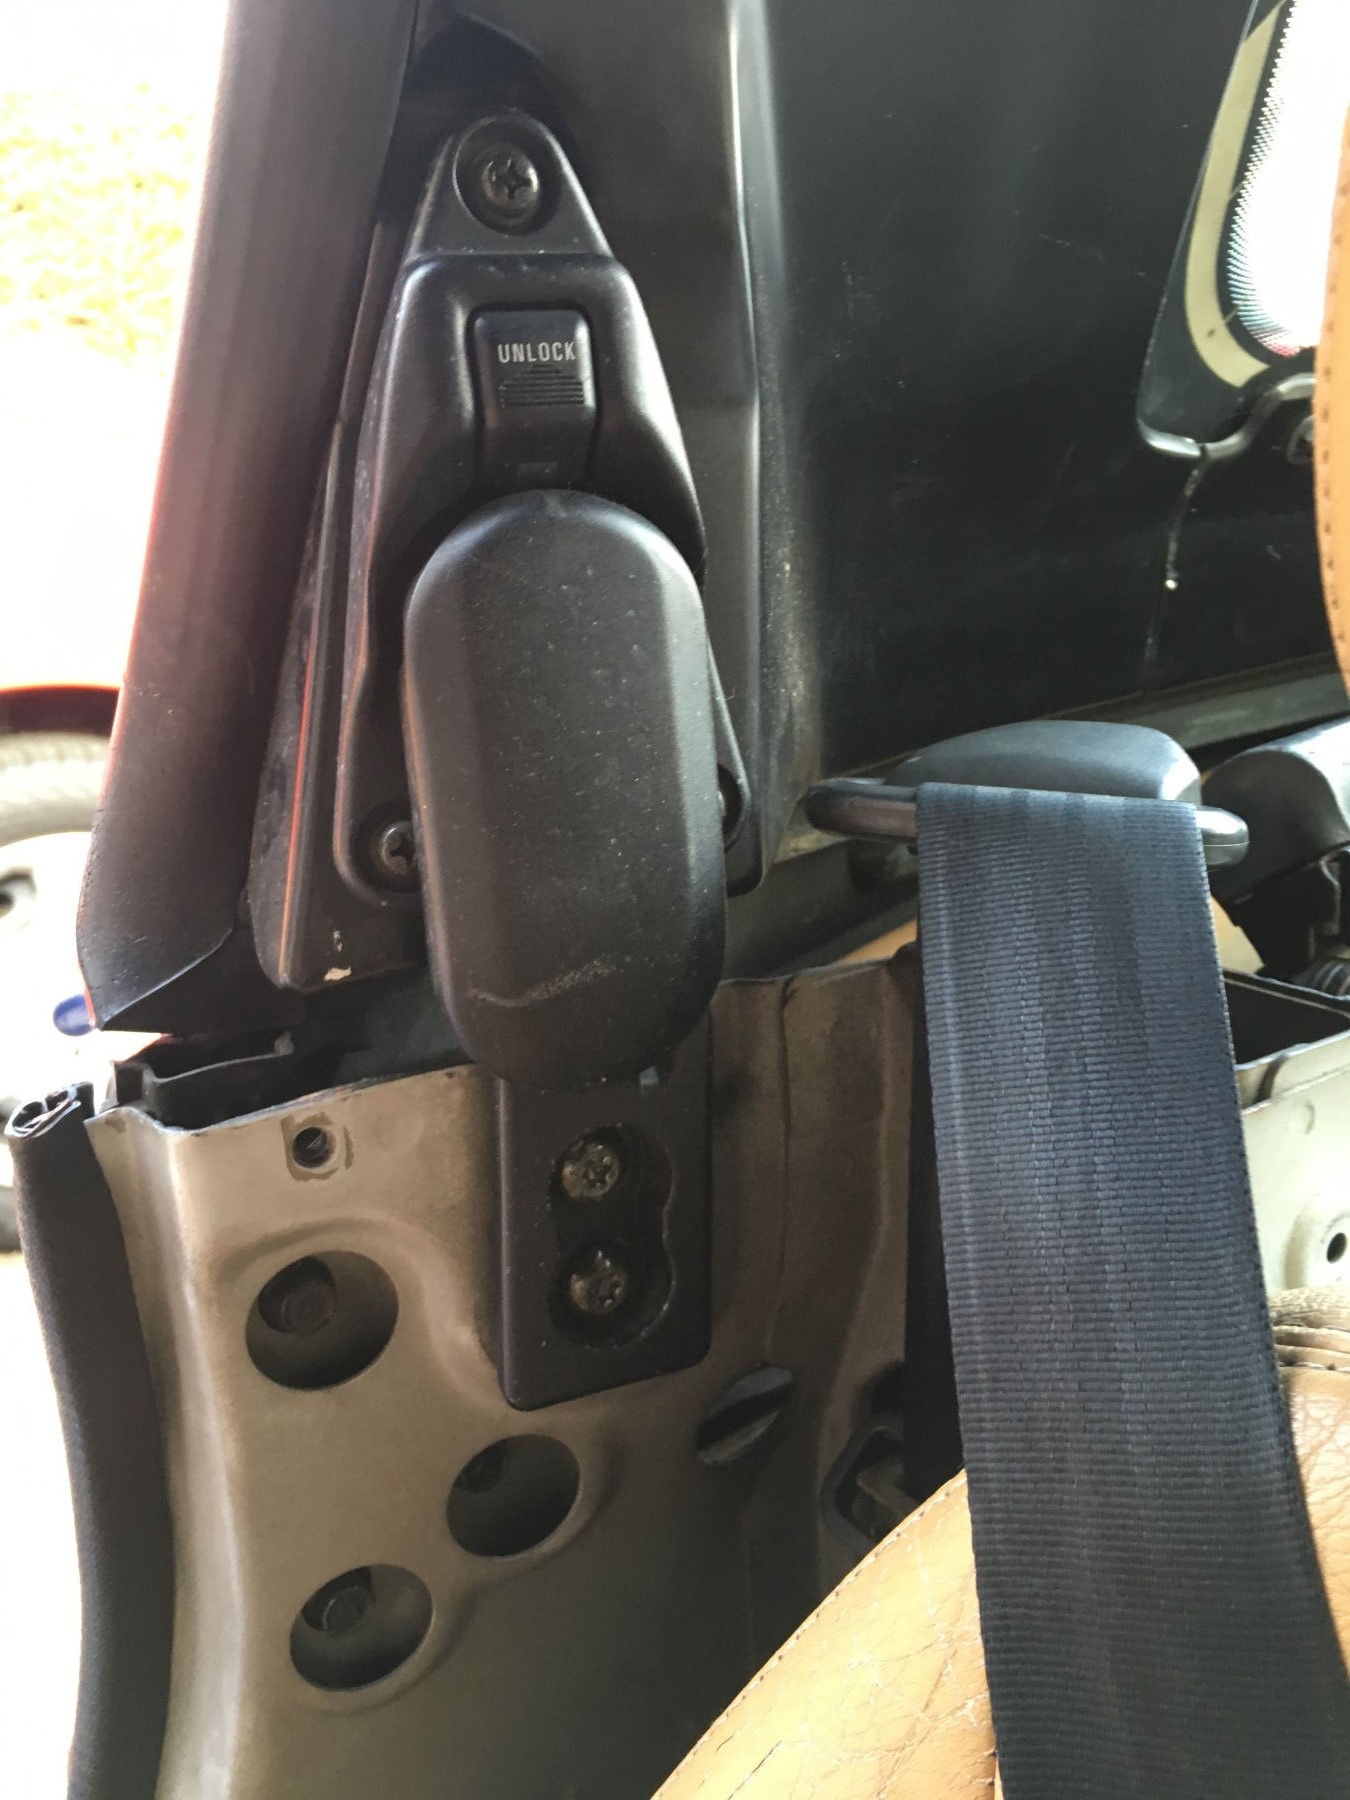
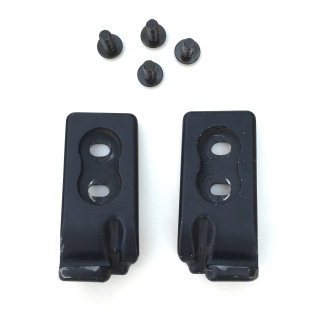
My car doesn't have the hardtop rear latch plates fitted but these just bolt in and I bought a second-hand set on eBay for £20.
|
15th
Ordered a set of four Yokohama Advan AD08R tyres, to be fitted this weekend. These are going to place a lot more stress on the car, especially the brakes.
17th
|
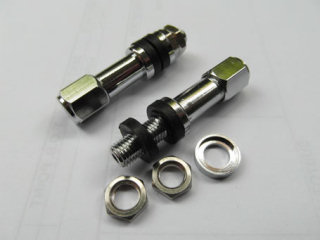
Went to get the new tyres fitted to the new alloy wheels today but hit a slight problem. The wheels are Japanese and have valve holes that are just 6mm in diameter. This means I had to buy some special bolt-on valves to fit them and will have to wait for these to arrive before I can get the tyres fitted.
|
18th
Removed the right rear shock absorber to fit the new rubber boot and bump stop. Have written a guide here. Most of the time was spent tidying up the suspension and surrounding wheel arch.
19th
Removed the left rear shock absorber to fit the new rubber boot and bump stop. Have written a guide here. Most of the time was spent tidying up the suspension and surrounding wheel arch.
Found a couple of leaks in the exhaust system today. going to try and patch it up in the short term but it does need a new rear section longer term.
20th
|
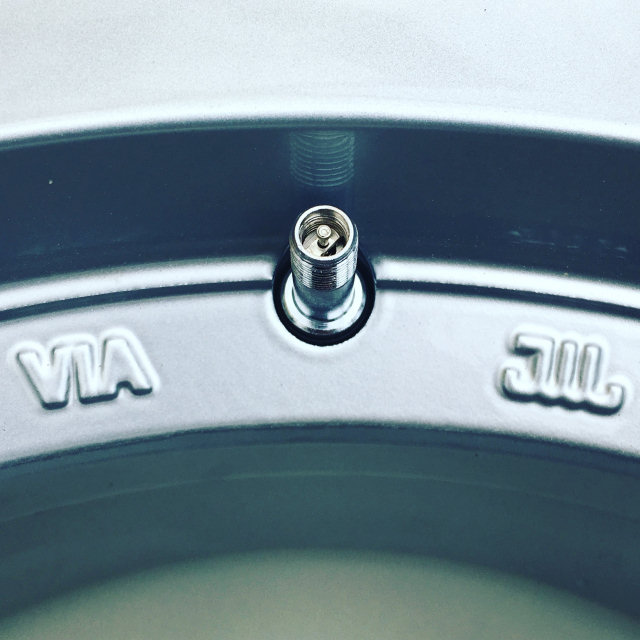
The new metal 'Japanese' valves arrived in the post today so these where fitted to the new wheels.
|
|
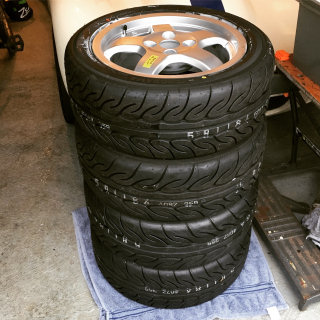
My Dad popped over to Autofit at lunchtime to get the new tyres fitted.
|
|
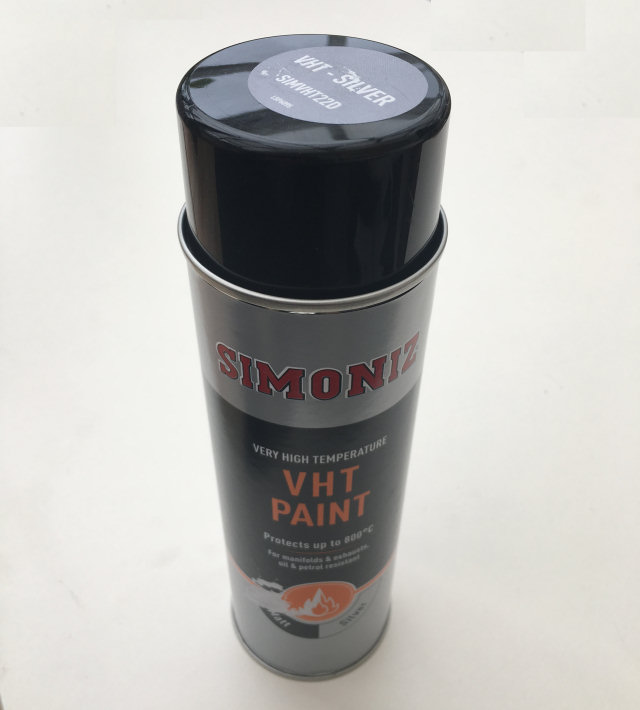
The exhaust heatshield is looking a bit rusty. It's going to be removed and spray painted with this Very High Temperature (VHT) paint.
|
21st
Phoned Bilstein to order some lower shock absorber bushes.
22nd
|
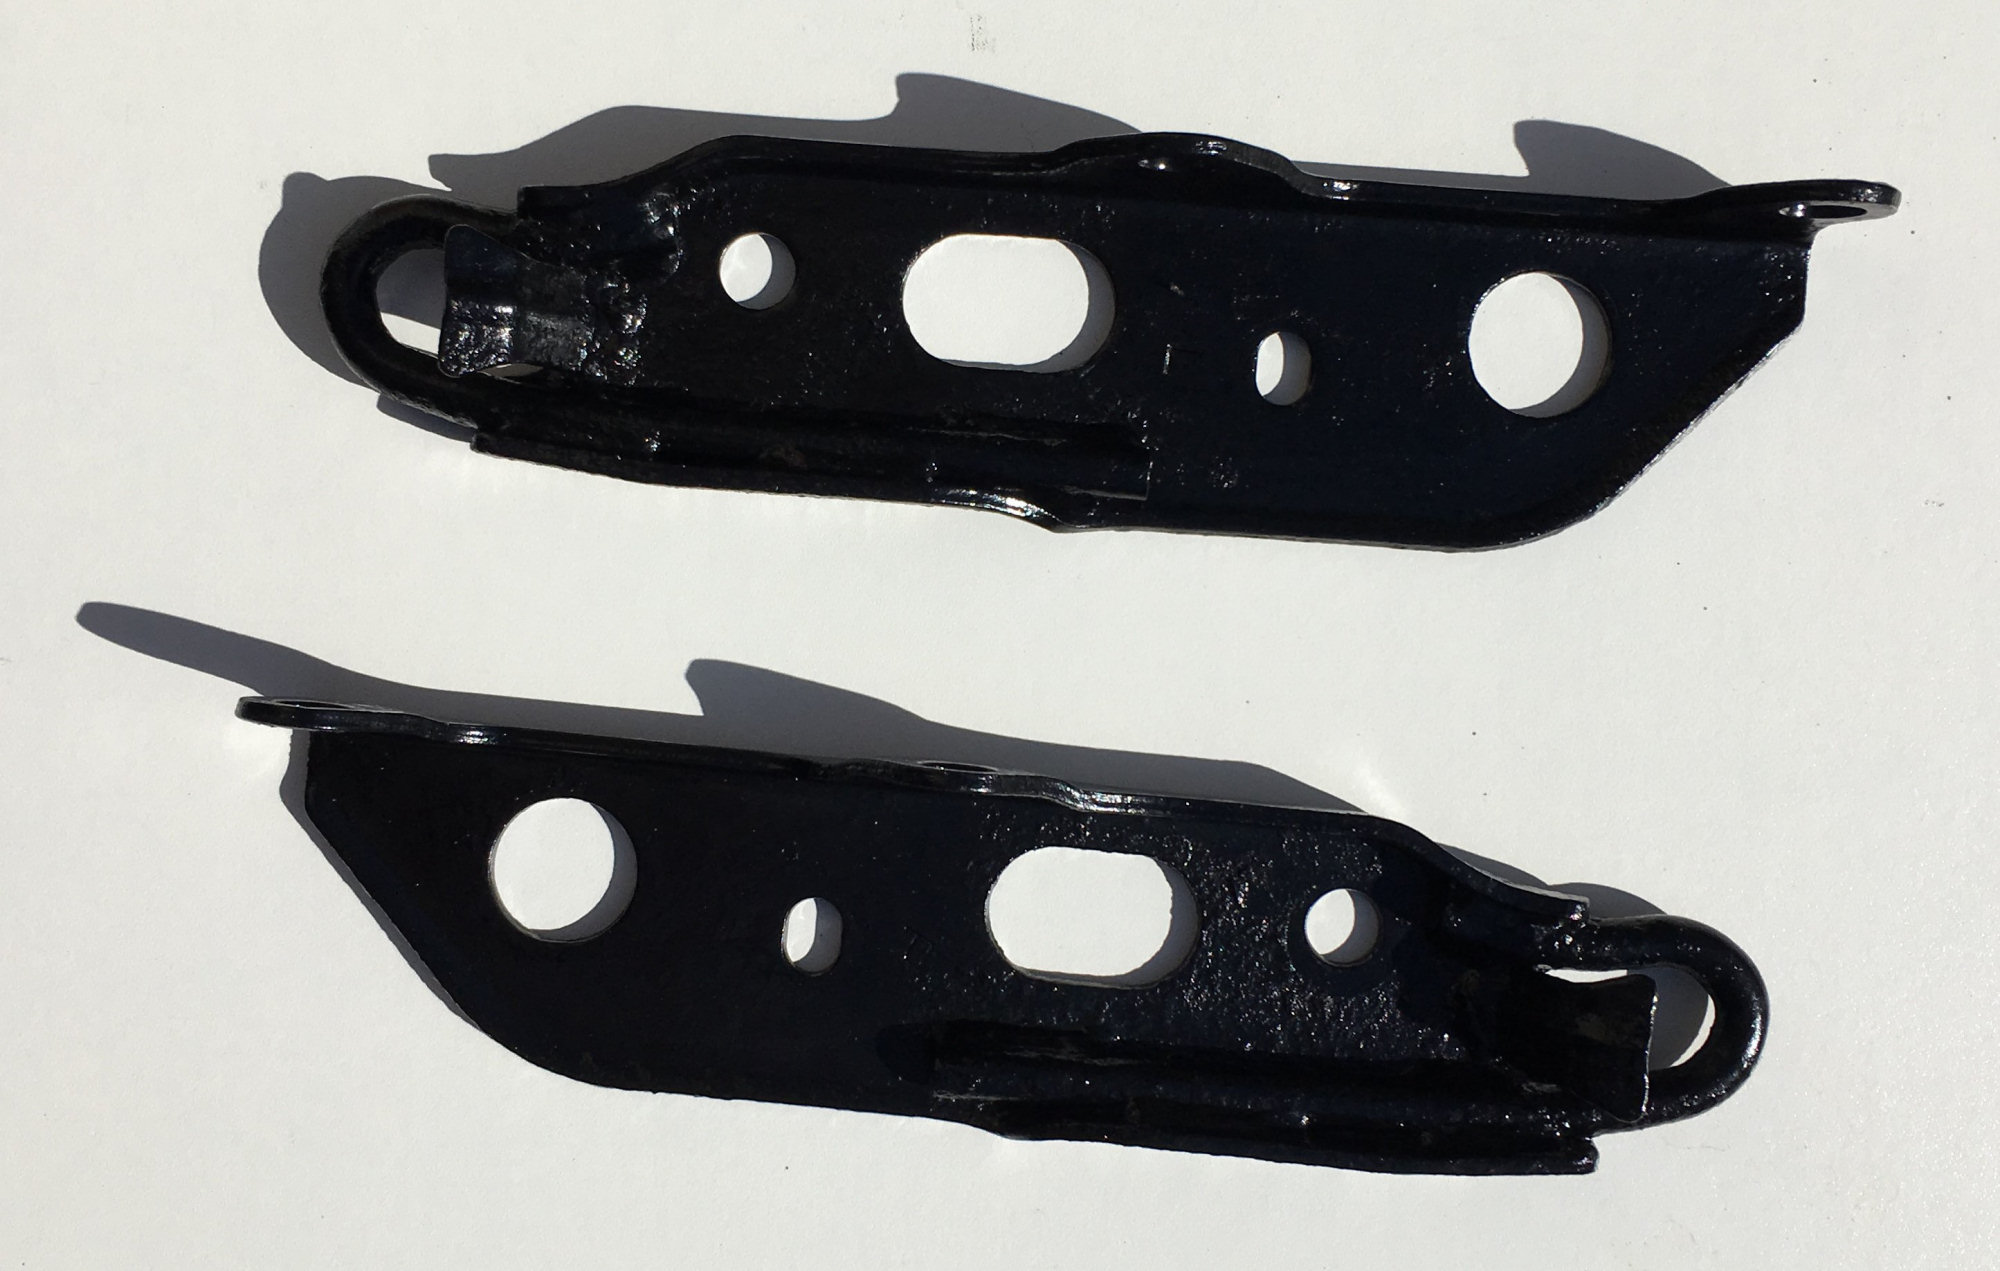
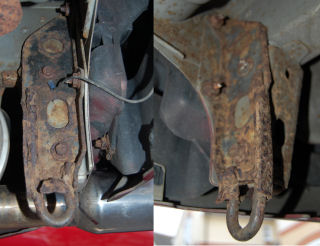
The rear towing eyes are looking a bit untidy, so these have been removed, cleaned up and resprayed. The wire to one of the bolts is the earth for the fog light that was added to the car as part of the UK import process. There is a small amount of surface rust over teh underside of the car and this is all being treated.
|

|
The exhaust heat shield is also looking a bit sad. This is coming off and will be sprayed with the VHT paint.
|
23rd
|
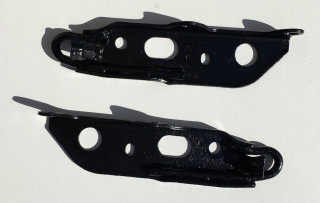
The rear towing eyes have been rust treated and resprayed. The bolts and nuts are cleaned up with a small wire brush on a Dremel, rust treated and exposed parts painted. All threads are also cleaned up too and greased.
|

|
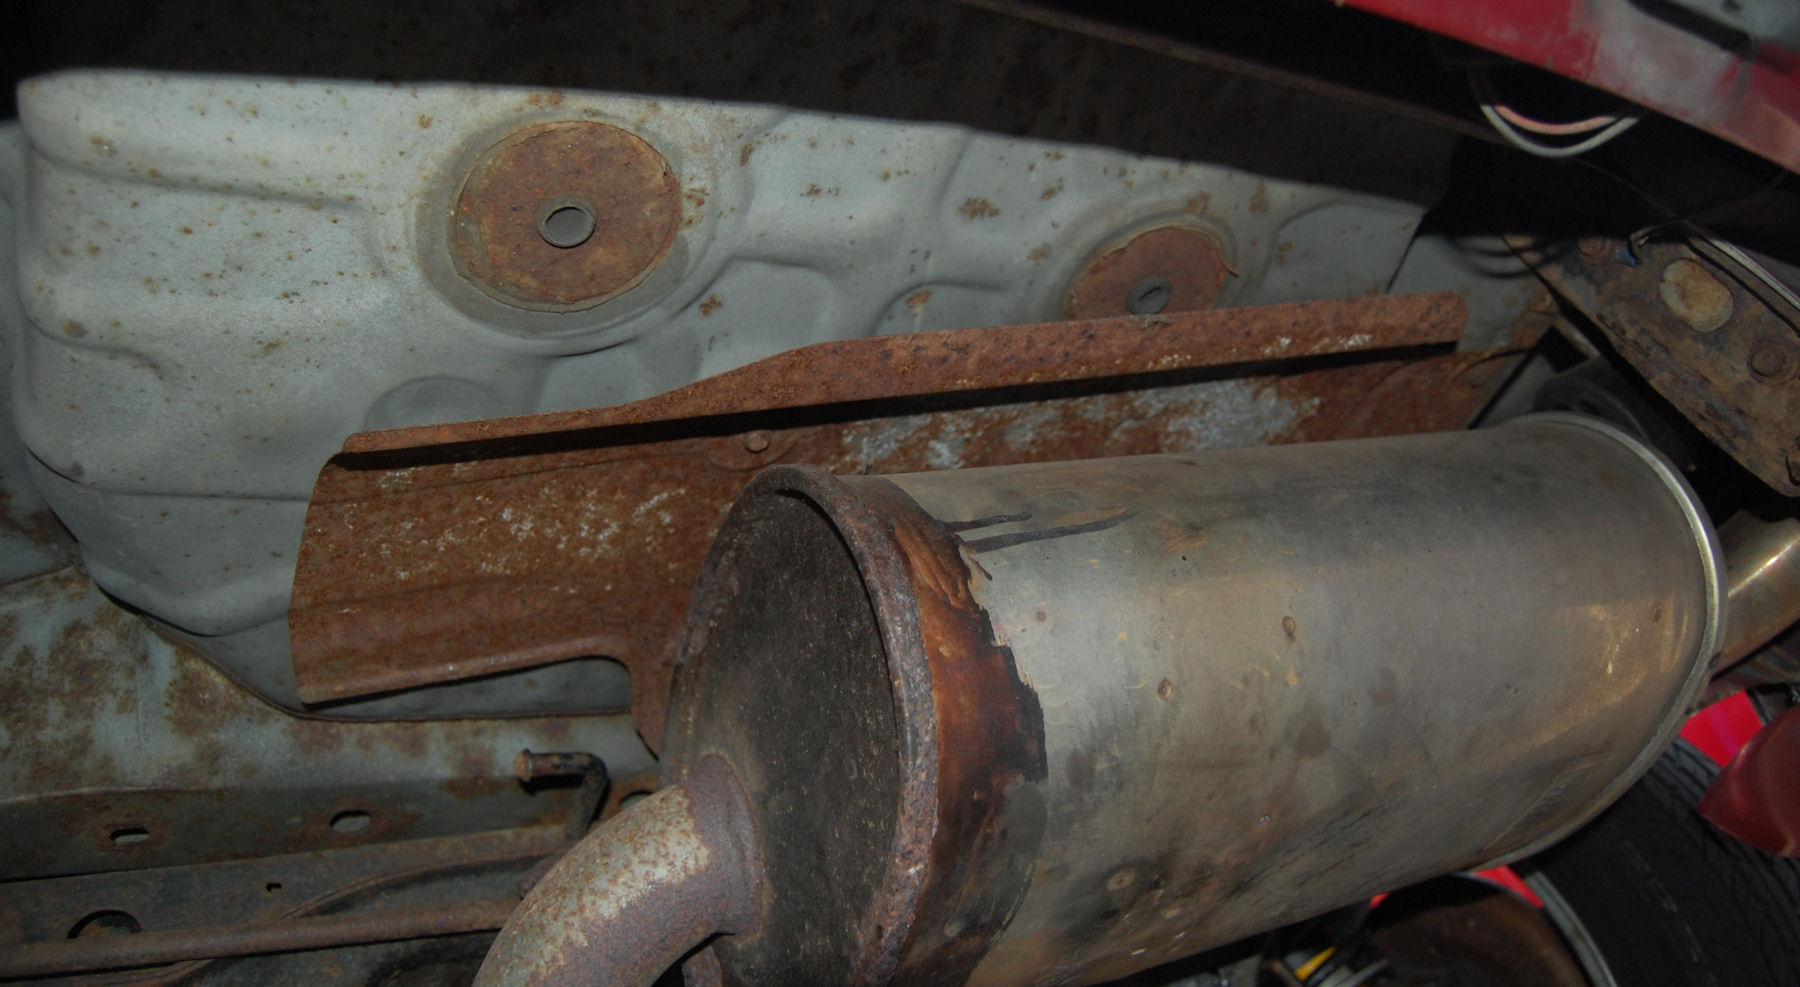
This evening we removed the rear exhaust section, to allow better access to the rear suspension and under floor boot area. One of the bolts the exhaust heat shield on was seized, so this had to come off to get proper access to it.
|
|
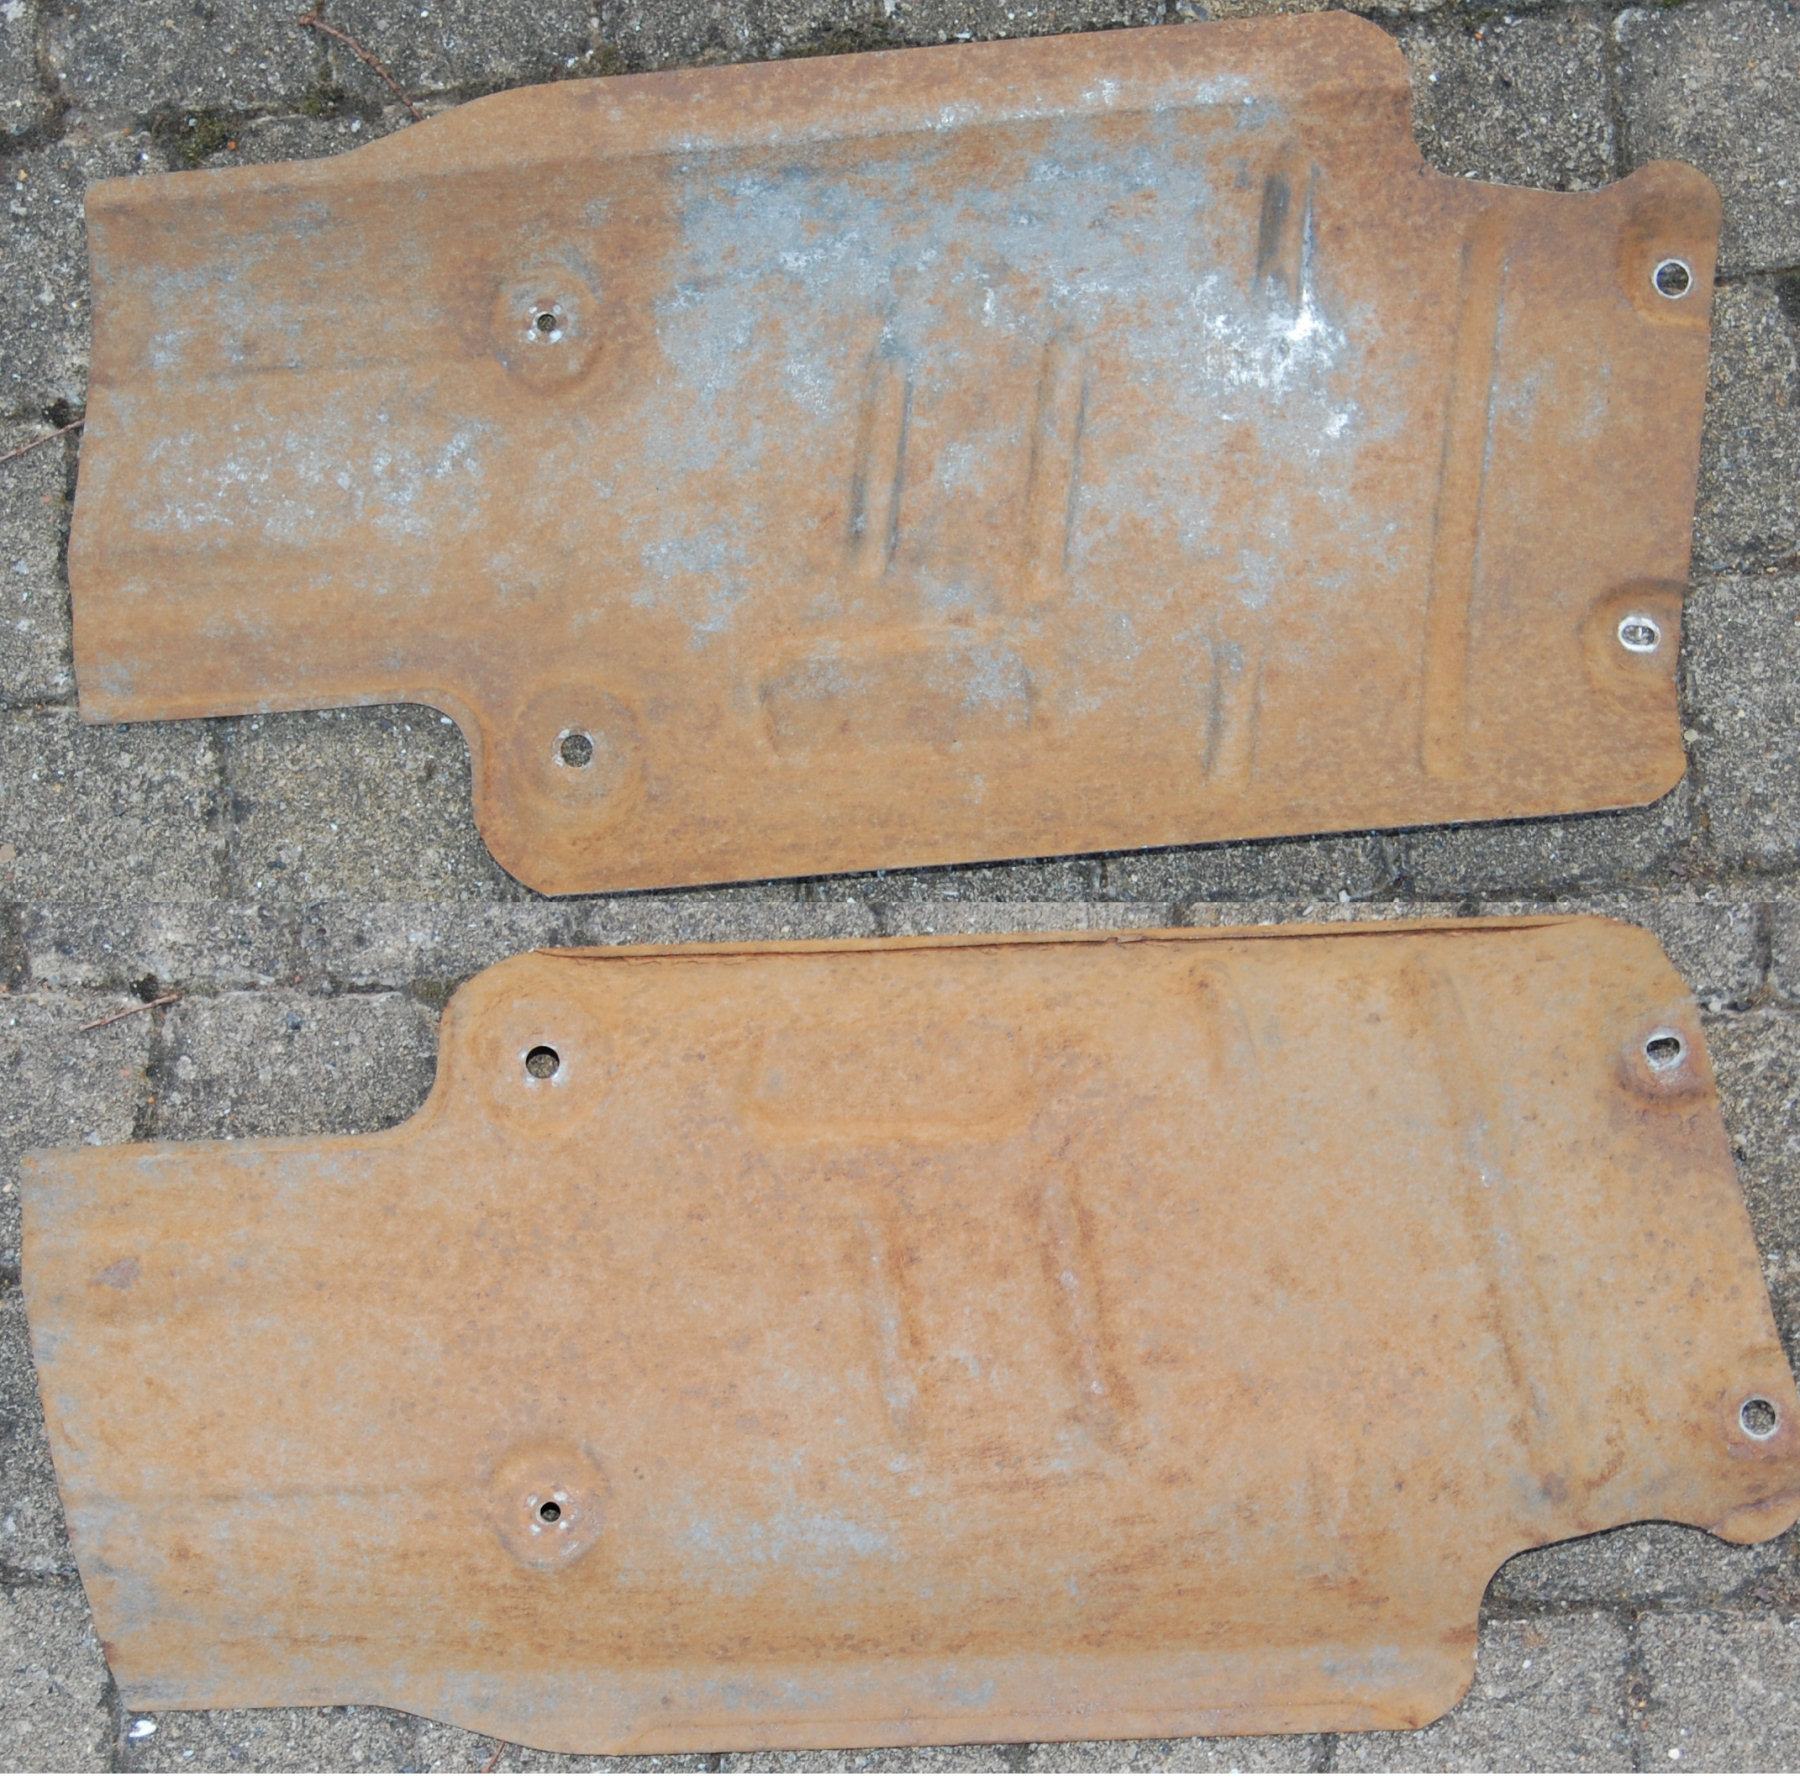
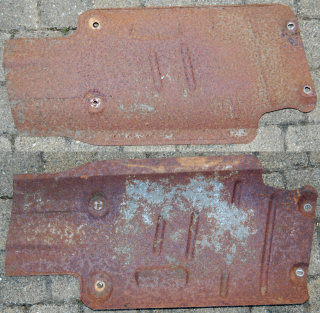
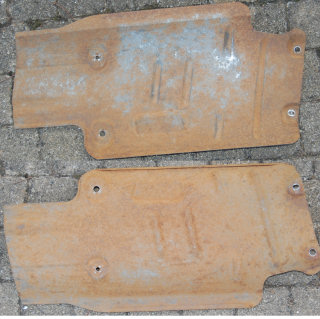
We could then get the exhaust heat shield off and have a proper look at it. It looks pretty bad here but it is only surface rust. I am trying to reuse as much of the original car as possible, even if it means spending time cleaning parts up.
|
|
It was cleaned up with an electric wire brush and no holes appeared :-) It is still structurally sound and it seems a waste to spend ~£40 on a new one.
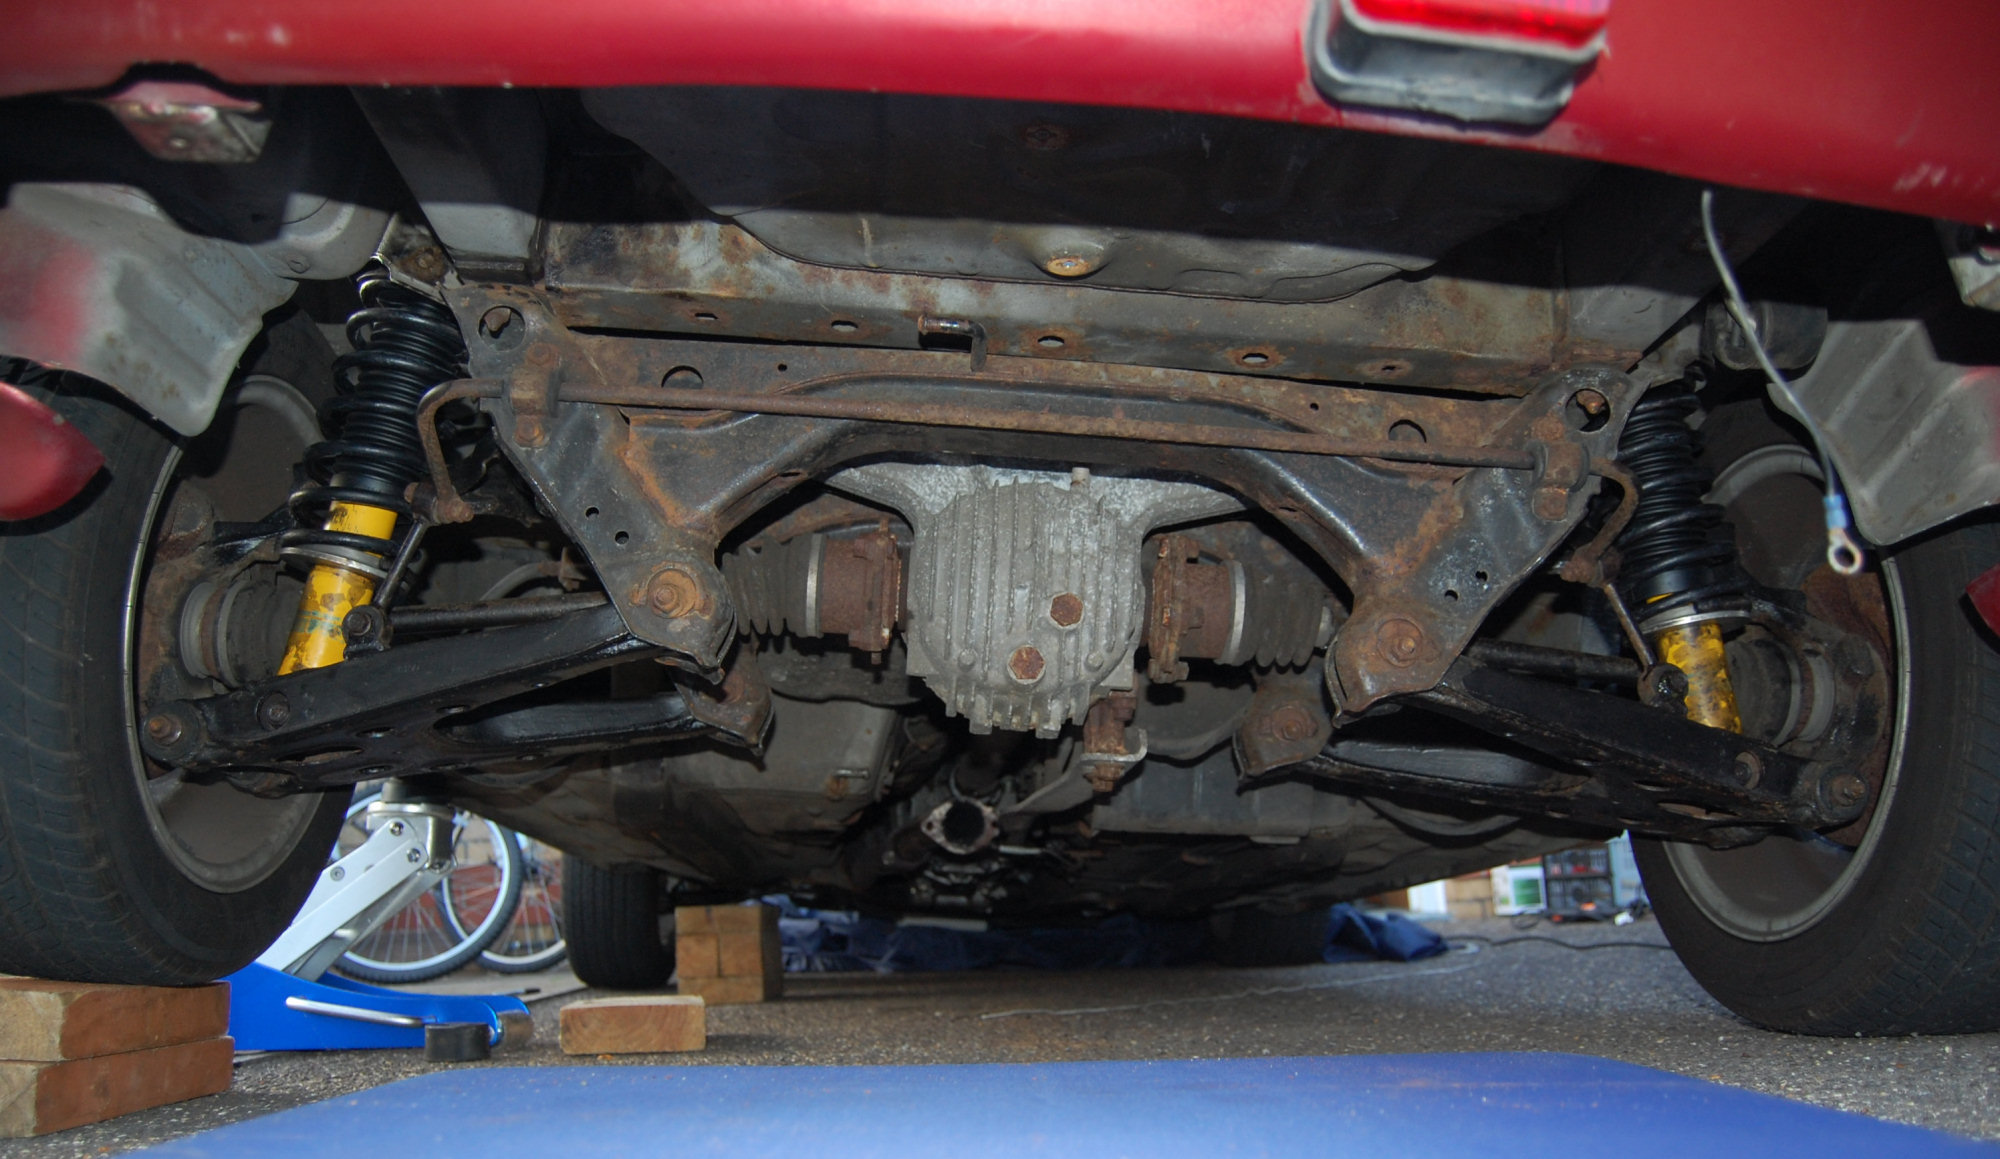
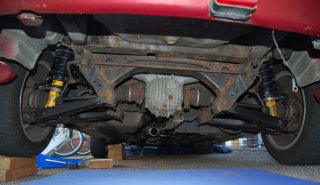
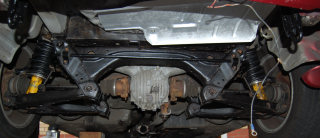
We can now get a proper look at the boot floor and rear suspension parts. It's pretty tidy under there and no major rust.
|
|
This is all being cleaned up and rust treated. It's much easier to get access to it all now.
|
25th
|
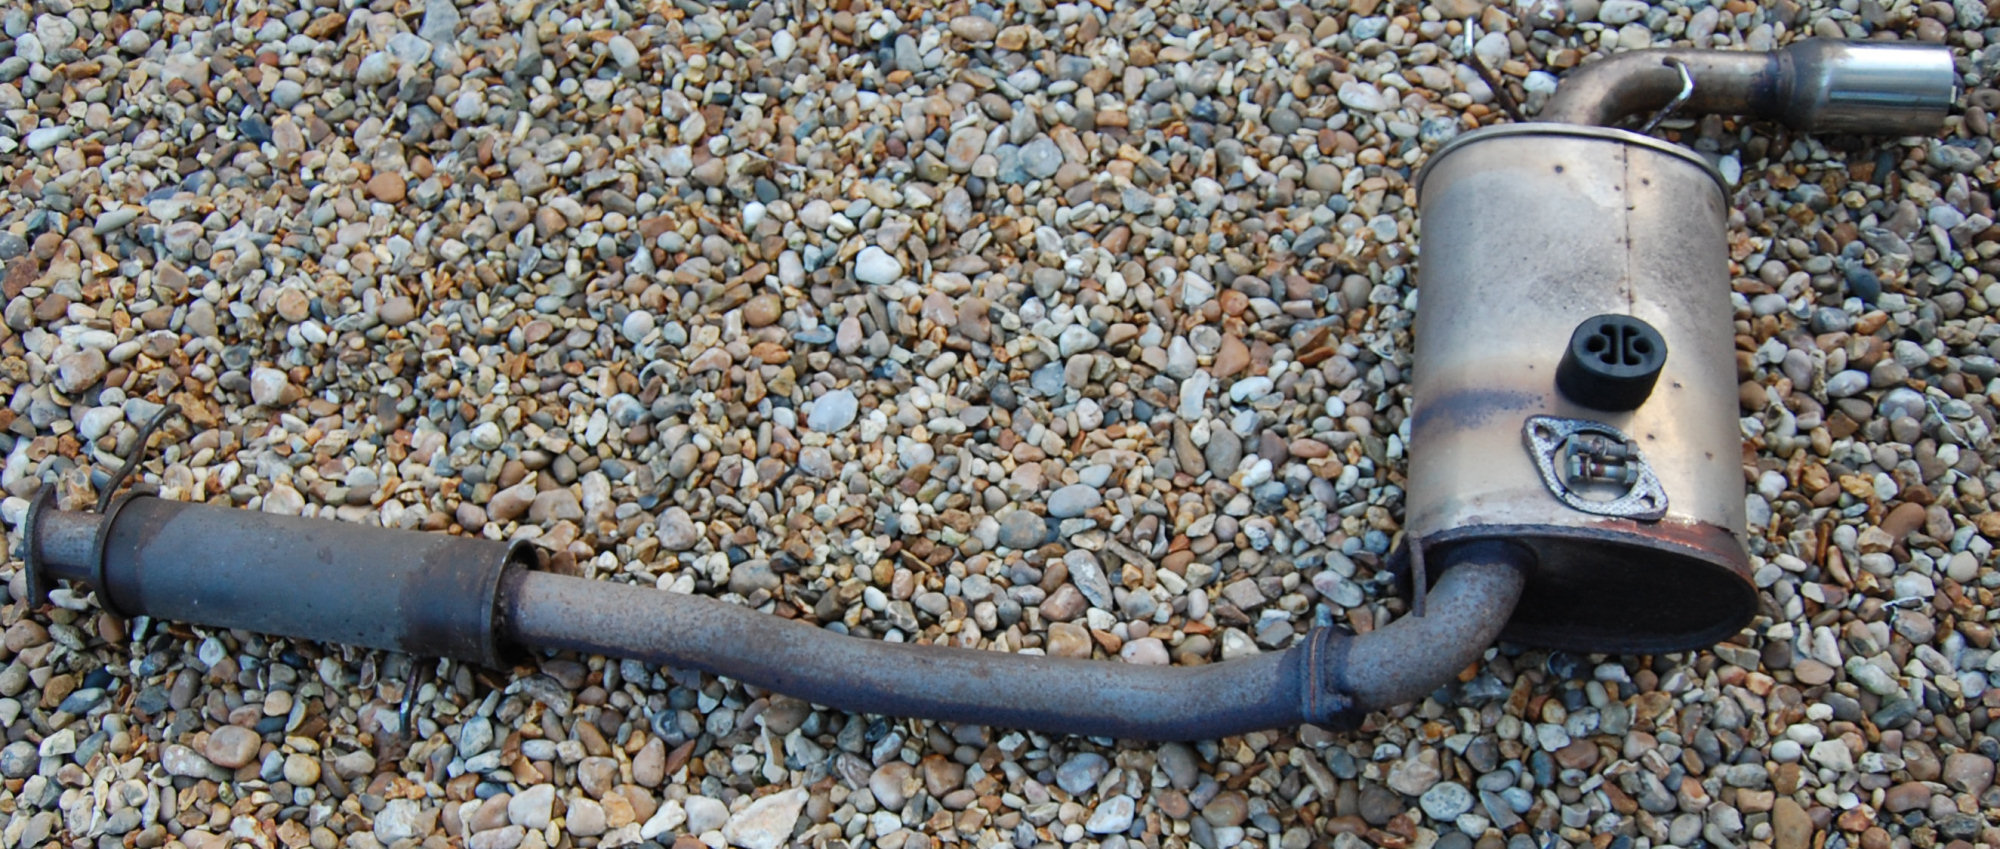
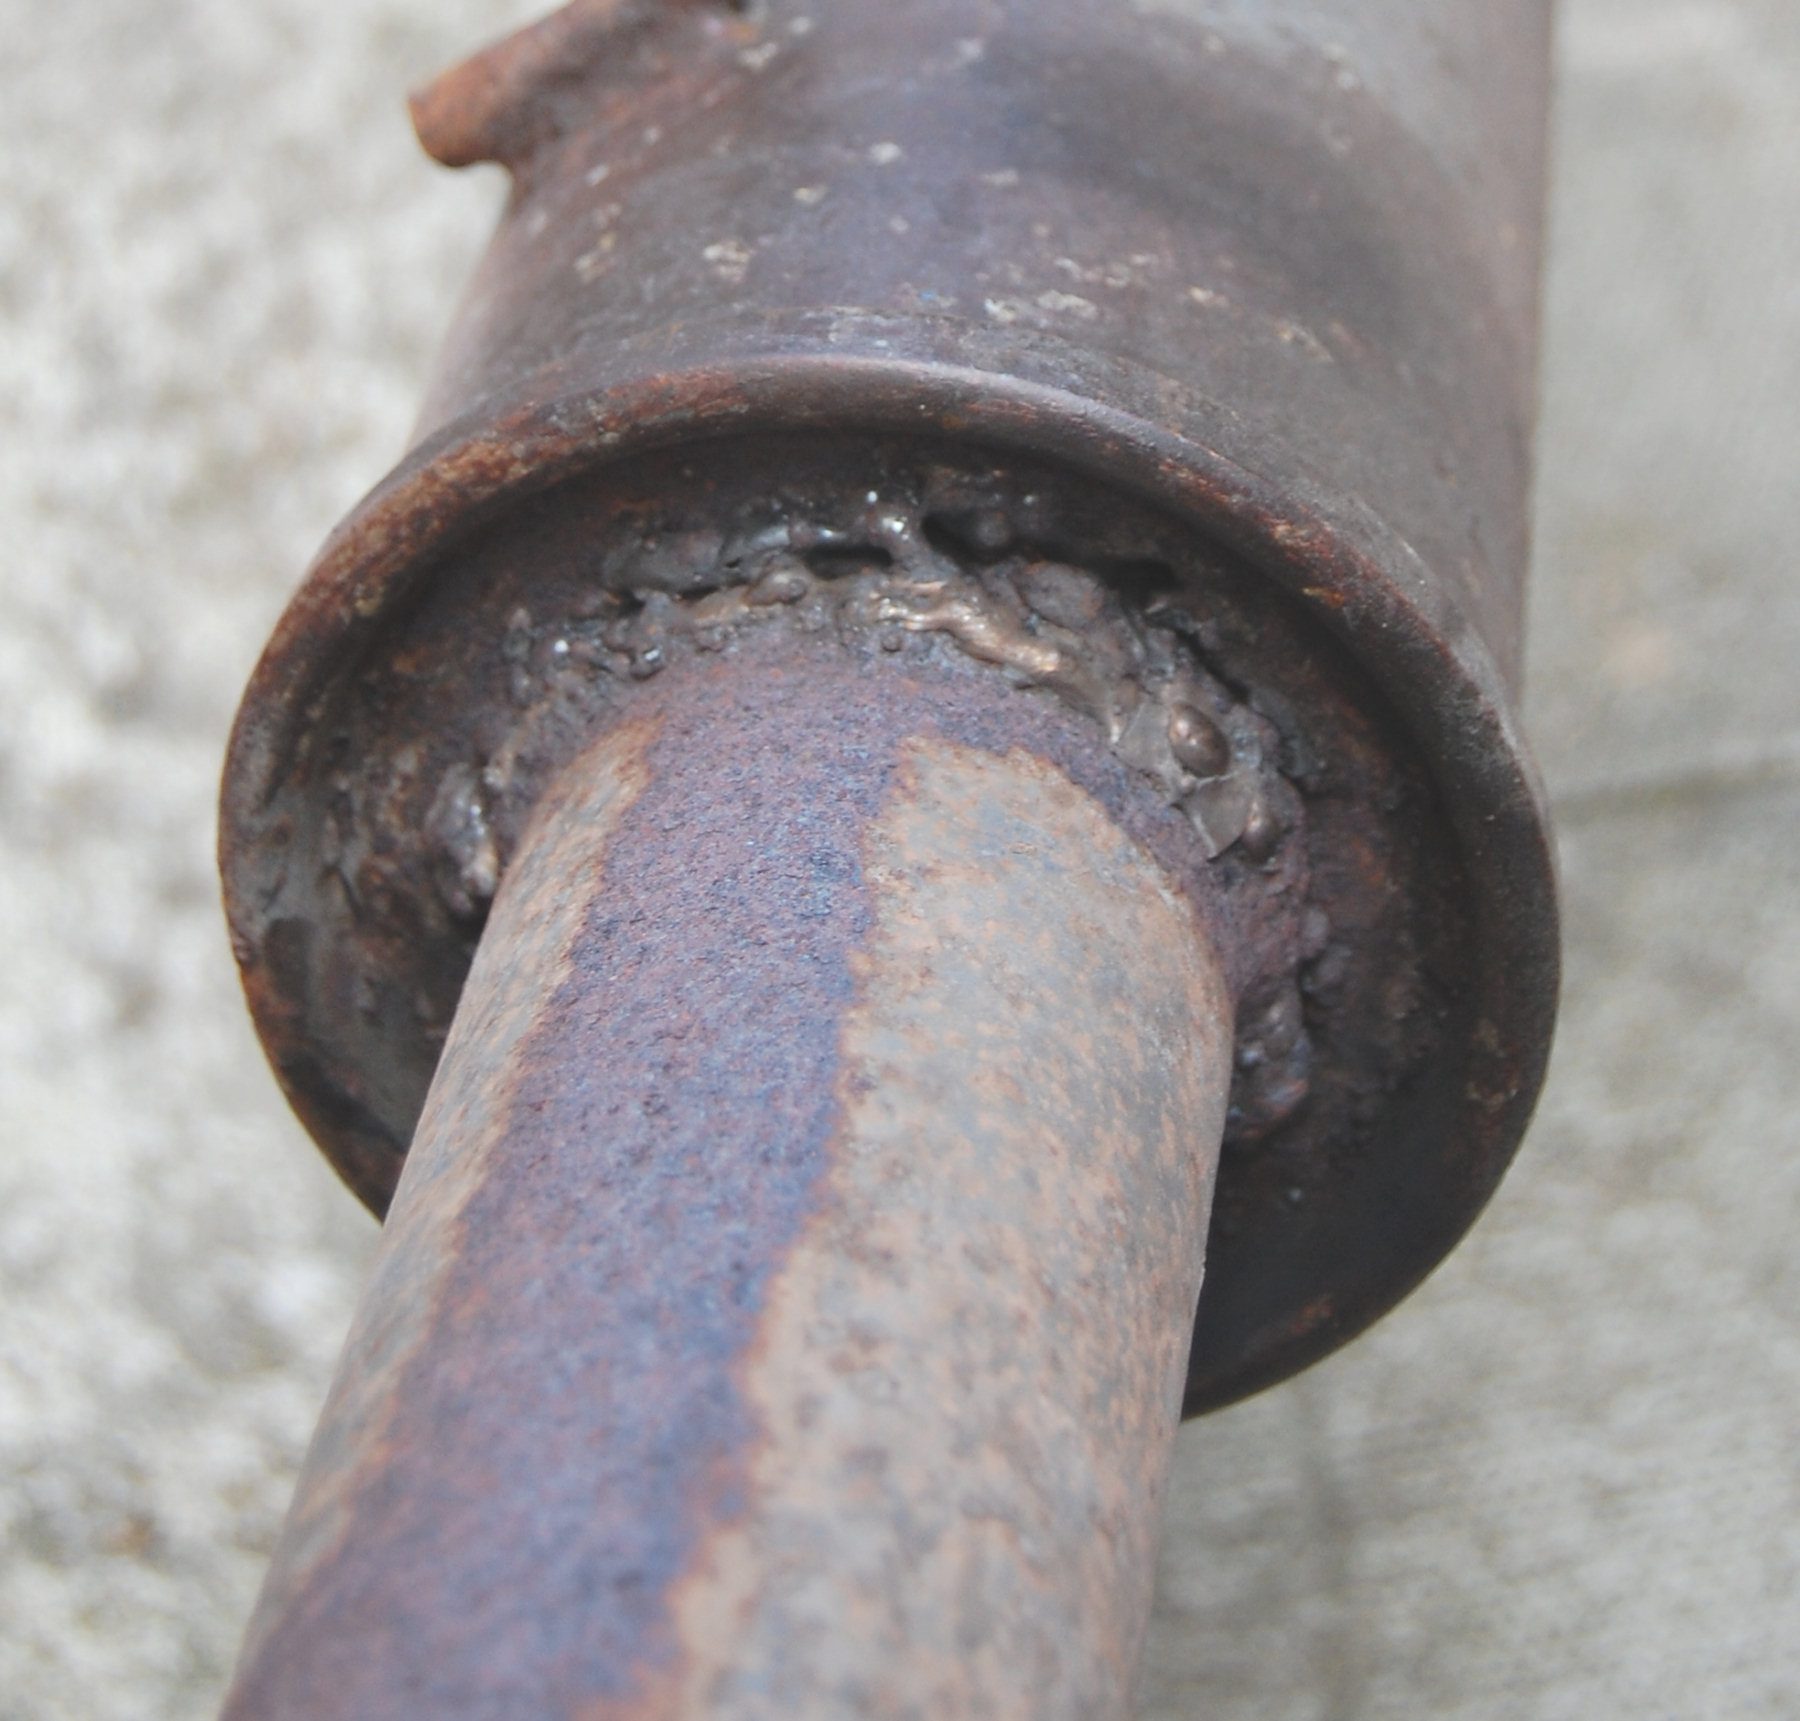
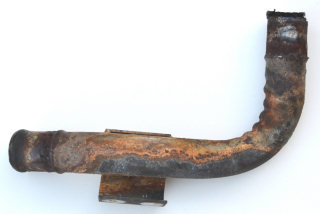
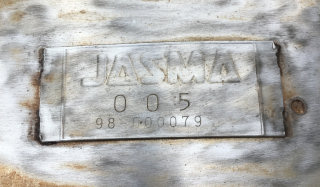
First job this morning was to check over the removed rear section of the Jasma exhaust.
|
|
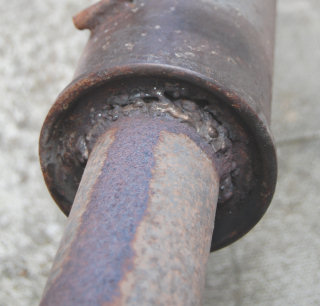
This is the poor welding work that has been done and this blows air in many places.
|
|
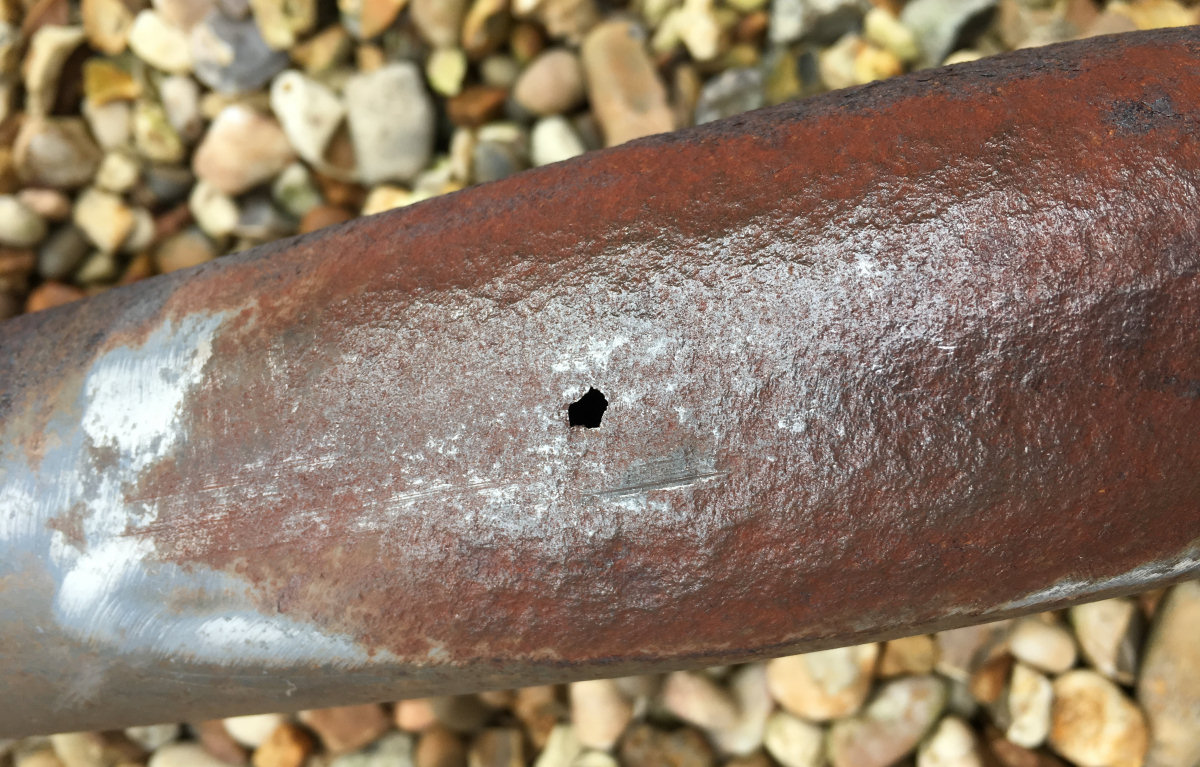
The pipework has some obvious holes in it, which have clearly been patched up at some point.
|
|
On cleaning it up we also found this crack though. Along with the other issues, this means it is scrap. We are going to replace the whole rear section with a new stainless steel exhaust.
|

|
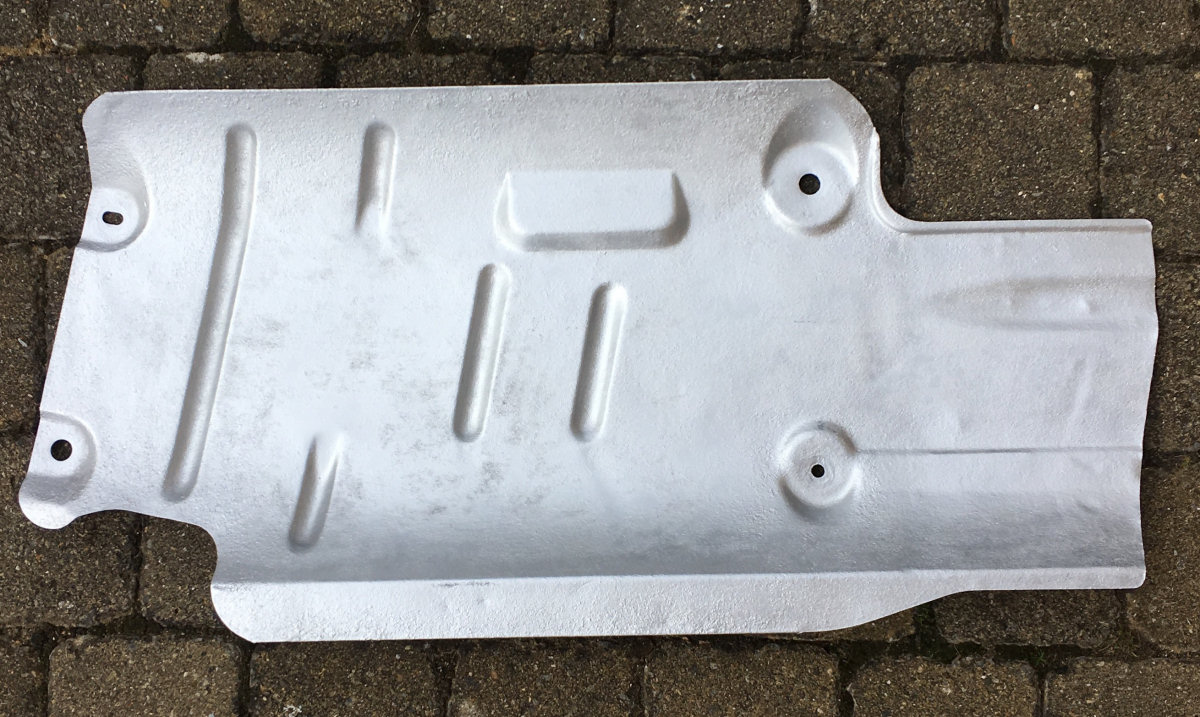
Finished spray painting the exhaust heat shield with VHT silver paint. That looks better!
|

|
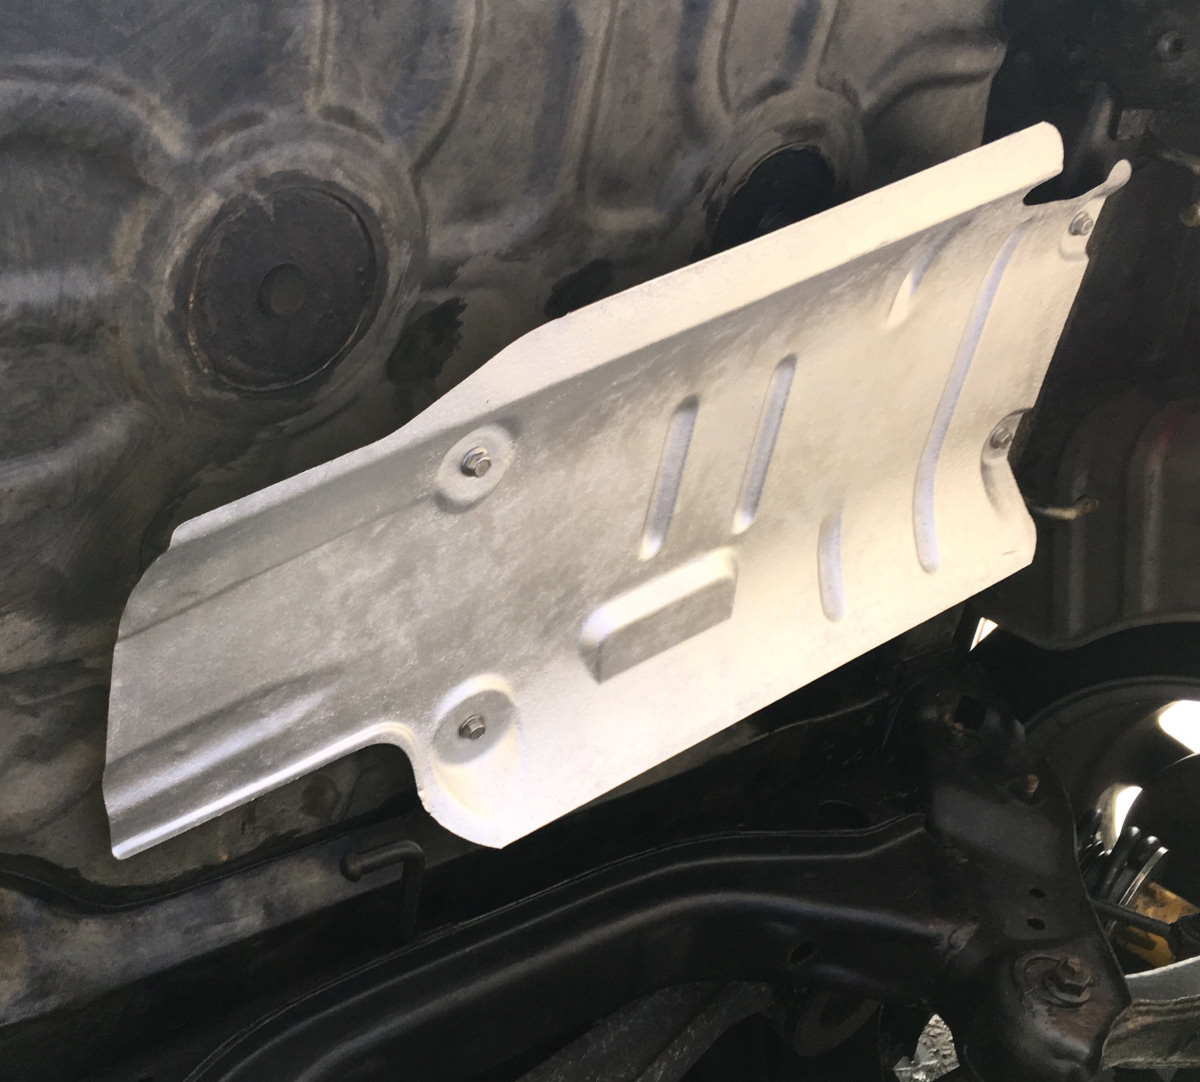
Put it back on the car with some new bolts as they were very rusty. The rest of the underside has been rust treated and that's why it looks much darker.
|

|
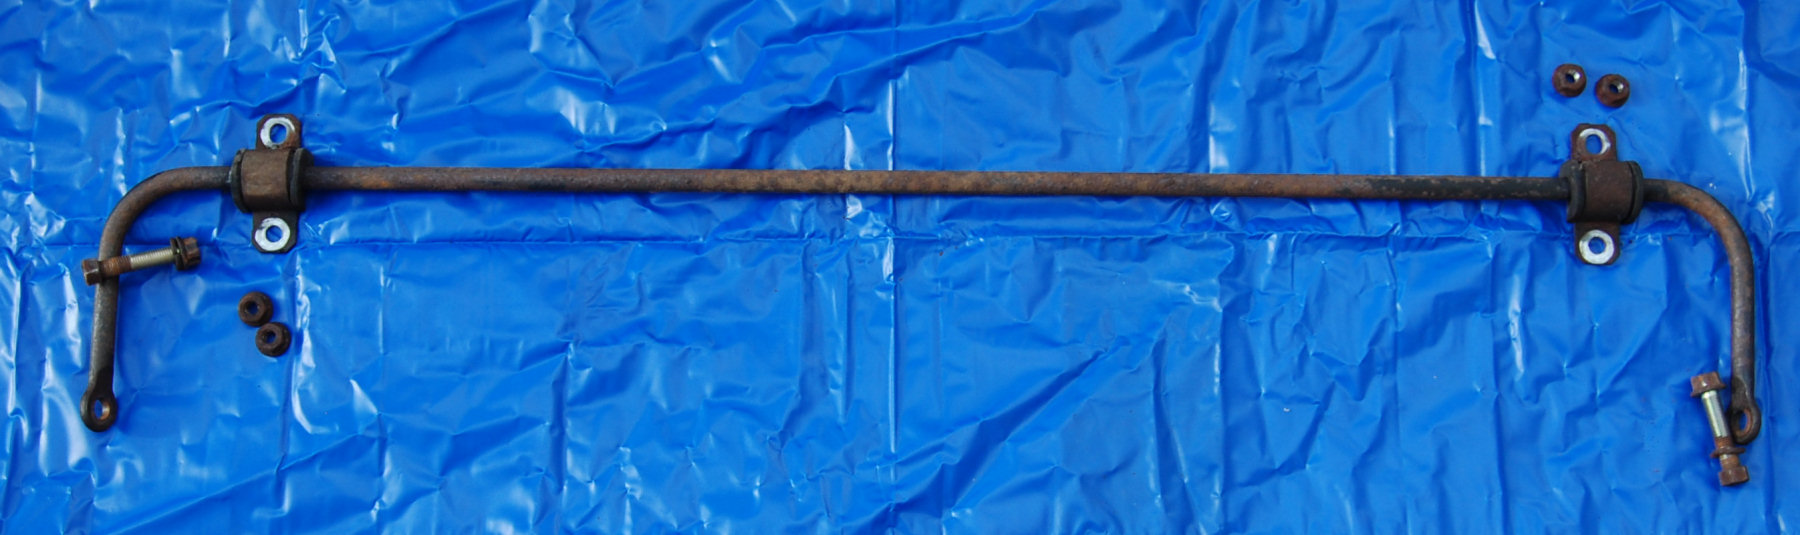
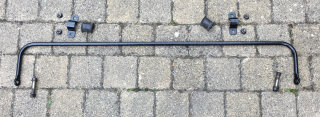
This is the rear anti-roll bar removed, ready to be cleaned up and repainted. The drop link bolts were a nightmare to undo. Used a spanner extension bar and a breaker bar in the end to get them undone.
|
|
This is the rear anti-roll bar cleaned up and painted. Also did the brackets, bolts and nuts. The bushes looked fine.
|
26th
|
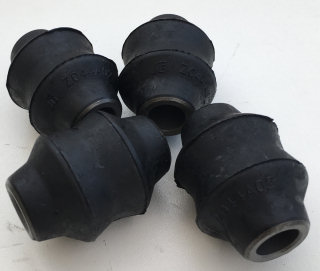
Bilstein shipped me these standard bushes (26th Oct 2016) to fit into my shock absorbers.
|
27th
Felt a bit like Christmas today! :-)
|
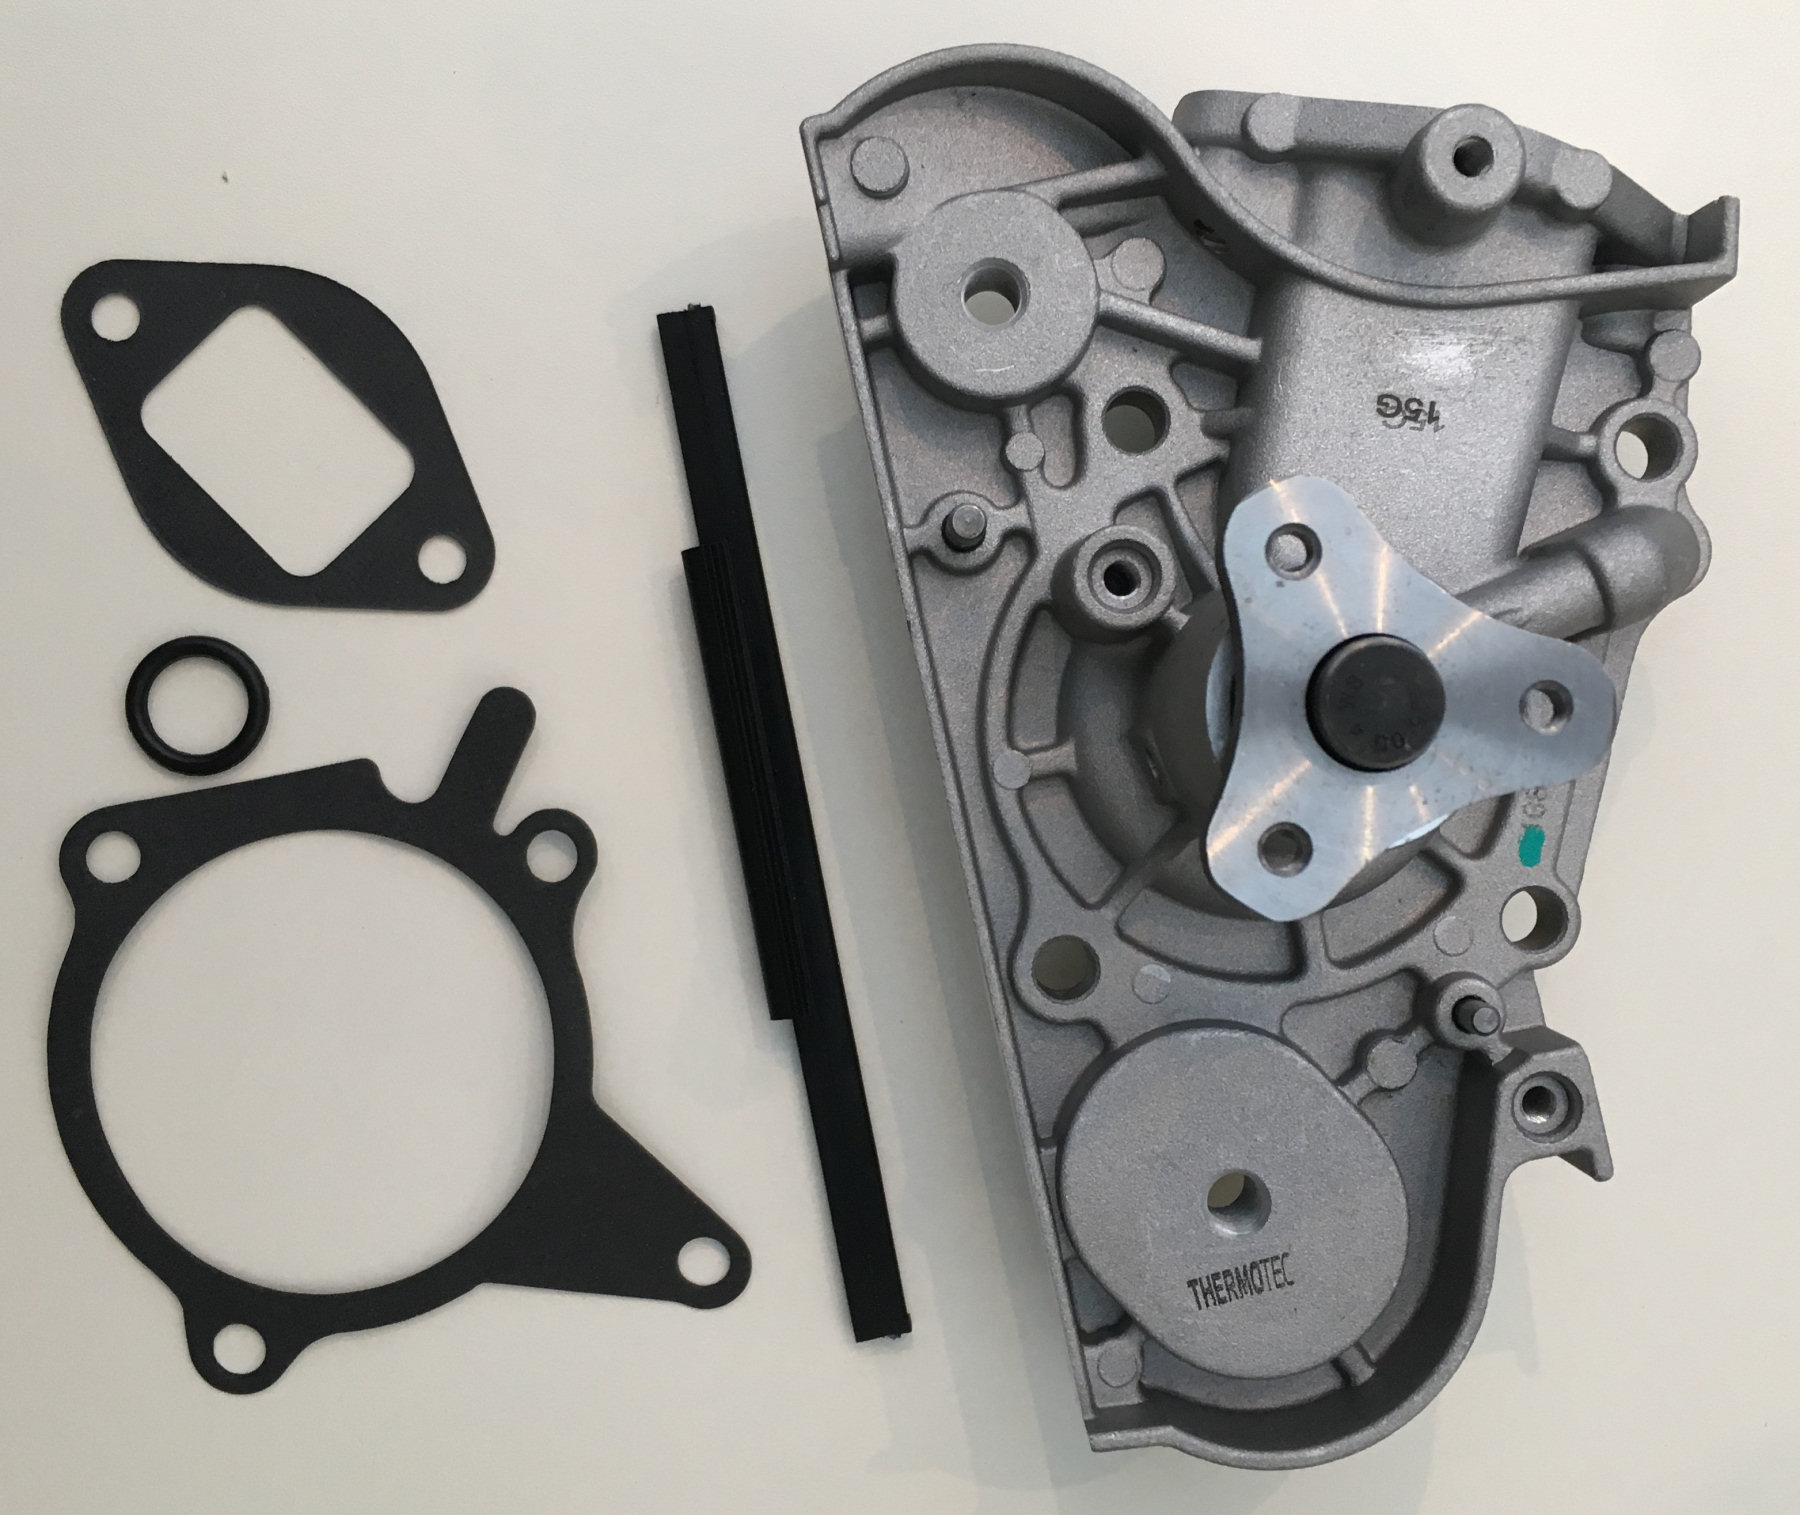
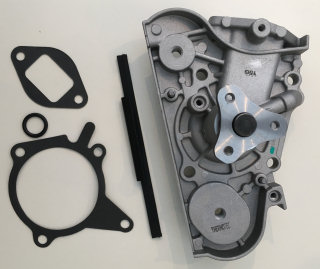
A delivery from MX5 Parts with this water pump and gaskets.
|

|
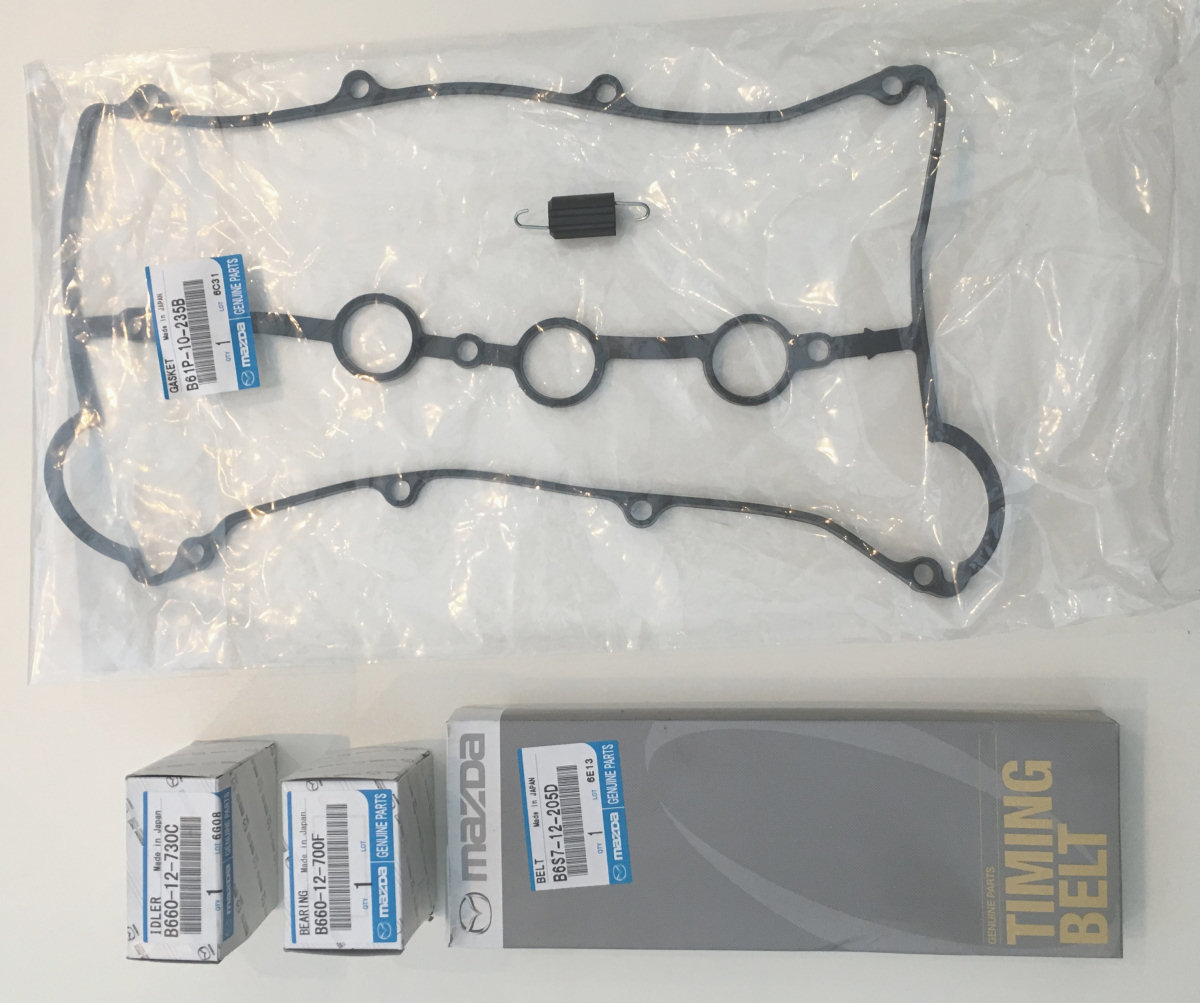
The above water pump will be replaced when we fit this new camshaft timing belt kit, also from MX5 Parts.
|
|
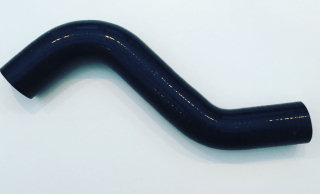
Also this new top radiator silicon hose from MX5 Parts.
|
|
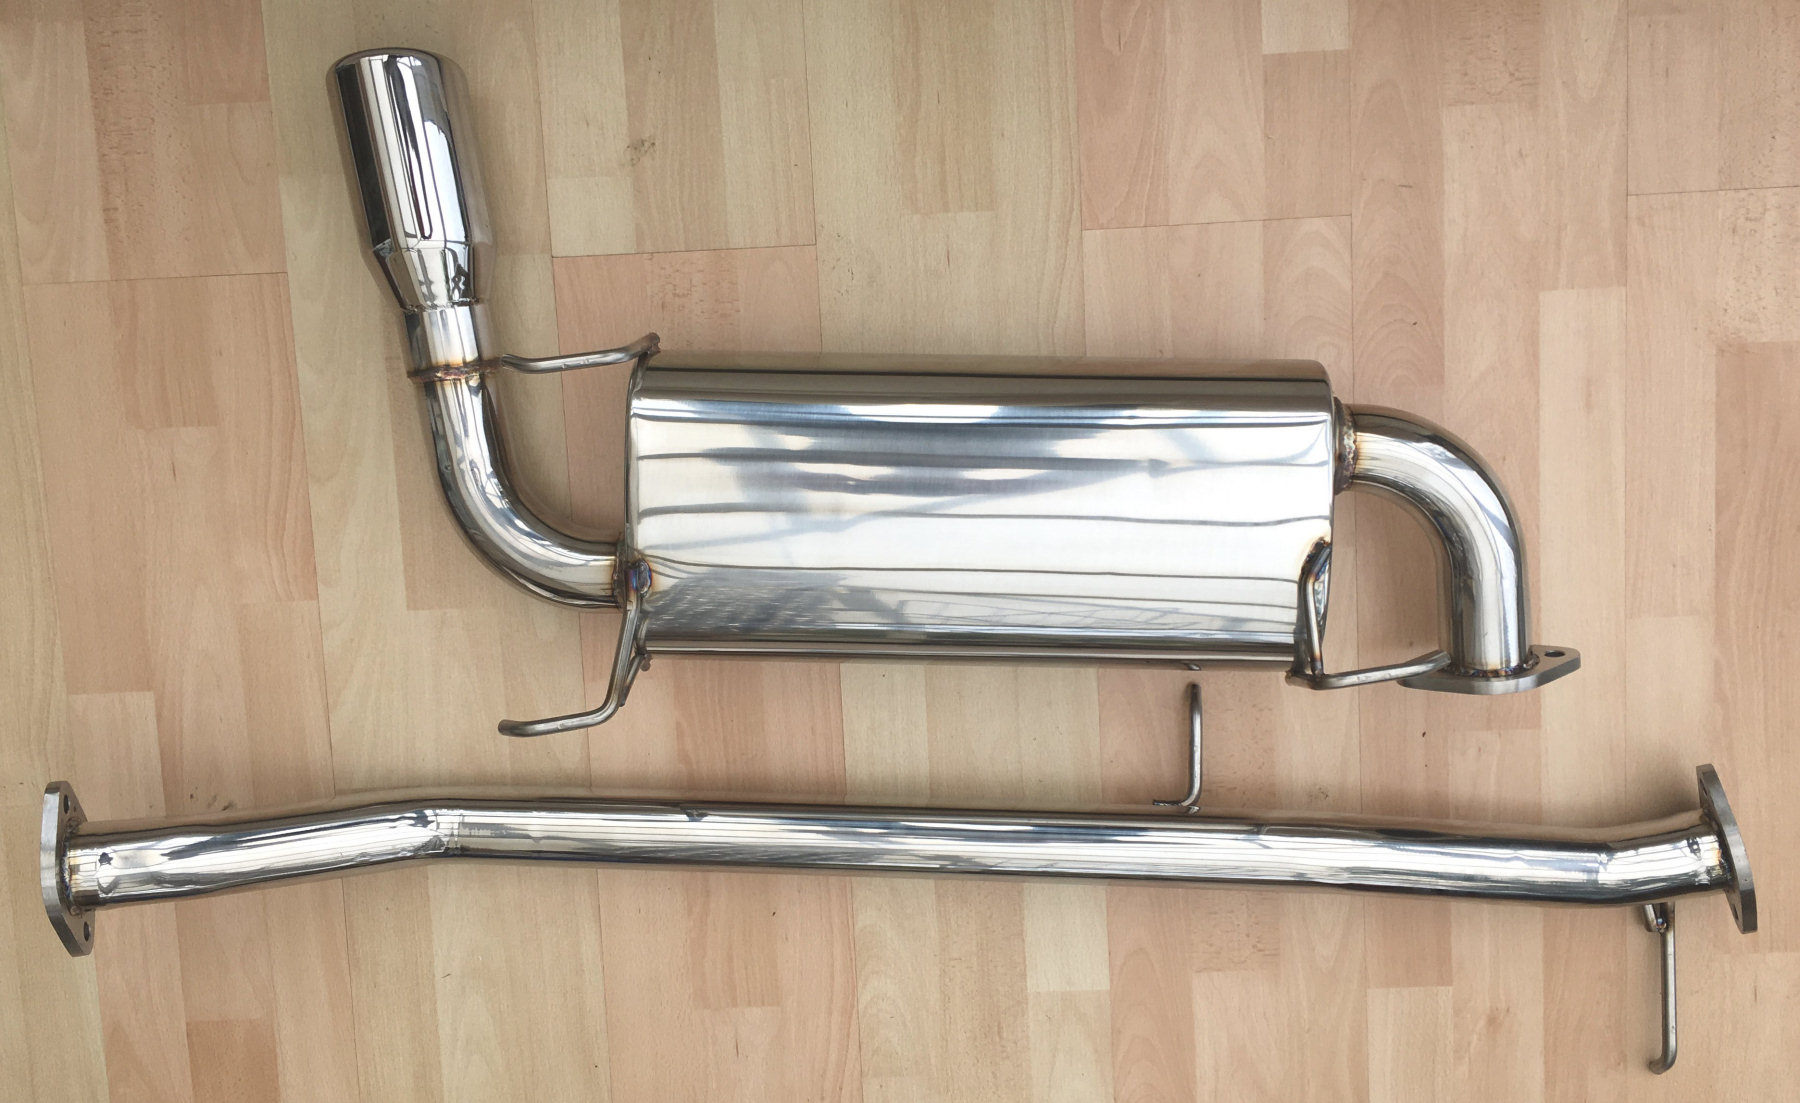
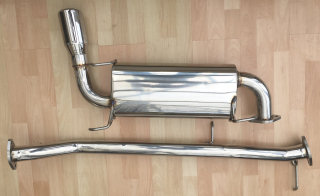
And later in the day, a second delivery from MX5 Parts with their stainless steel exhaust system. It looks very well made and is a lot lighter (9.2Kg) than the Jasma/5zigen system it replaces (13.6Kg).
|
Now we have a huge amount of work ahead of us to fit all this lot!
28th
5:30pm start on the Eunos this evening and the days are getting shorter :-( Started by putting the rear towing eyes back on the car.
|
Next back on the car was the rear anti-roll bar. The wire hanging down is the earth fr the fog light.
|

|
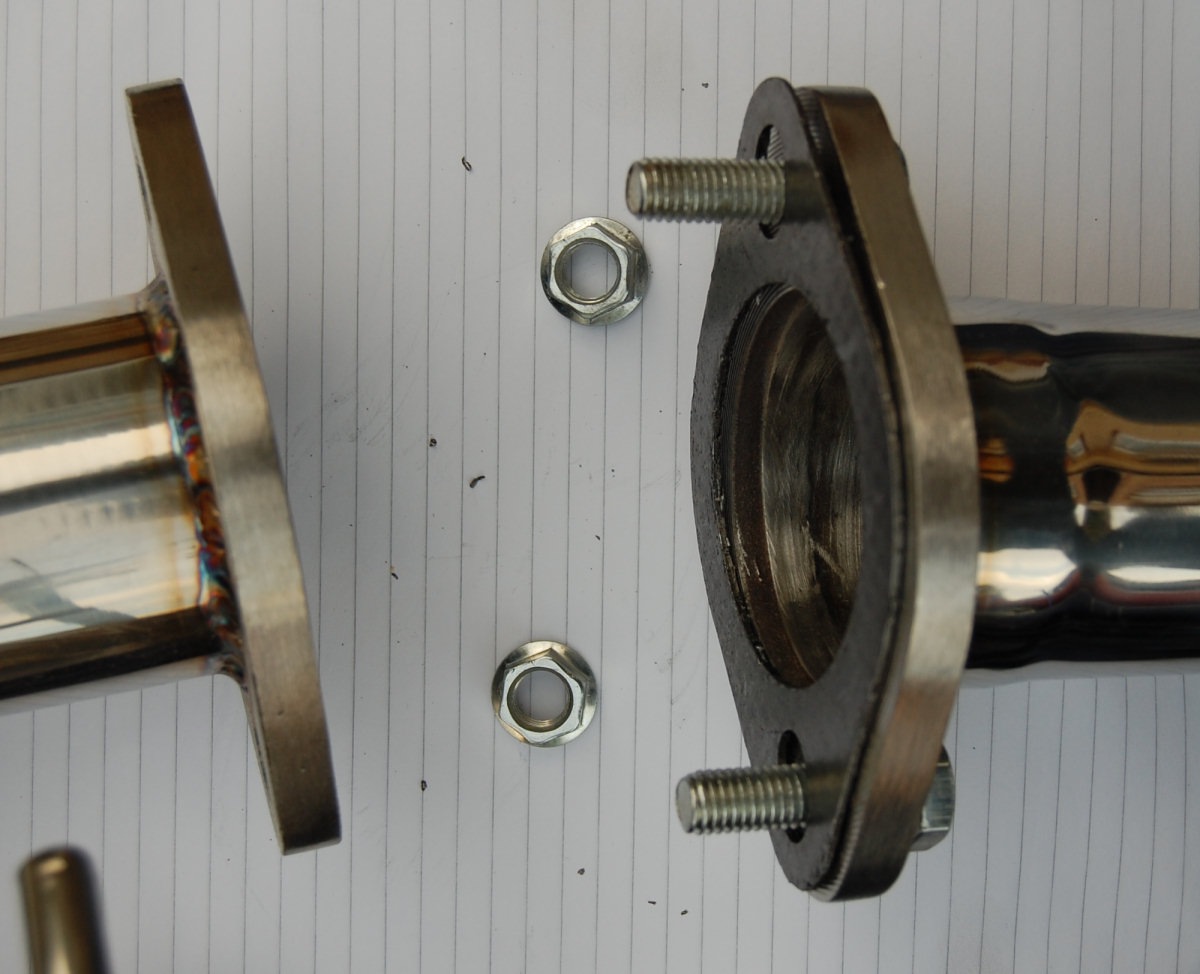
And then the MX5 Parts rear exhaust section. This is a simple job to do if there are two of you. It came with the bolts and gaskets required to fit it. The biggest issue we had was the exhaust hangers. The ones already on the car are too fat and the two I bought were too small. These are all going to be replaced with ones that fit as the old ones had cracks in them.
|

|
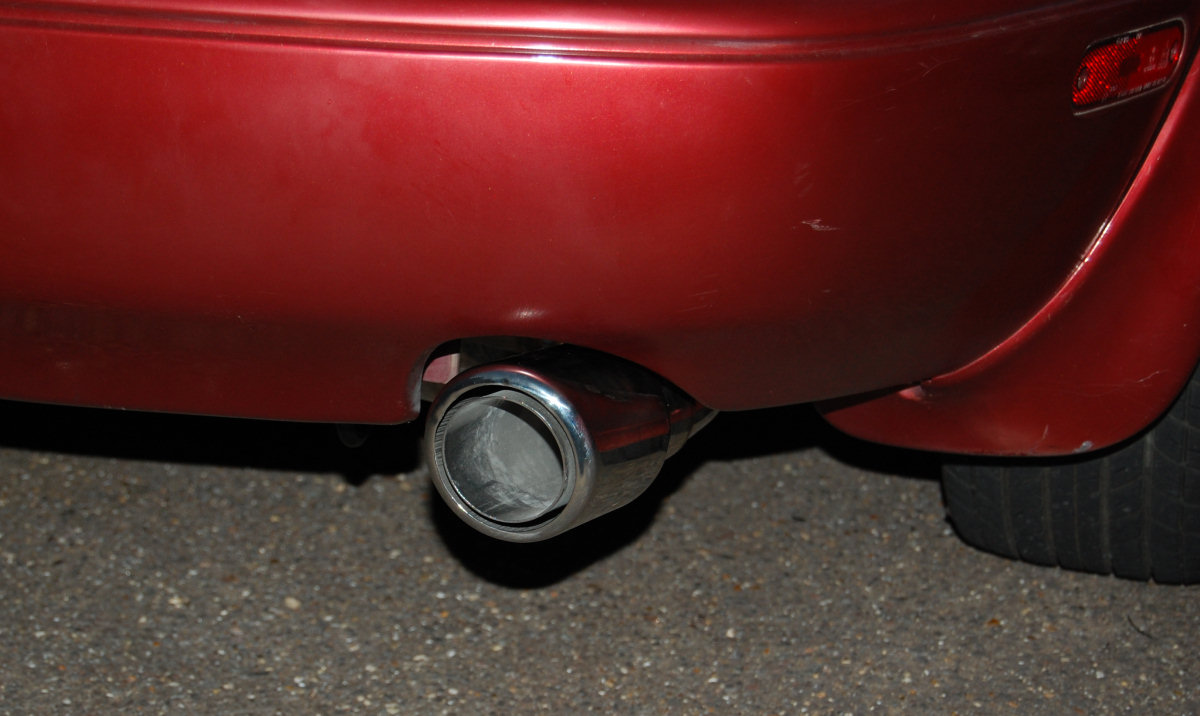
It's a good fit and looks good too. It sounds nice too! You can hear it here.
|