Rear Shock Absorber Removal & Disassembly
This is my guide to removing the rear shock absorbers so that I could replace the rubber boots and bump stops in them. I have Bilstein shock absorbers on my 1990 Eunos Roadster.
Most of the guides I have read have said you should jack the whole car up at the rear and put it on axle stands. My view is that this job is much easier if you do one side at a time and use a trolley jack. The trolley jack allows you to do some useful things to make this job much easier, as you will see later.
Note that in the pictures below I have already removed the boot carpet as my car is a 'stripped out' track day car.
Tools Required
- Breaker bar
- Spanners (14mm)
- Spring compressors
- Torque wrench
- Trolley jack
- Trolley jack adaptor
- Wheel chocks
- Wooden blocks
- Socket set (deep 14mm, 17mm)
Parts & Consumables Required
- Shock absorber boots and bumps stops
- Grease
- Replacement nuts and bolts as required.
Right Side
I started with the rear right shock absorber as it is the easiest to do.
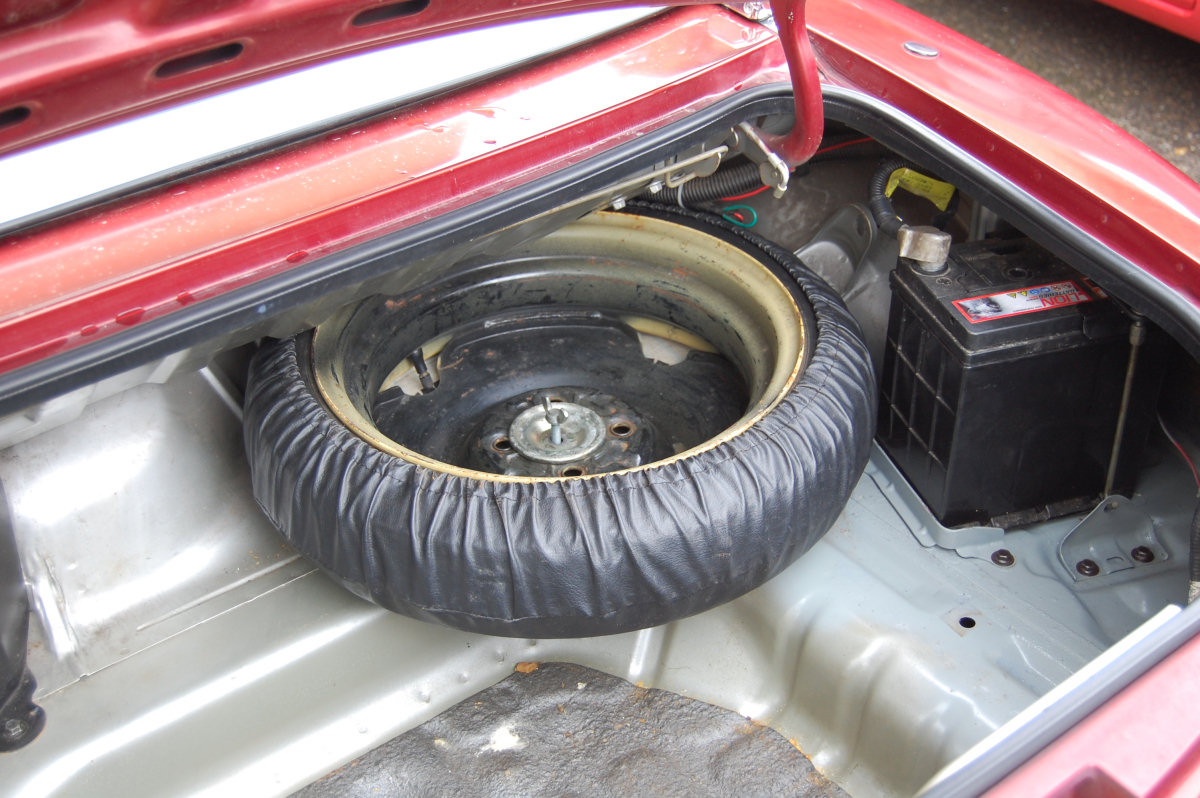
| Remove the spare wheel. |
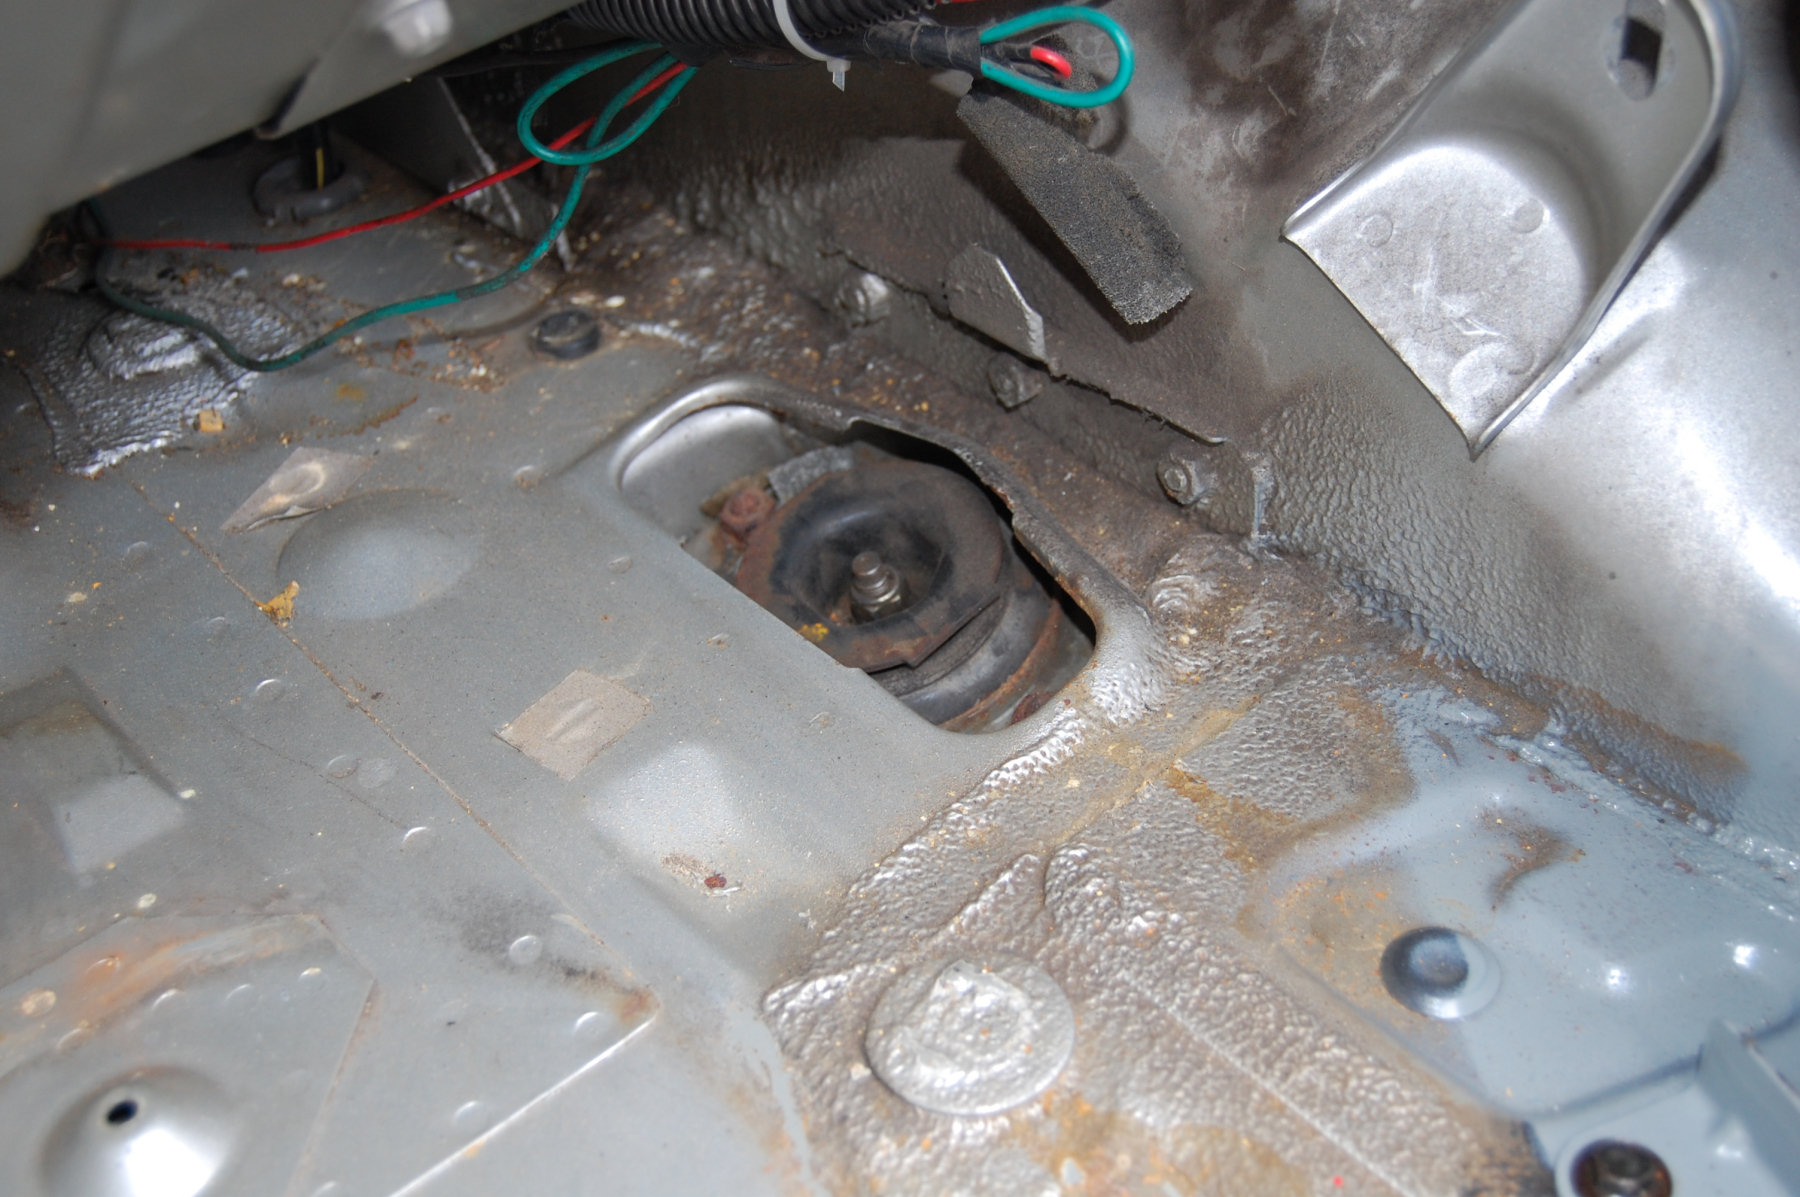
| This then gives you access to the top of the shock absorber. The two outer 14mm nuts hold the shock absorber in place. In my car these were badly corroded. The centre 14mm nut is under a lot of compression and holds the shock absorber together. |
Loosen the centre nut a few turns to make it easier to take the shock absorber apart later. DO NOT REMOVE THIS NUT! The shock absorber is under a lot of compression and removing this nut will cause it to explode apart. Because this nut is on the end of quite along threaded bolt, you need a deep 14mm socket to get a proper grip on it. Use one that it too shallow and you could round off the nut.
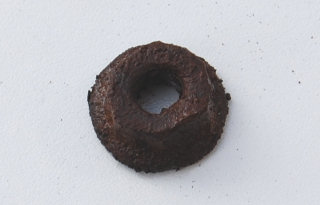
| Remove the two outer nuts so that the shock absorber can be removed later. Mine were all really corroded, so they have been replaced. |
Loosen the rear right wheel nuts slightly, to make it easier to remove the wheel. Raise the rear right of the car with the trolley jack and trolley jack adaptor and remove the wheel.
|
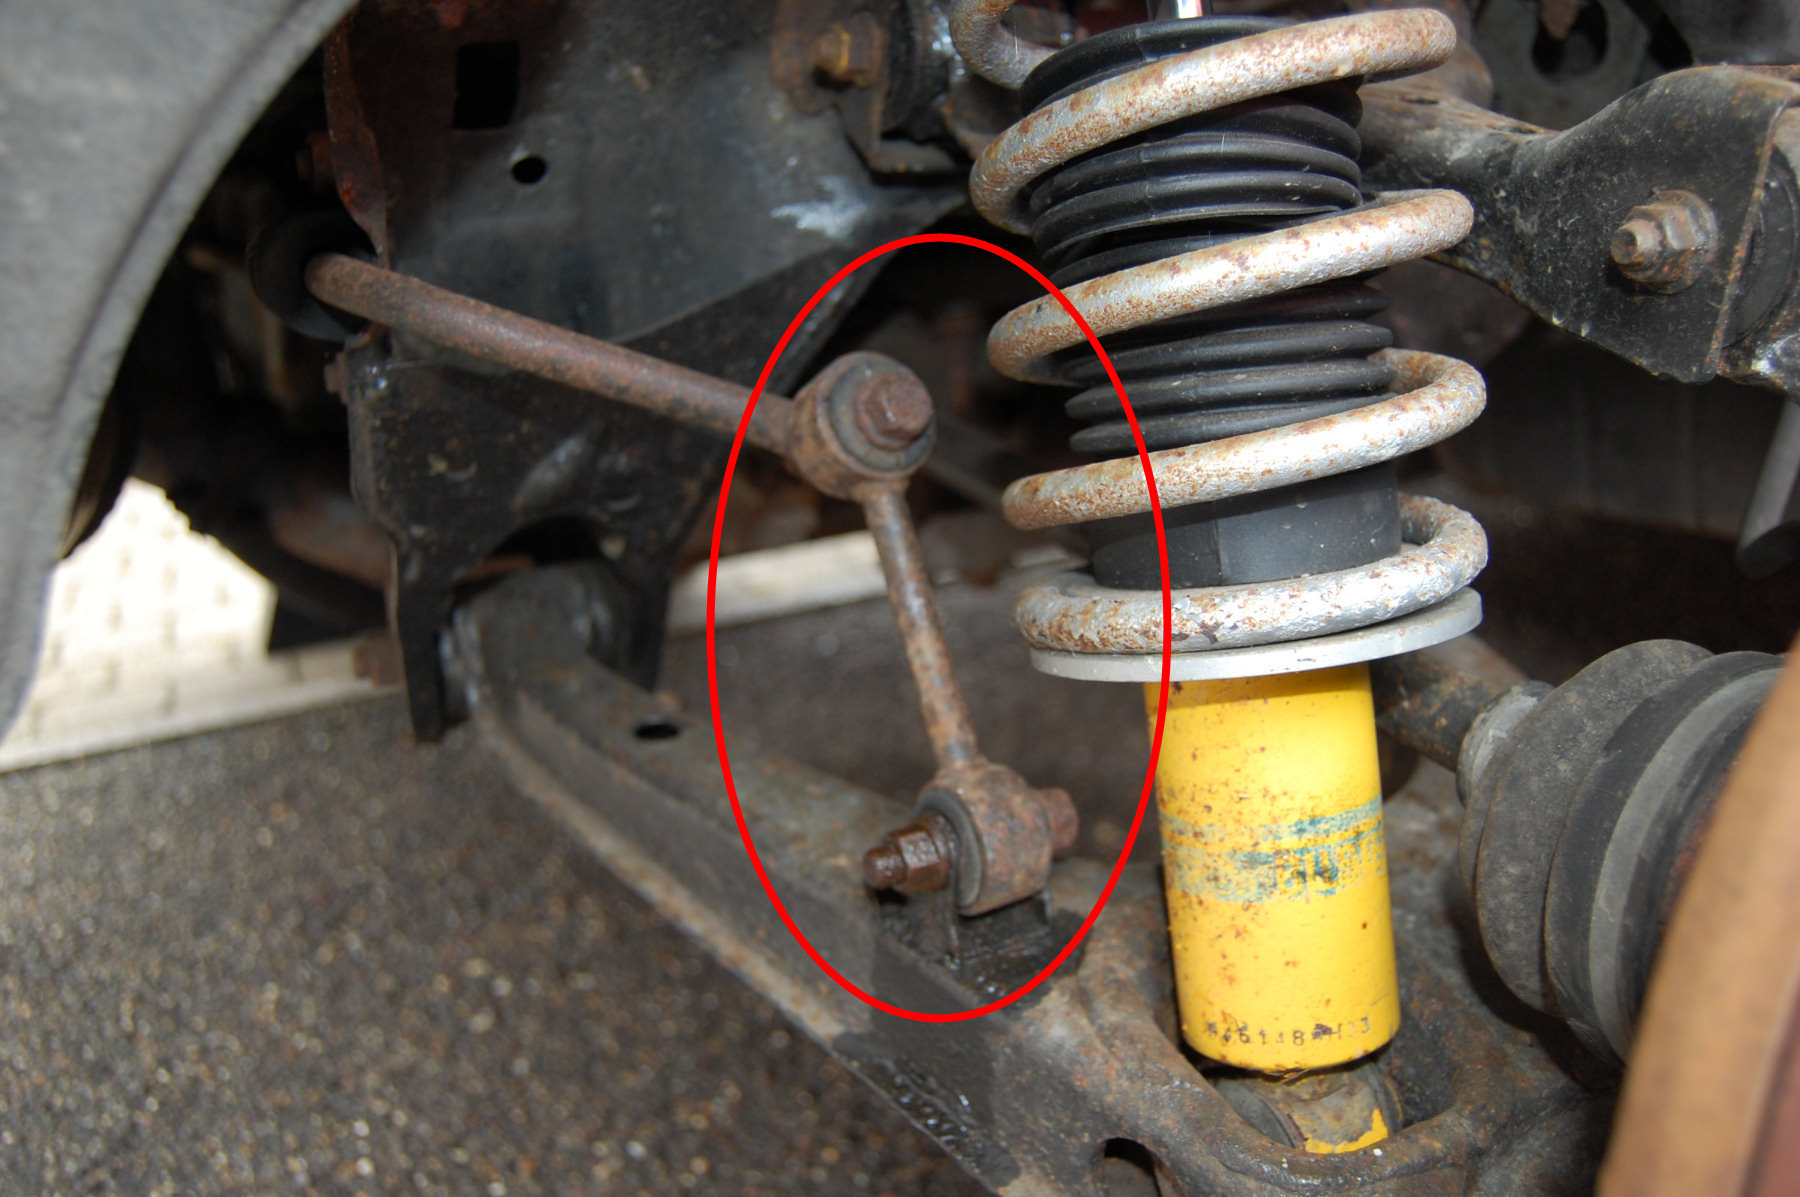
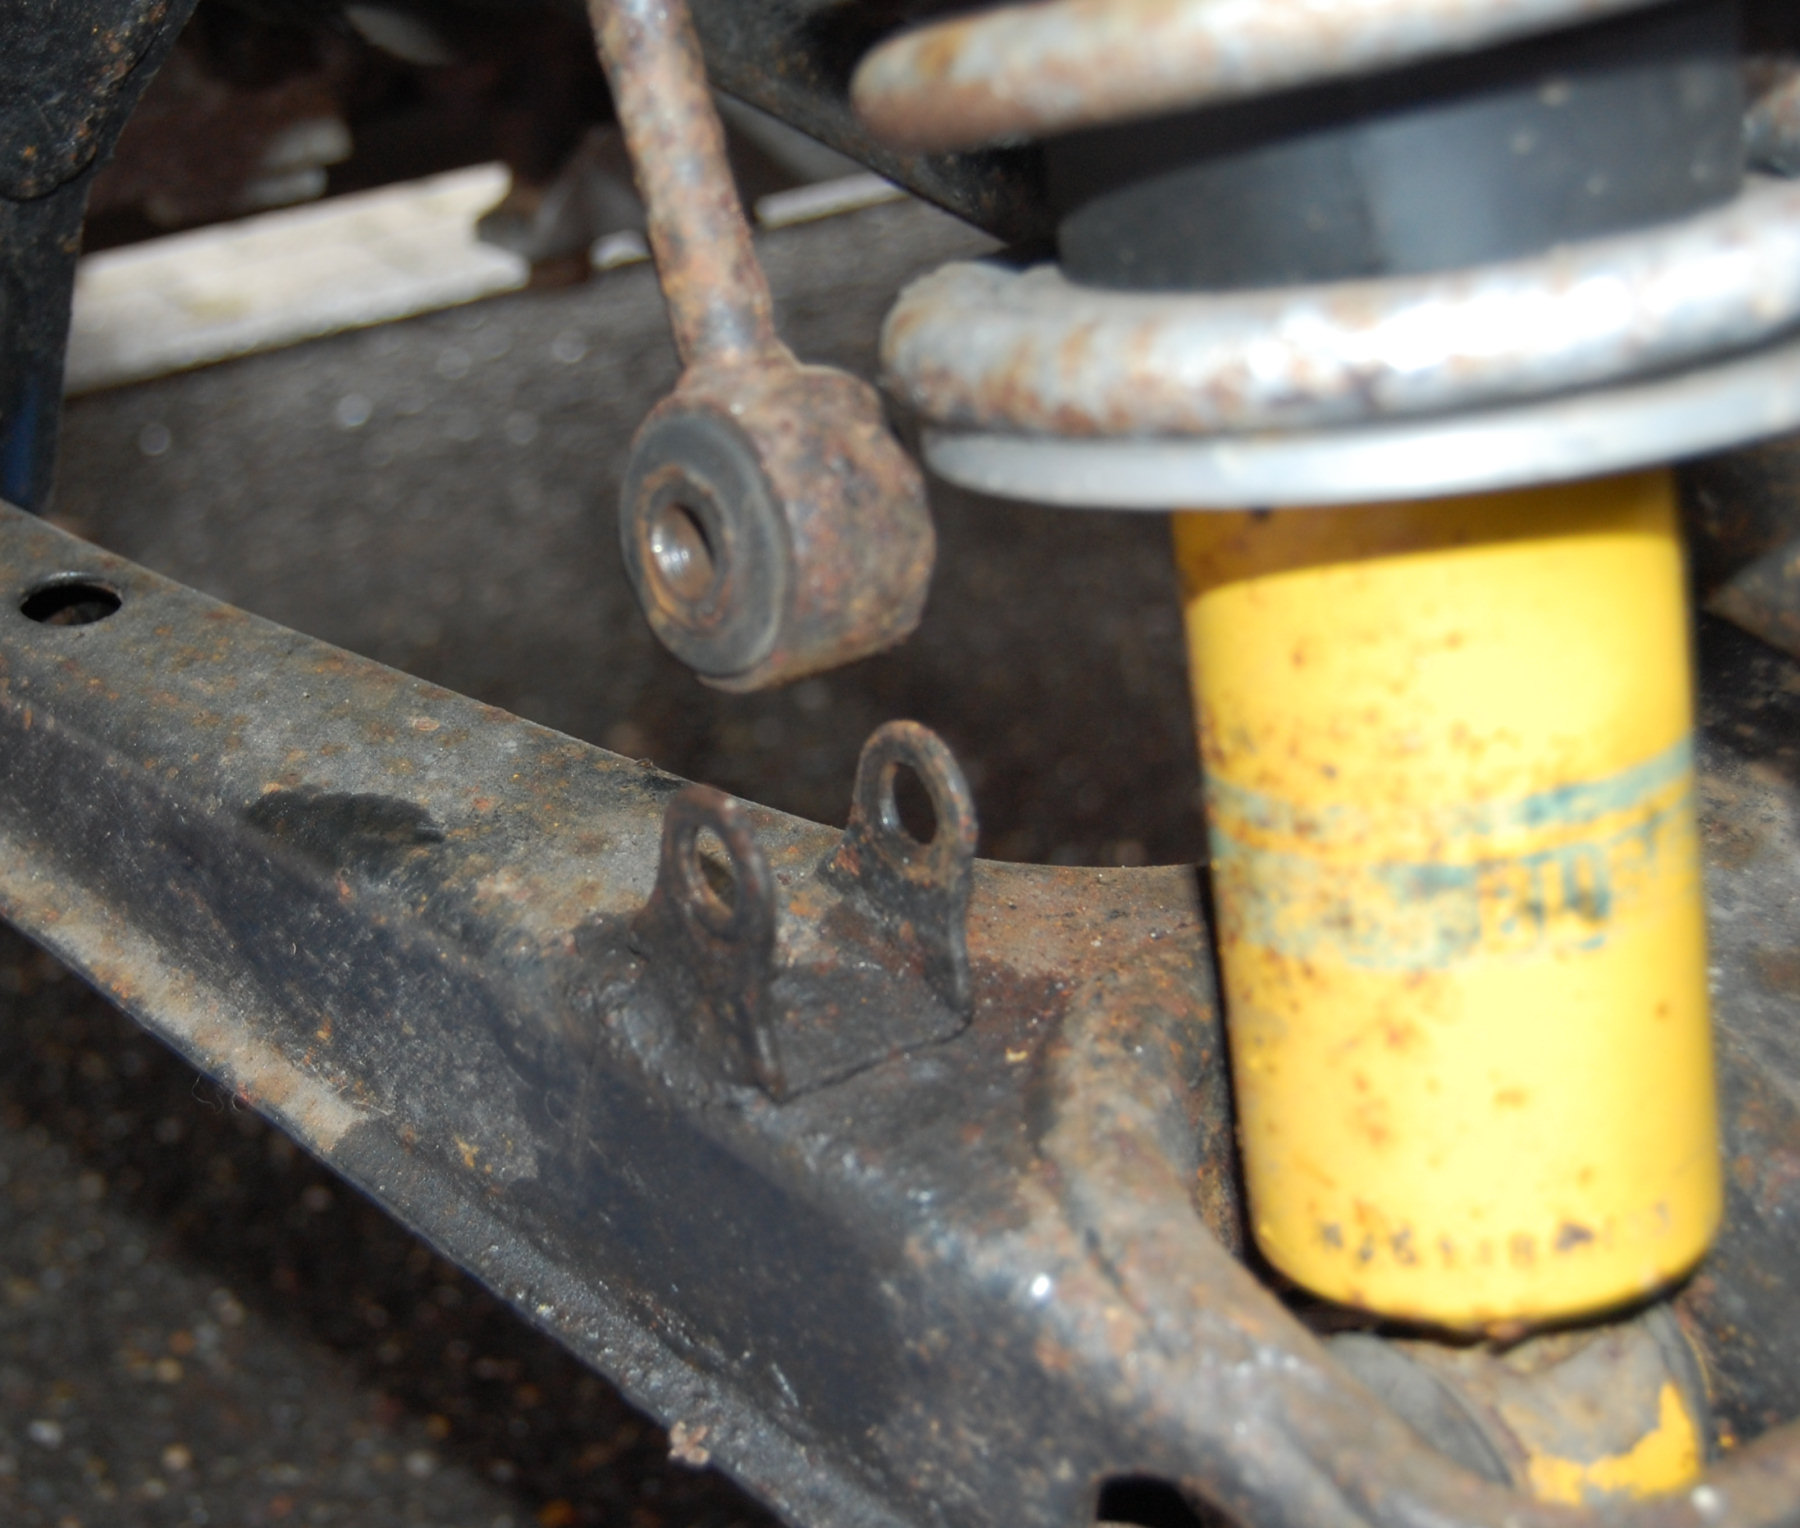
Here you can see the 'dog bone' connector linking the anti-roll bar to the lower 'A' arm. It is much easier to undo the lower bolt on this in my view and this is done with a 14mm socket and spanner. This is under tension, so you will need to screw the bolt out.
Below this 'dog bone' connector, you can just about see the hole in the lower 'A' arm that provides access to the bolt holding the bottom of the shock absorber in palce. |
| With the bolt removed, the lower 'A' arm will drop slightly. It is held in place by the rubber bushes in the control arms. This will cause the shock absorber to drop a bit too and pop out of its top mounting. |
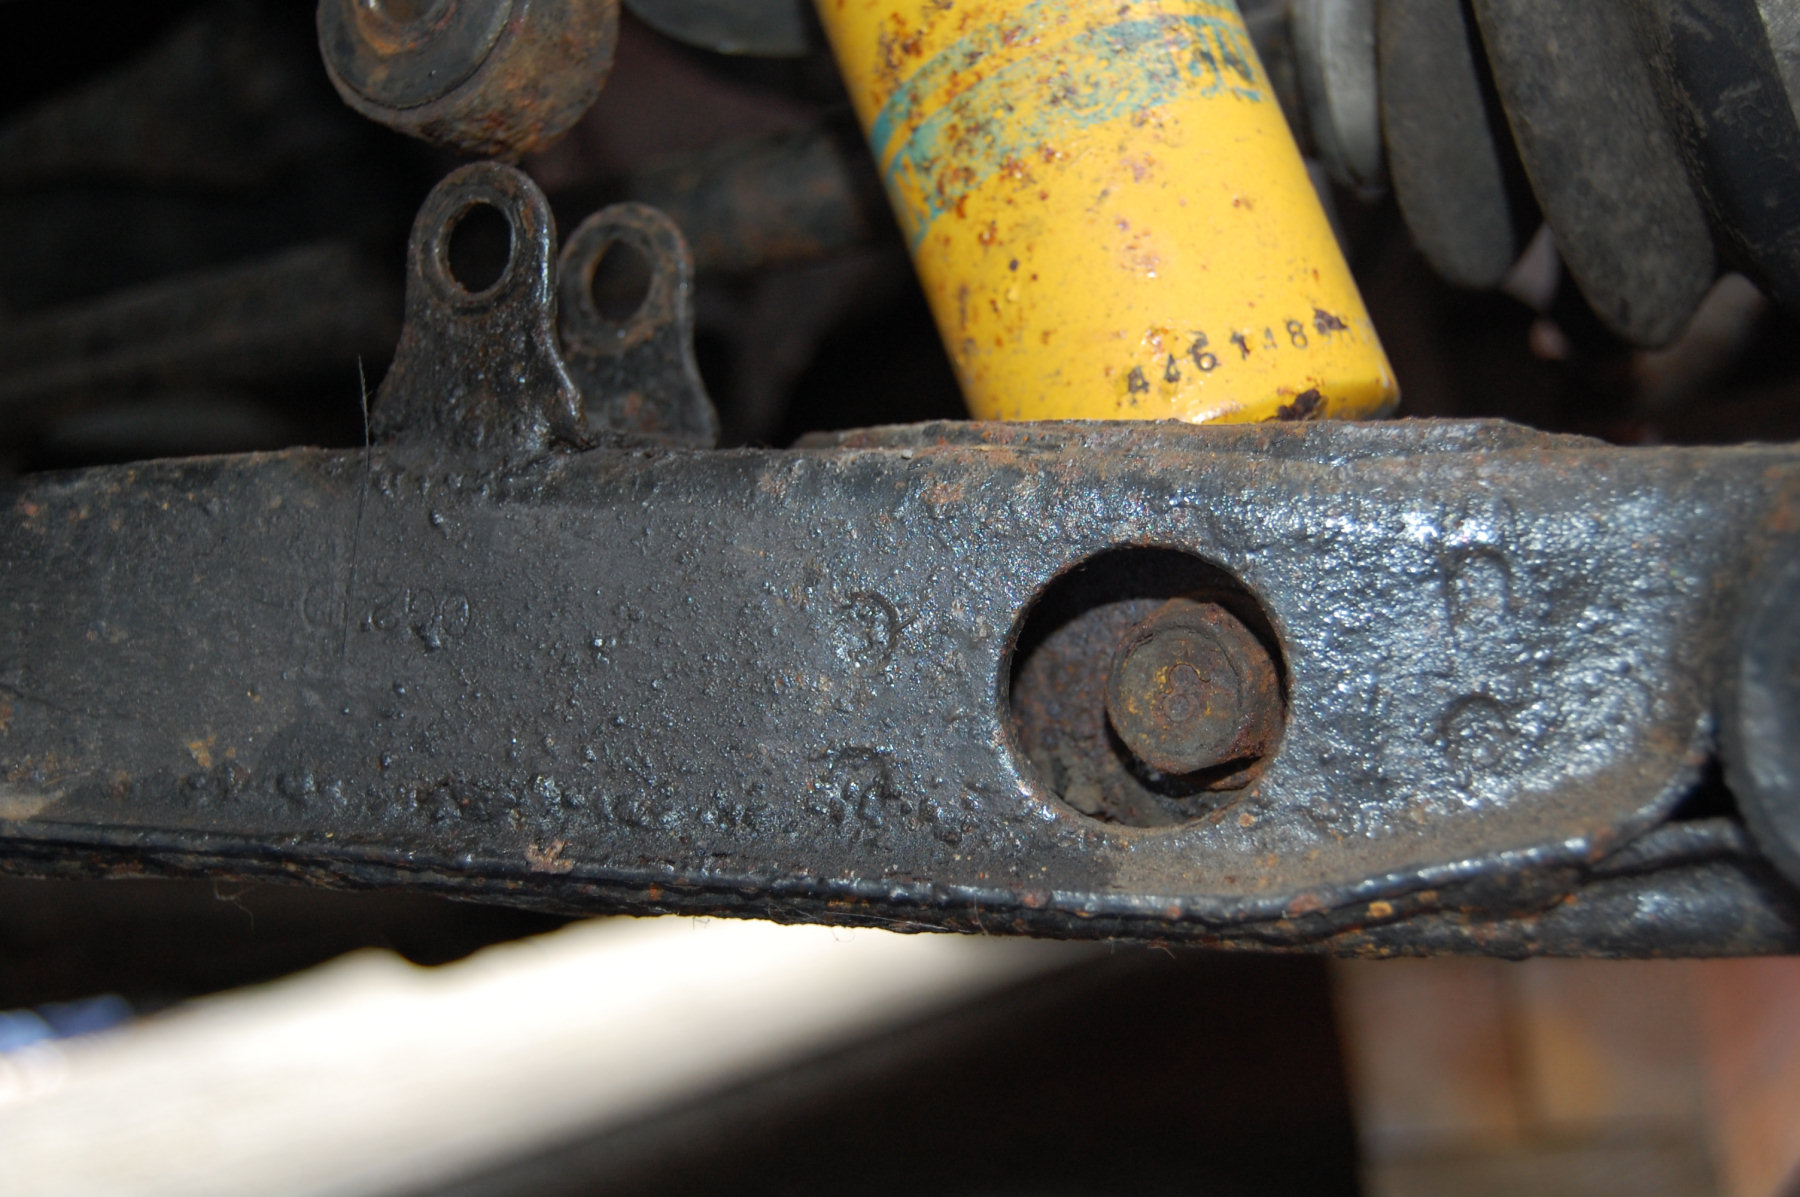
| Using a 17mm socket, undo and remove the lower shock absorber bolt. It will be quite tight and you may need to use a breaker bar intially. |
With these bolts removed, you are ready to remove the shock absorber but there will not be enought play to allow you to lift it our yet. You need two people for this next bit. One person needs to stand on the top of the wheel hub to flex the rubber bushes enough and move the lower 'A' arm down. It has to move down enough to allow the the other person to lift the bottom of the shock absorber out of the lower mounting and free it from the car.
Removed Shock
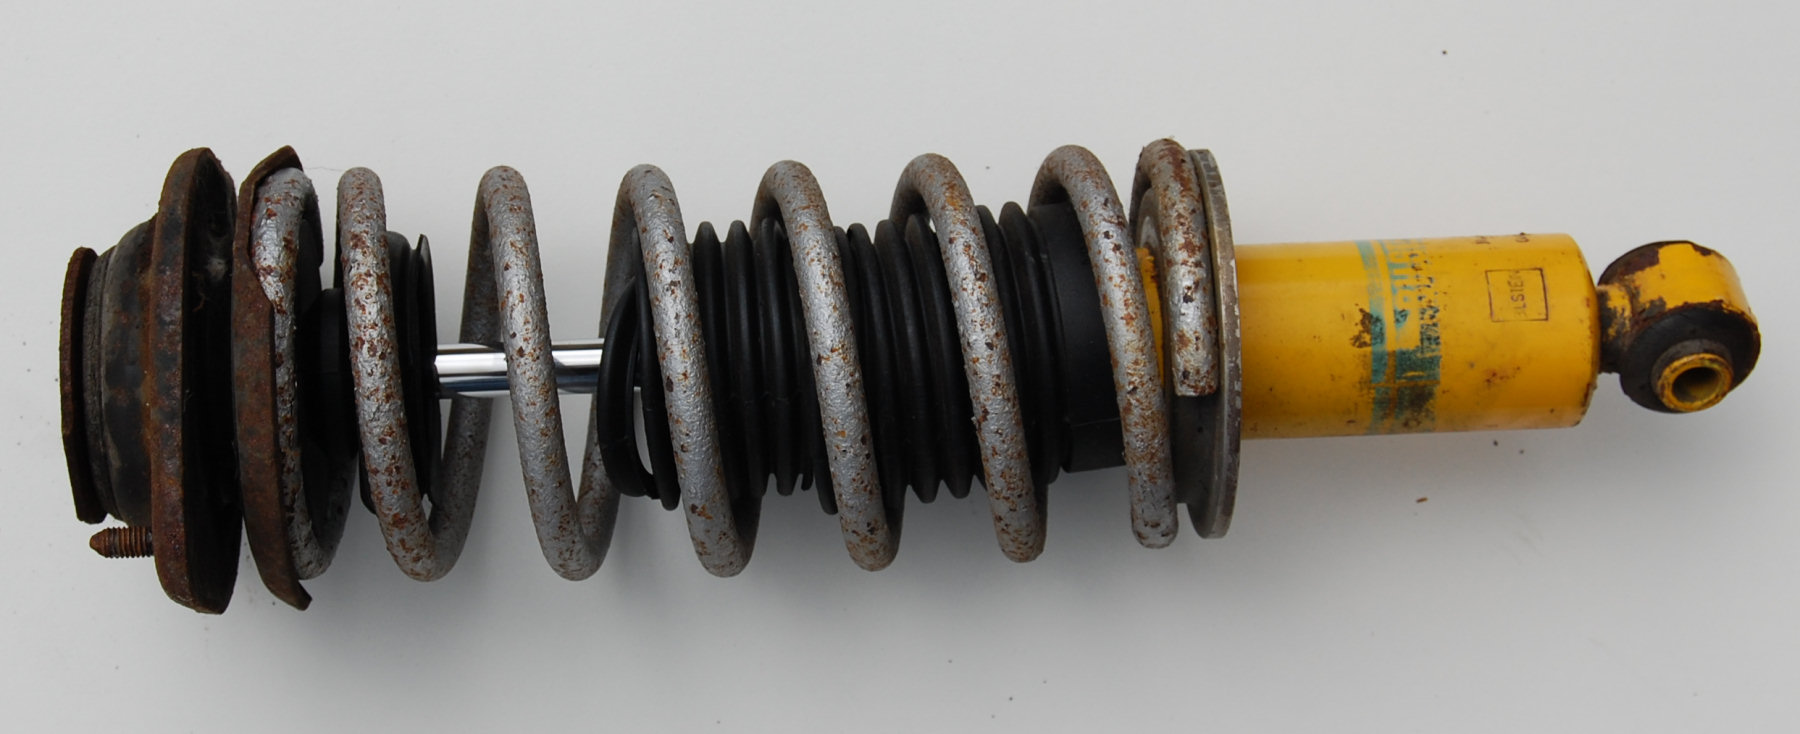
| This is the removed shock. As you can see, on our 1990 Eunos it was a bit of a state. The rubber boot is in pieces, the spring appears to have been sprayed silver at some point and the Bilstein shock absorber is a bit rusty in places. Firstly we need to get it apart to replace the rubber boot. |
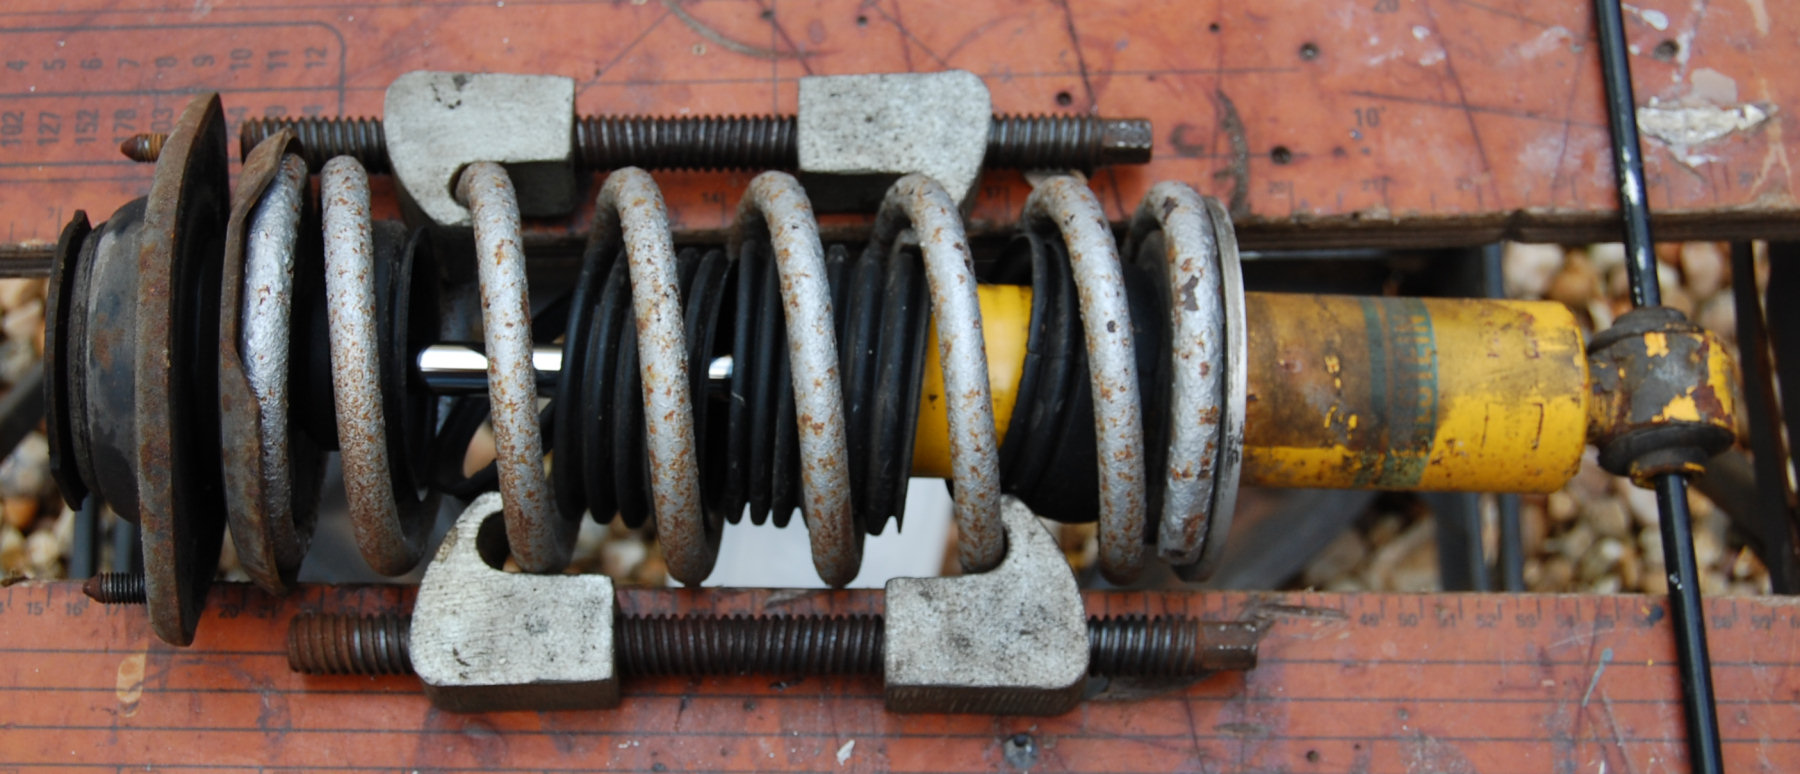
| We firstly need to attach some spring compressors and gently wind them in, alternating between them to compress the spring evenly. We did this on a work bench and the placed a metal bar through the lower end, to stop it rotating. You don't need to compress the spring by much, just enough to remove create a gap between the spring and the top spring plate. |
You can then undo the 14mm nut holding the shock absorber together.
Don't leave the springs under compression. Remove the spring compressor until you need to put the shock absorber back together. It is a good idea to measure the length of the open springs too. Both sides should be equal.
Once in pieces I went about cleaning up the springs with a powered wire brush and then treated them with a rust preventer.
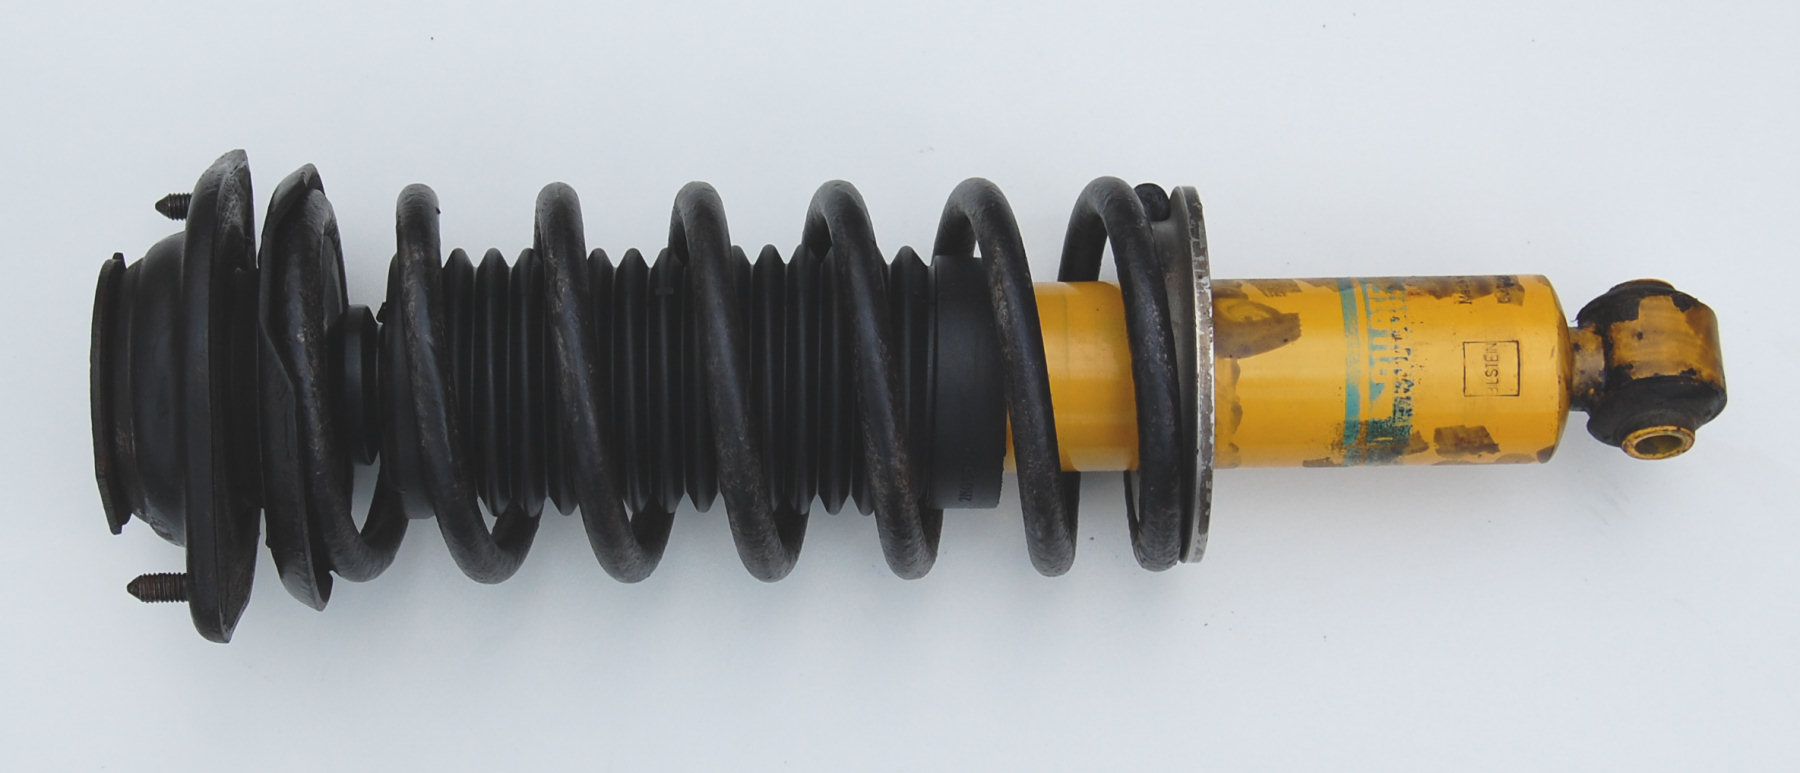
| This is the rebuilt shock absorber all cleaned up and with new boot and bump stop fitted. I weighed this at 4.0Kg. The lower bush is distorted and needs to be replaced. This will be done later and written up as another guide. |
Refitting Shock
Refitting the shock absorber is basically the reverse of the removal process. Getting the lower 'dog bone' bolt in is a lot easier if you place a wooden block under the upright and use the trolley jack to gently lower the car down until the bush and mount are aligned. The bolt should then slide in easily.
Left Side
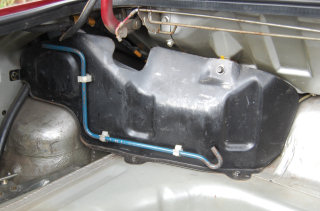
| The rear left shock absorber is slightly harder to remove because of the fuel filler and the fuel filler cover. |
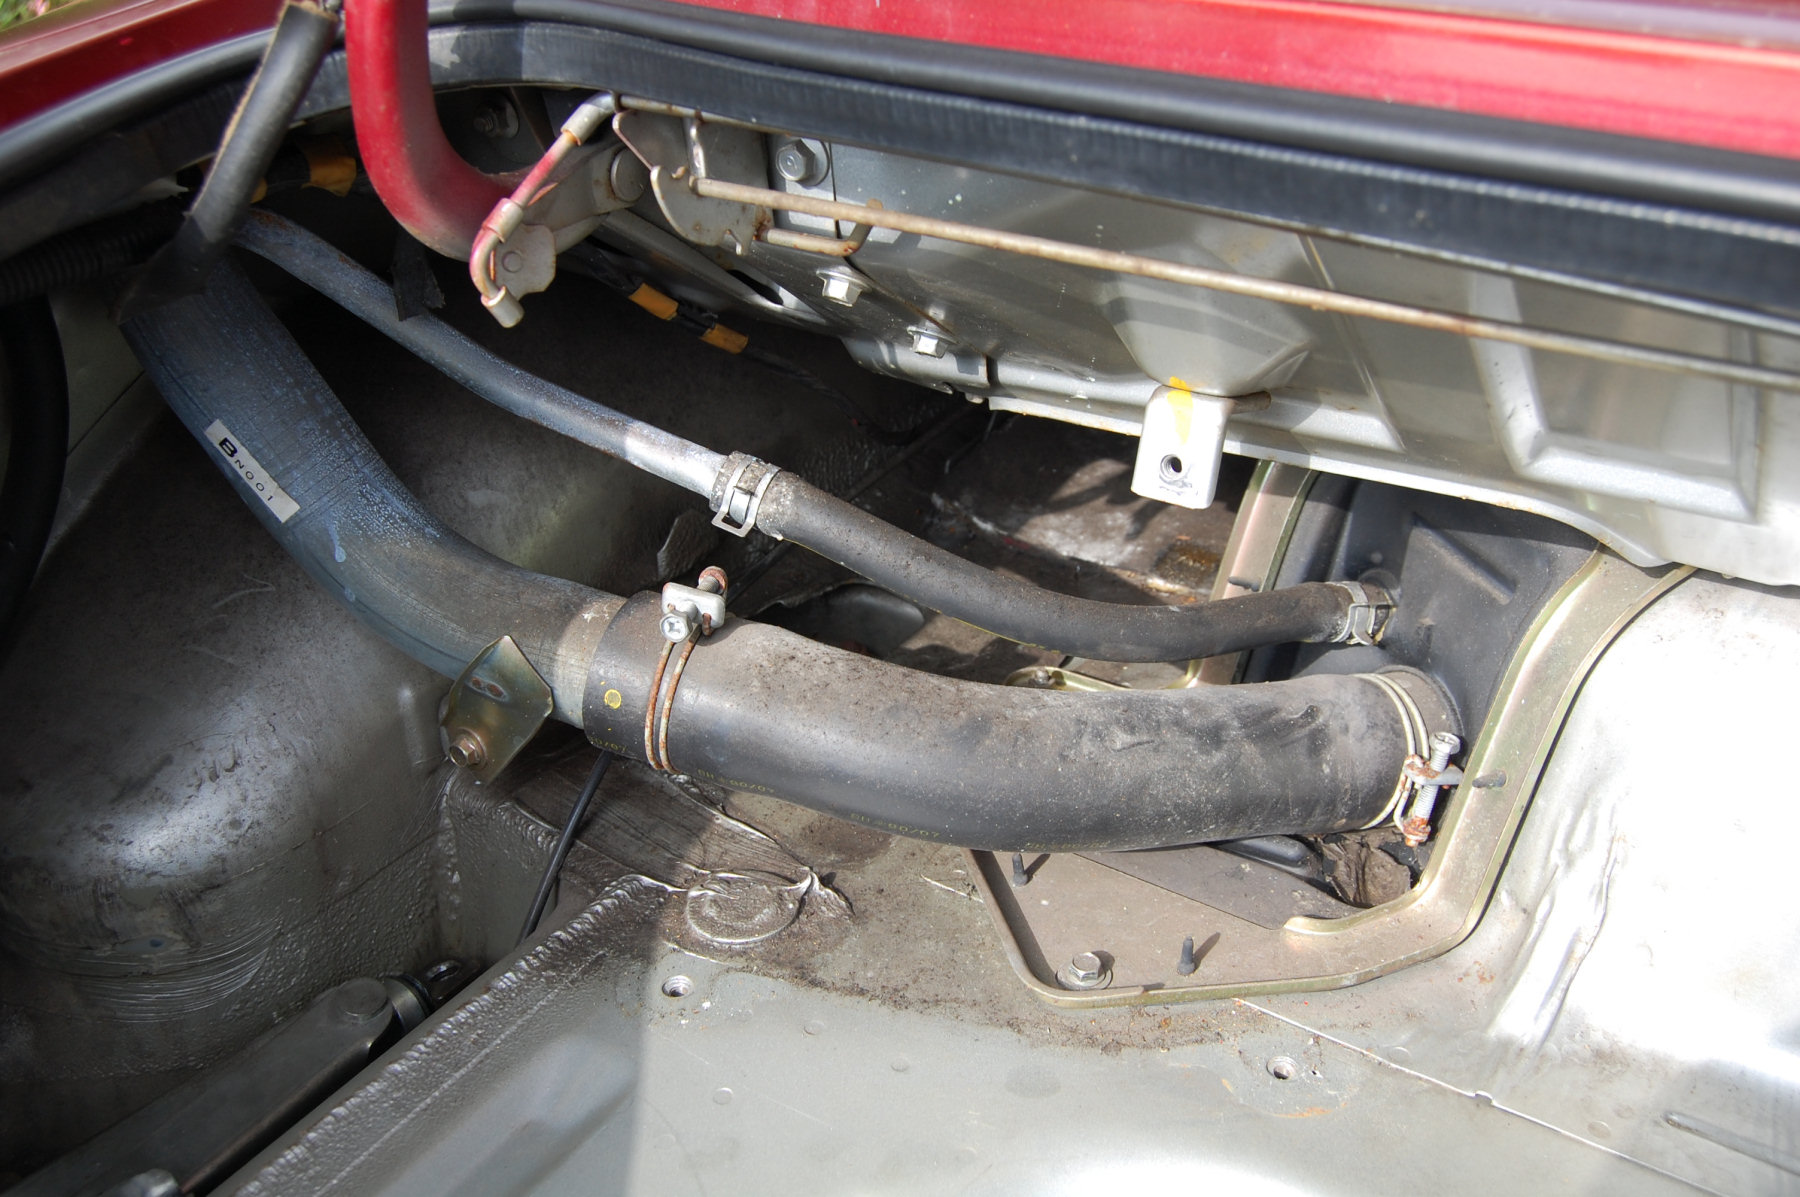
| With the cover removed you can see the fuel filler pipework and the breather pipes, along with the fuel filler cap cable. All this lot makes it much harder to get access to the nuts and even more so with a torque wrench. |
Torque Settings
- Shock absorber shaft nut = 23 to 34 ft/lb
- Shock absorber mount nuts = 22 to 27 ft/lb (32 Nm)
- Dog bone bolt = 27 to 40 ft/lb (45 Nm)
- Shock absorber lower bolt = 54 to 69 ft/lb (83 Nm)
- Wheel nuts = 105 Nm