
The Eunos Roadster ECU continuously monitors many of the parameters related to engine performance such as fuel, spark, air, rpm, etc. It uses this information to get the most performance and fuel economy possible from the engine. A side effect is that it can detect many problems your engine may be experiencing and has a way to tell you about them. When an out-of-range condition is detected a fault code is recorded in the engine computer.
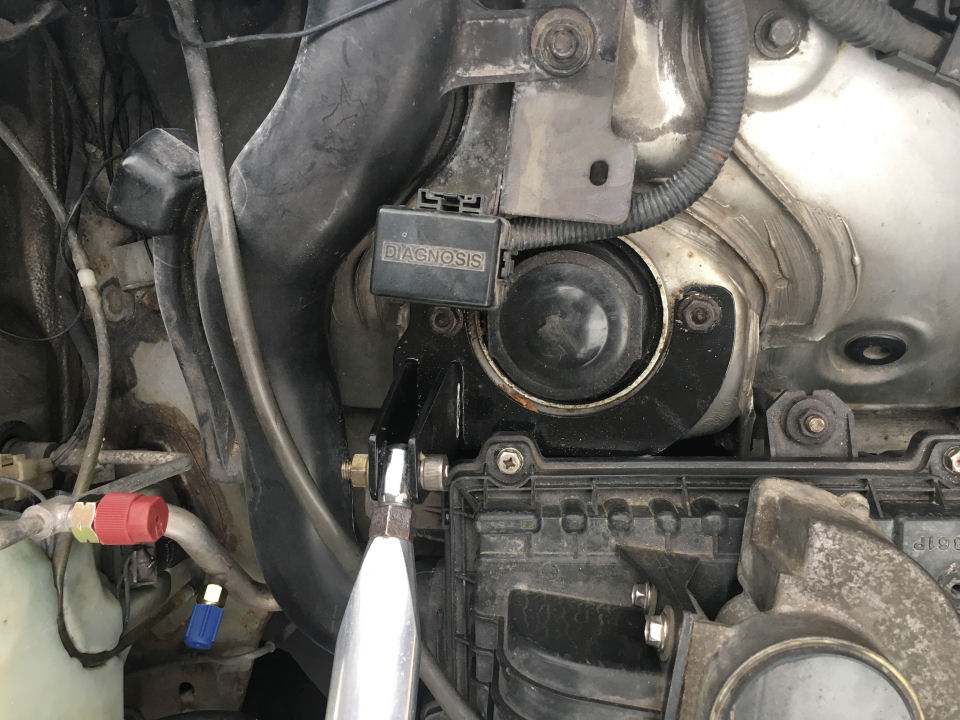
To read the codes, first open the diagnosis connector that is positioned just on top of the left shock absorber under the bonnet. It is clearly labelled.
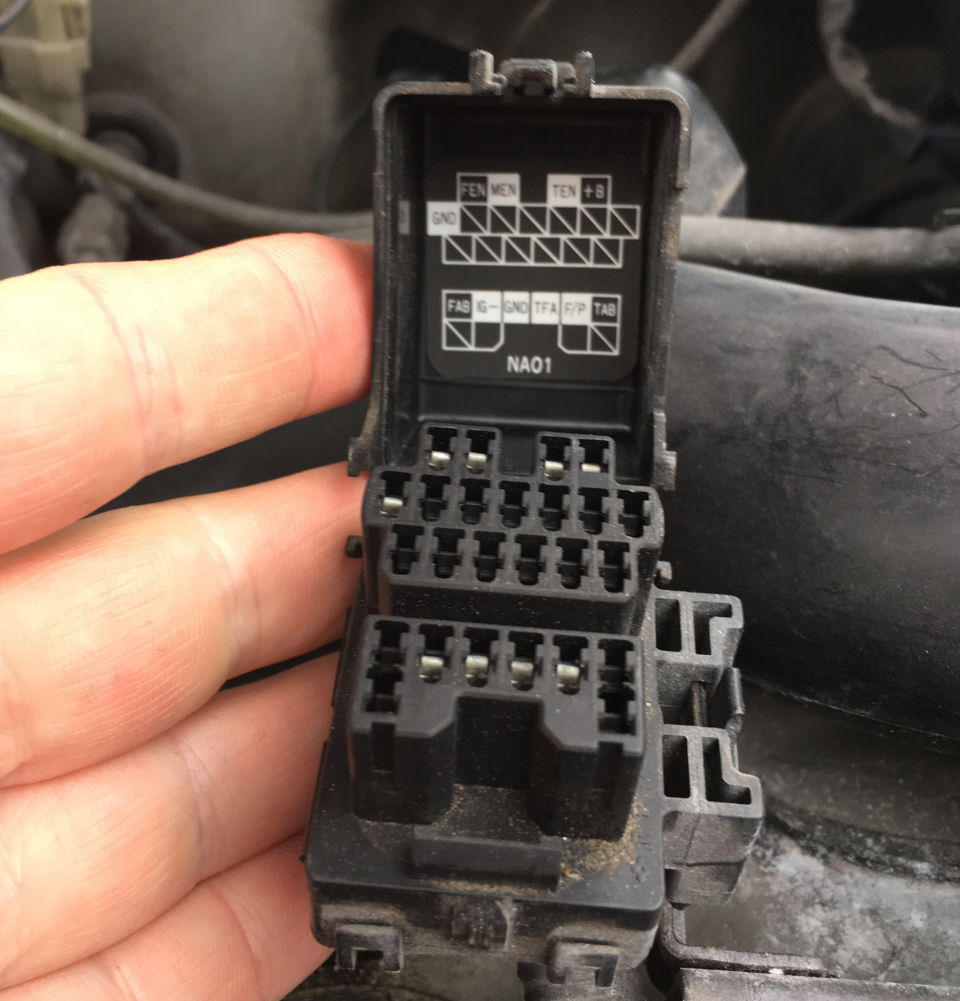
Lifting the lid reveals the pin designations for the connector.
If the code is a two-digit number, the 'tens' digit will be displayed first, then after a 1.6s time period, the 'ones' digit will be displayed. This will repeat after a four-second pause. If there are multiple codes, they will each be separated by a four-second pause and may include two-digit codes. It is often best to record the sequence on a mobile phone, so you can replay it back.
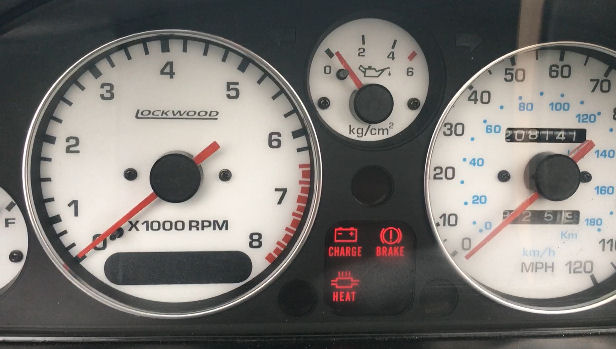
Whilst this is good in theory, Yoko doesn't have a 'Check Engine' light! There is a way to run this test using an LED and a suitable resistor though.
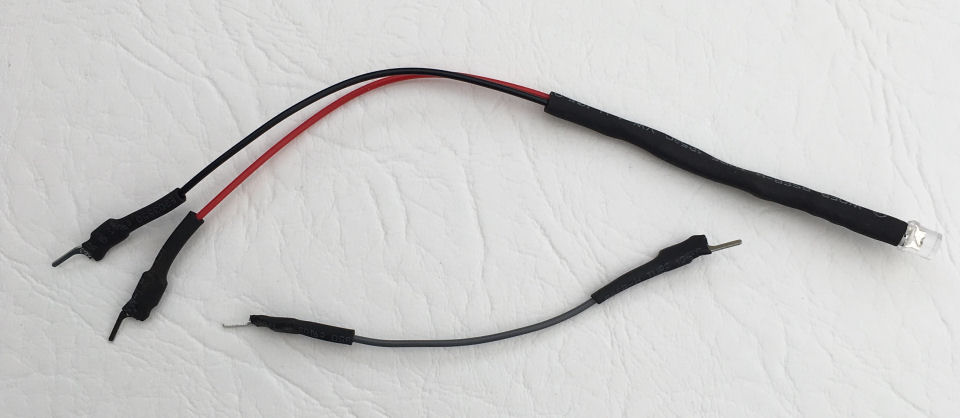
I made up a test LED with a 1K resistor in series with the LED. The +ve side goes to the '+B' connection and the -ve side goes to the 'FEN' connection. The 'TEN' and 'GND' connections are also connected together as before, using the grey wire shown here.
The following codes are for cars up to 1993. From 1996, the Miata used OBD (On-board diagnostics) which requires a special scanner to read the codes.
1 = Ignition pulse (No Igf signal)
2 = No Ne signal
3 = No G signal
8 = Airflow meter open or short circuit
9 = Water thermistor open or short circuit
10 = Intake air thermistor in airflow meter open or short circuit
12 = Throttle position sensor open or short circuit
14 = Atmospheric pressure sensor open or short circuit
15 = Oxygen sensor <0.55 V 180 sec after 1500 rpm
17 = Oxygen sensor unchanged after 1500 rpm
26 = Solenoid valve (Evaporative canister purge)
34 = ISC Valve
Clear the codes by disconnecting the car battery for a minute or so.