
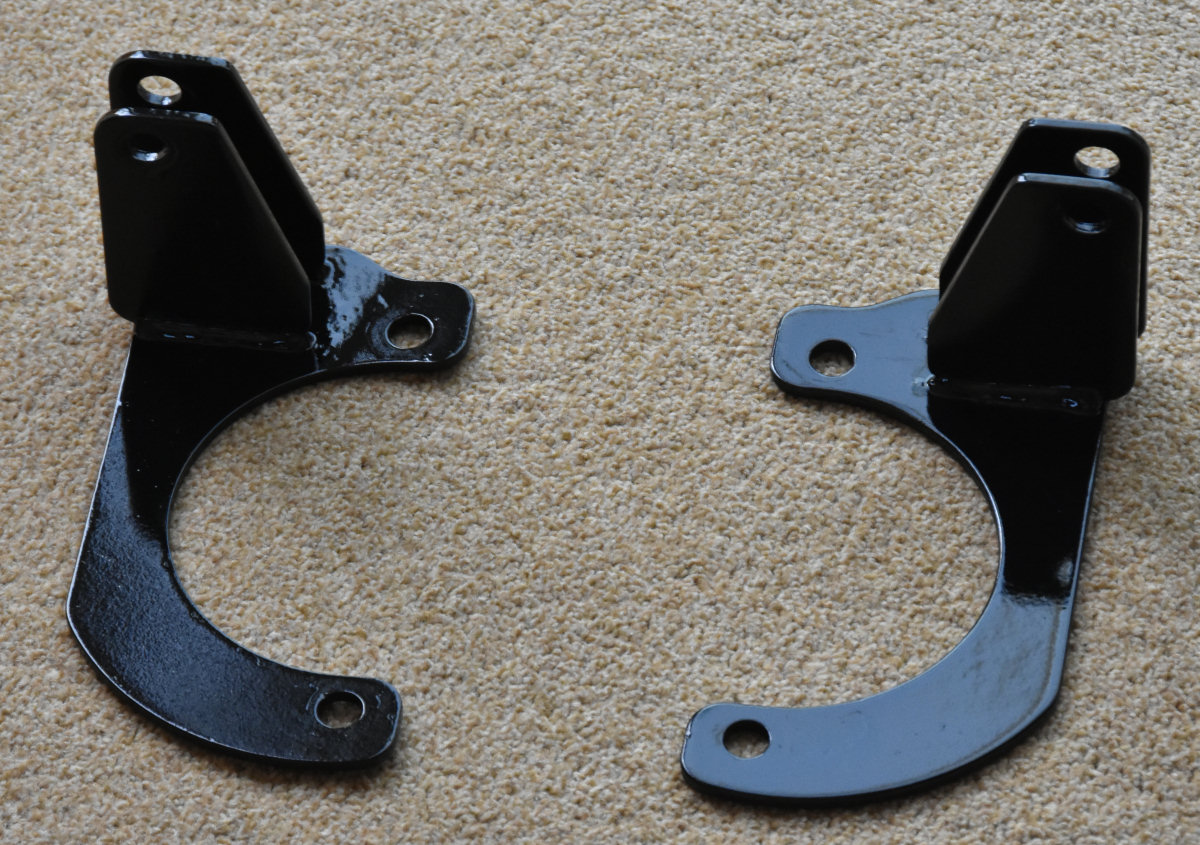
Have stripped back and primed the front strut brace mounts, they have now been painted gloss black.
Spent the day at JapFest Silverstone :-)
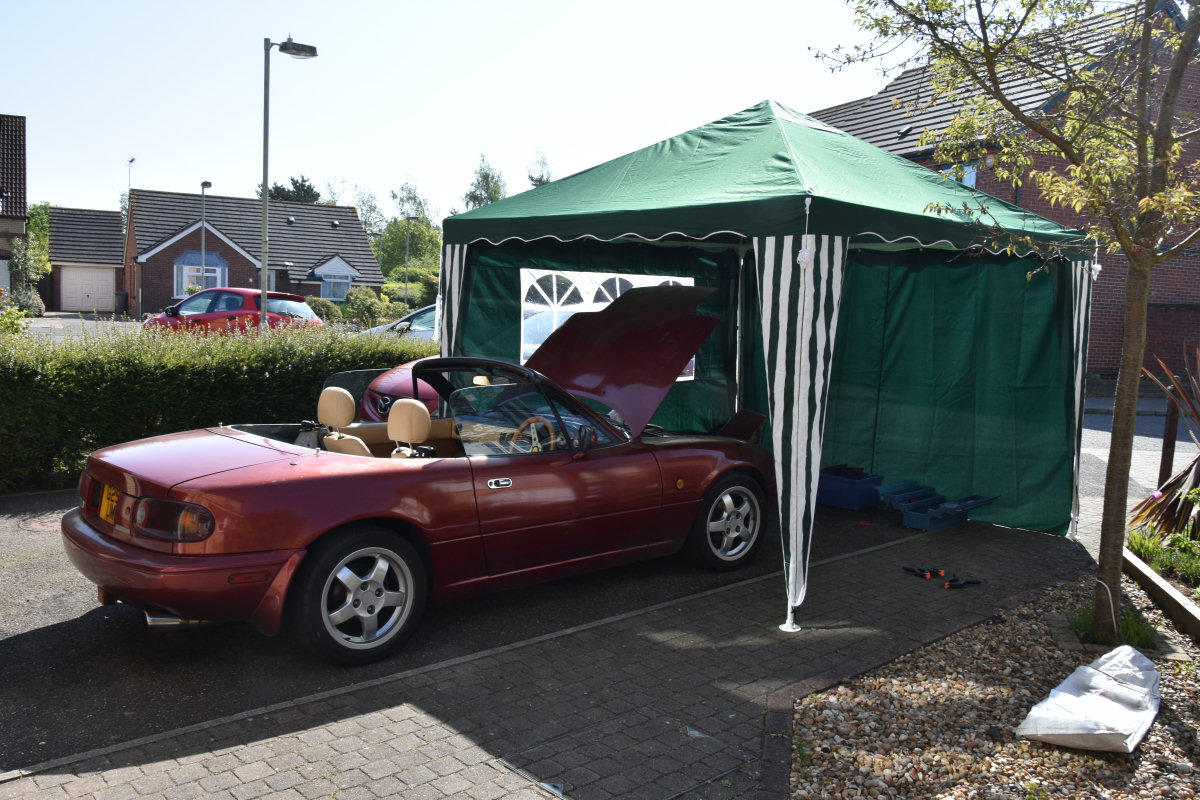
Spent pretty much the whole day working on Yoko, preparing her for her full respray later this month. All the fittings, wings, front bumper, rear bumper, etc. are being removed. The tent is to allow us to work in some shade. It was really hot this weekend!
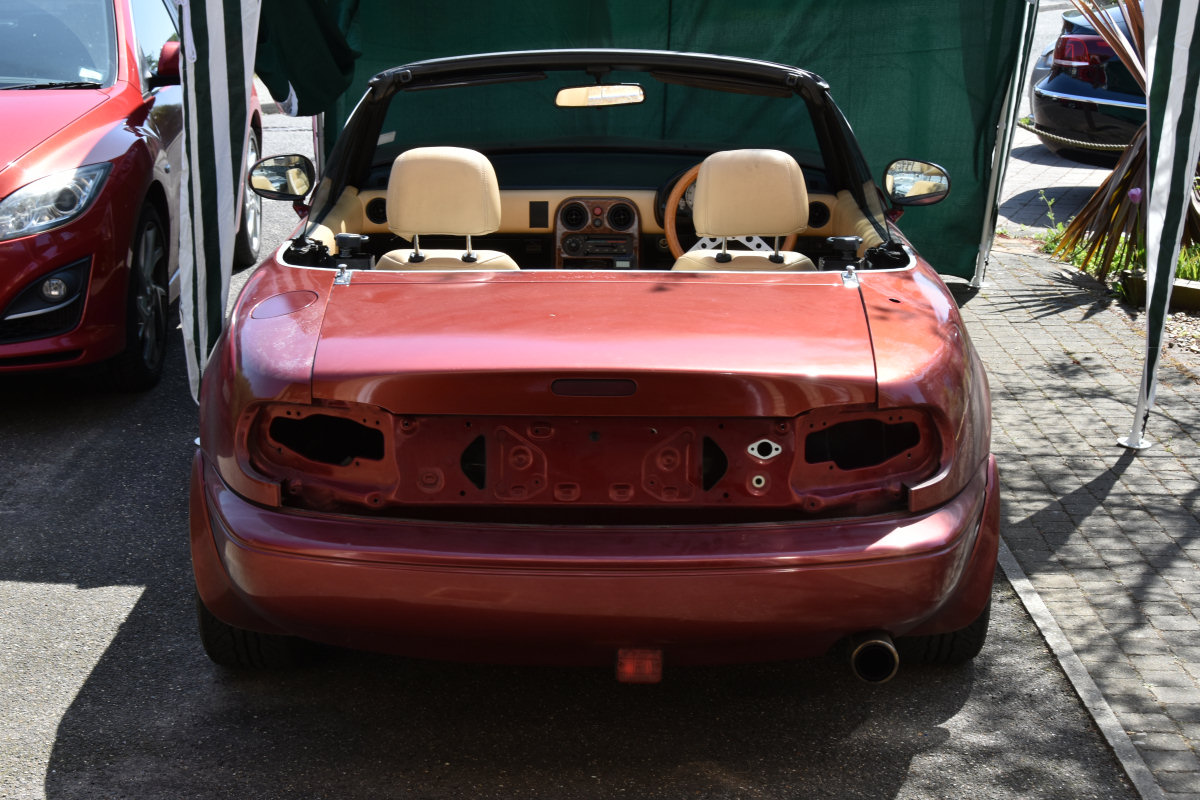
At the rear, all the lights, locks, reflectors, etc. are coming off. The rear bumper is next to come off.
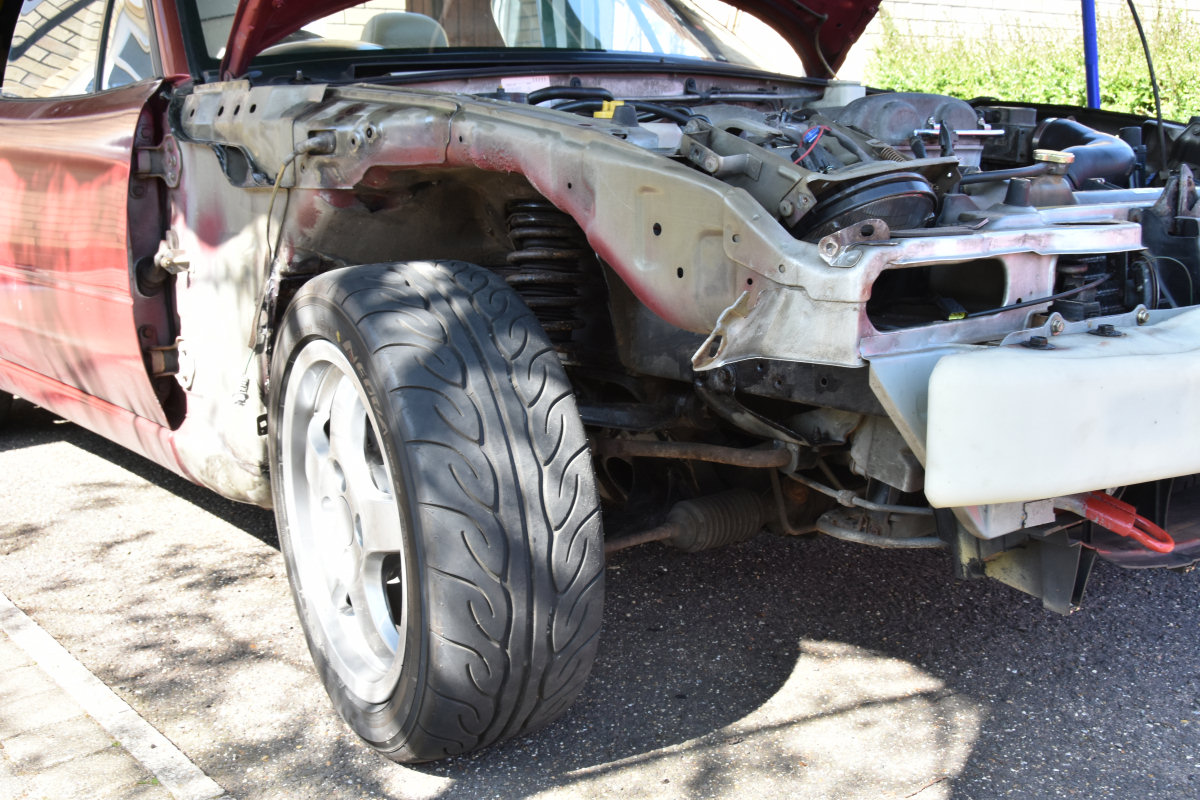
Getting the front bumper off is easy. The front wings are a little harder. One bolt sheared and had to be drilled out. There really is very little rust. The inner wings are being rust treated and undersealed though.
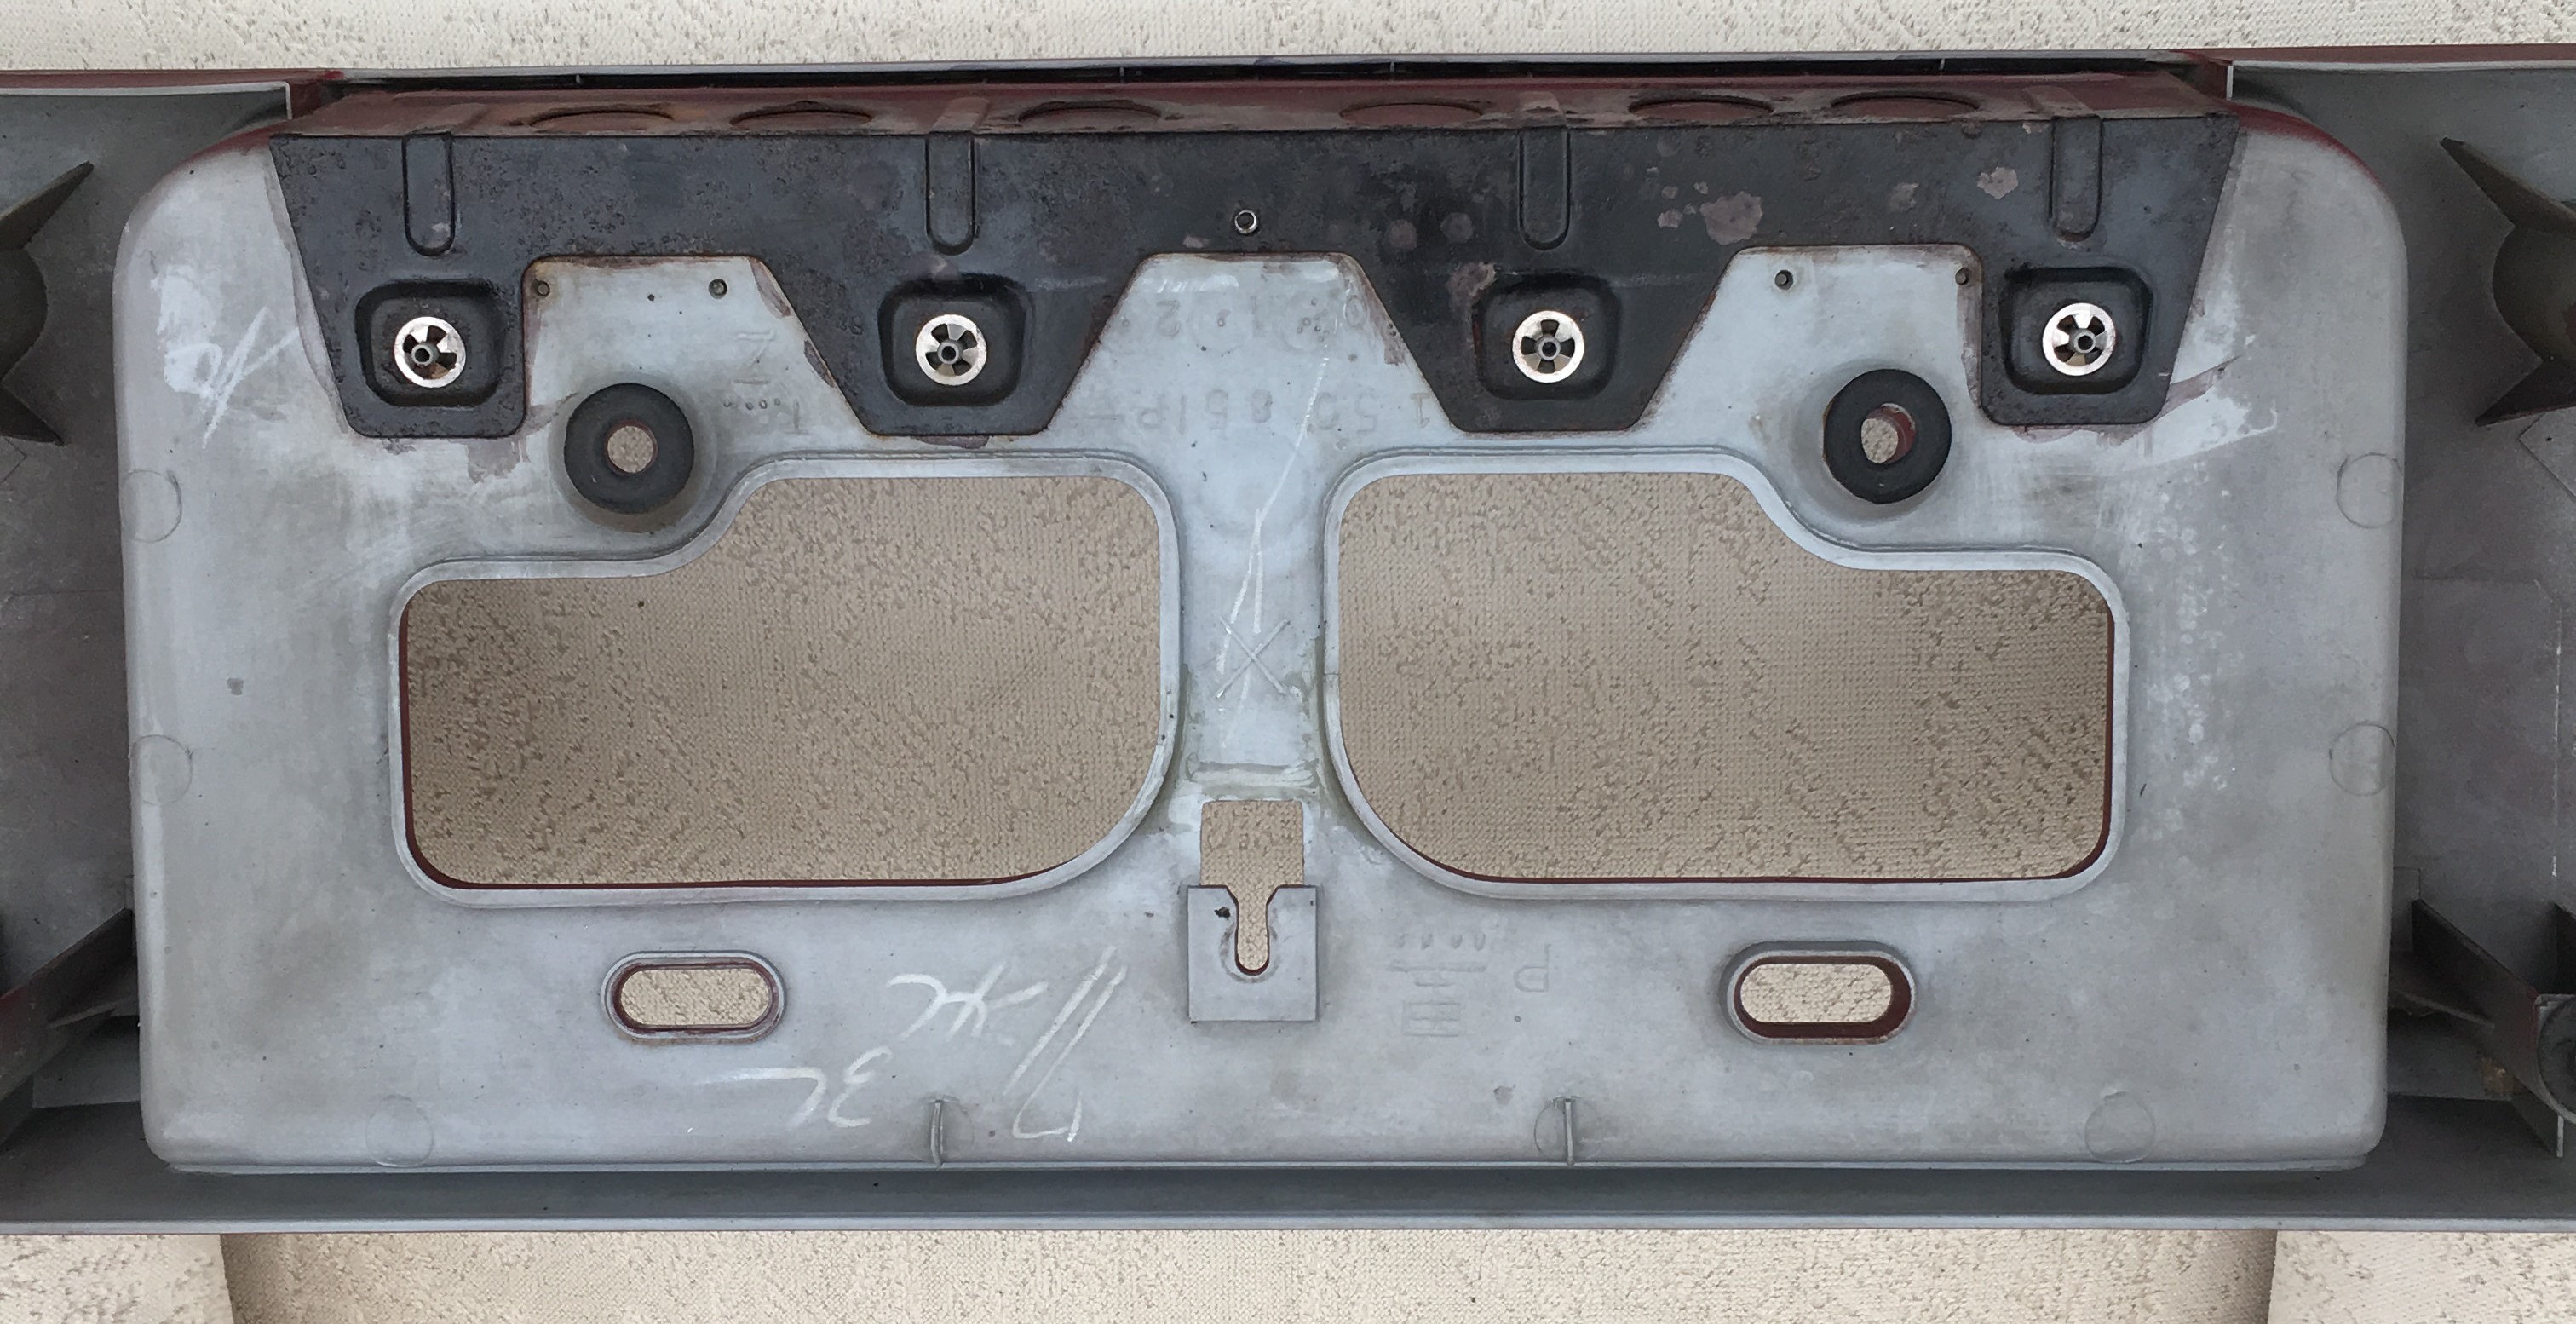
The rear number plate plinth was cracked, so this has been fixed with Araldite glue.
Spent today removing the rear bumper and other bits on the rear of the car. The crash structure inside the rear bumper was hard work, with a few bolts seized. Still remarkably little rust though.
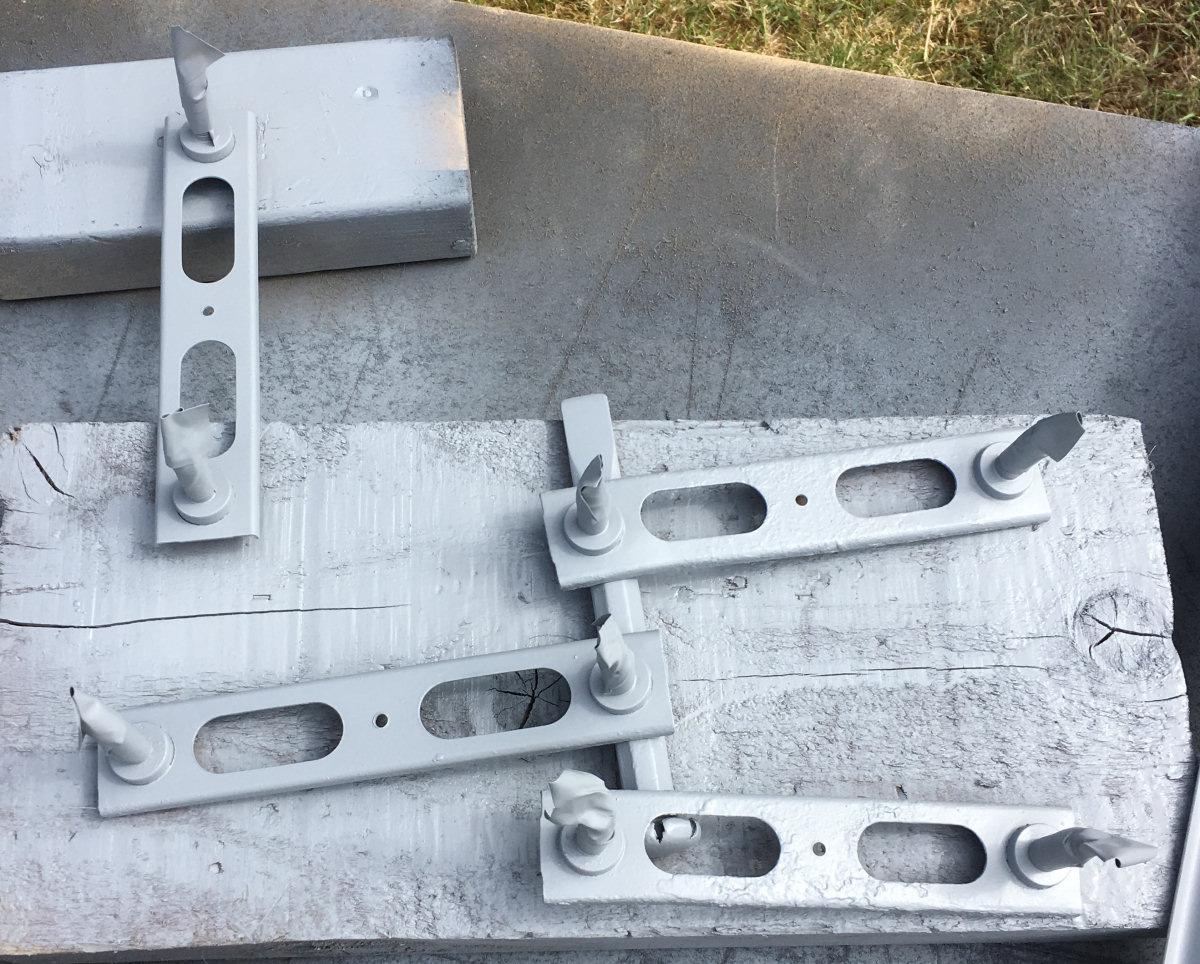
Where I find any part that is even slightly corroded, it is removed, rust treated and resprayed if need be. These are the brackets that holds the rear crash structure to the crash structure mounts. They have been primed and will be spray painted black. There is tape over the threaded part, to keep it free from paint.
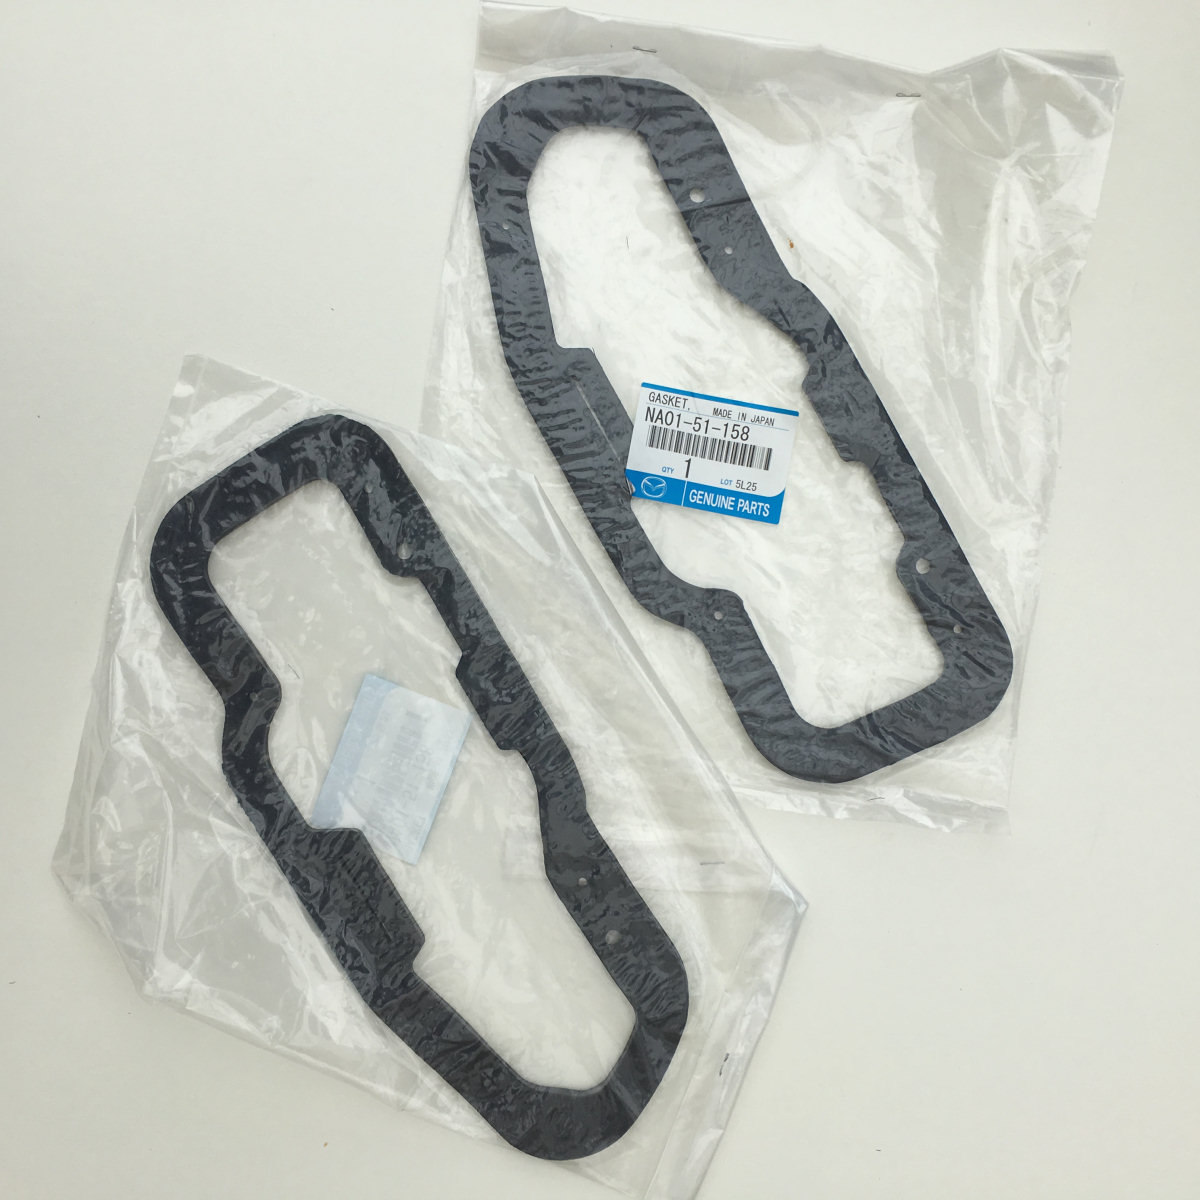
When the rear light clusters were removed, it was clear the seals were crumbling to powder. I ordered some new ones from MX5 Parts, which arrived today. These are expensive but essential to keeping the inside of the boot dry.
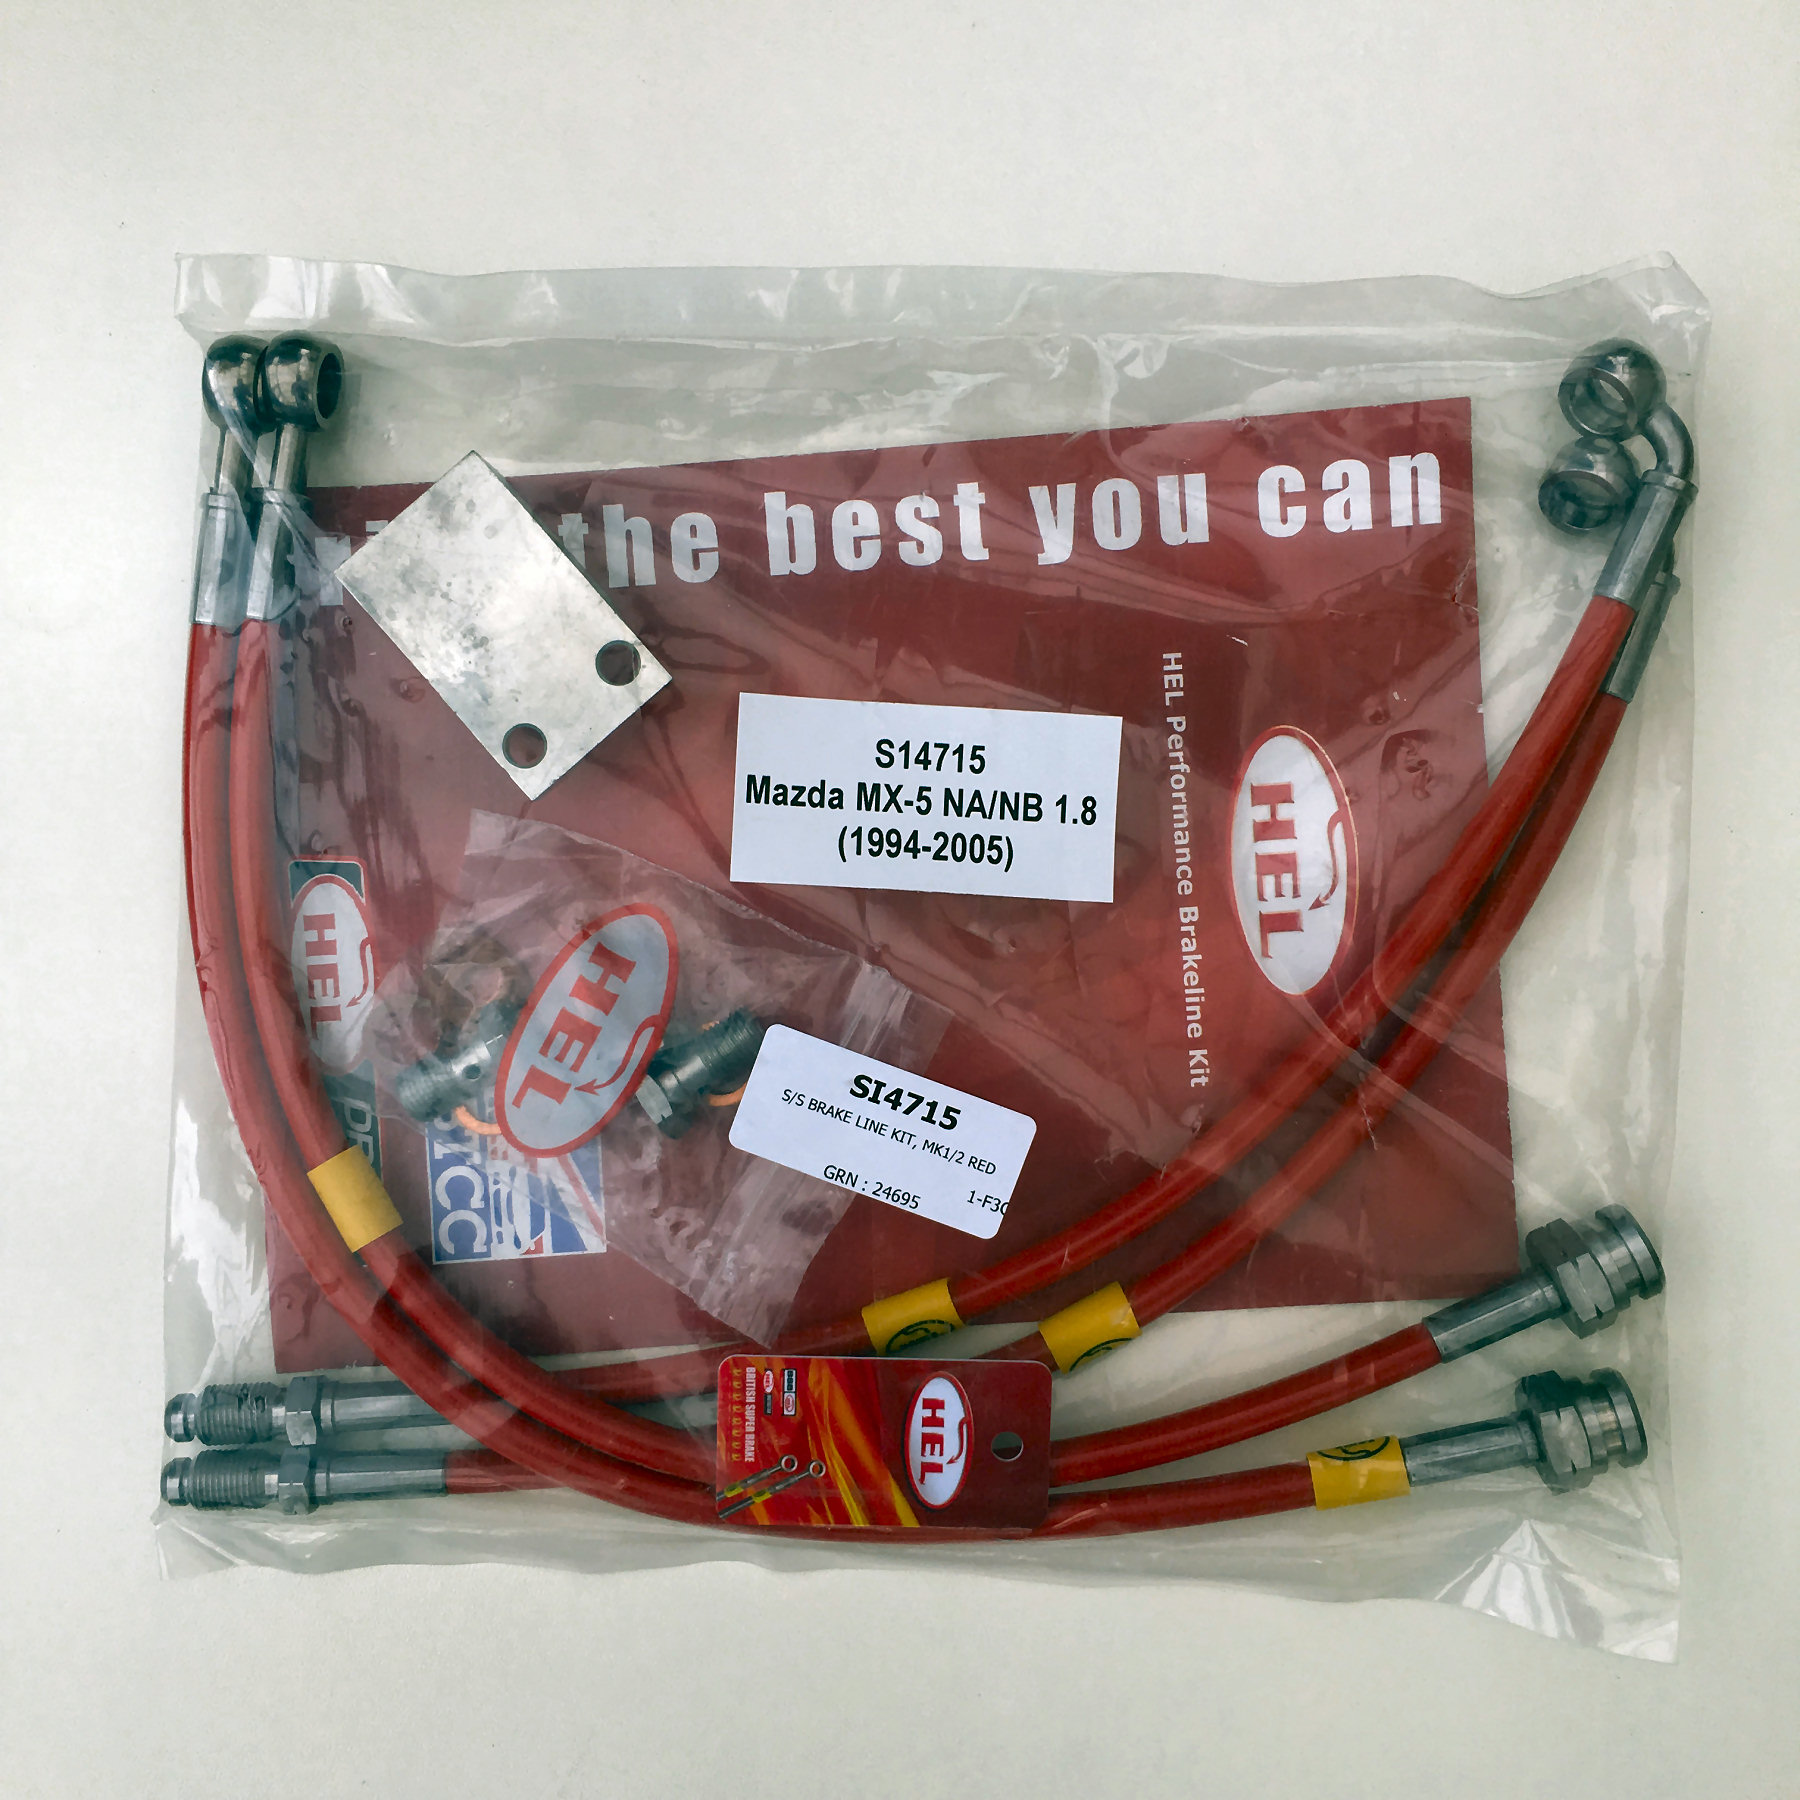
Bought some HEL Performance stainless-steel braided brake hoses in red to match the calipers.
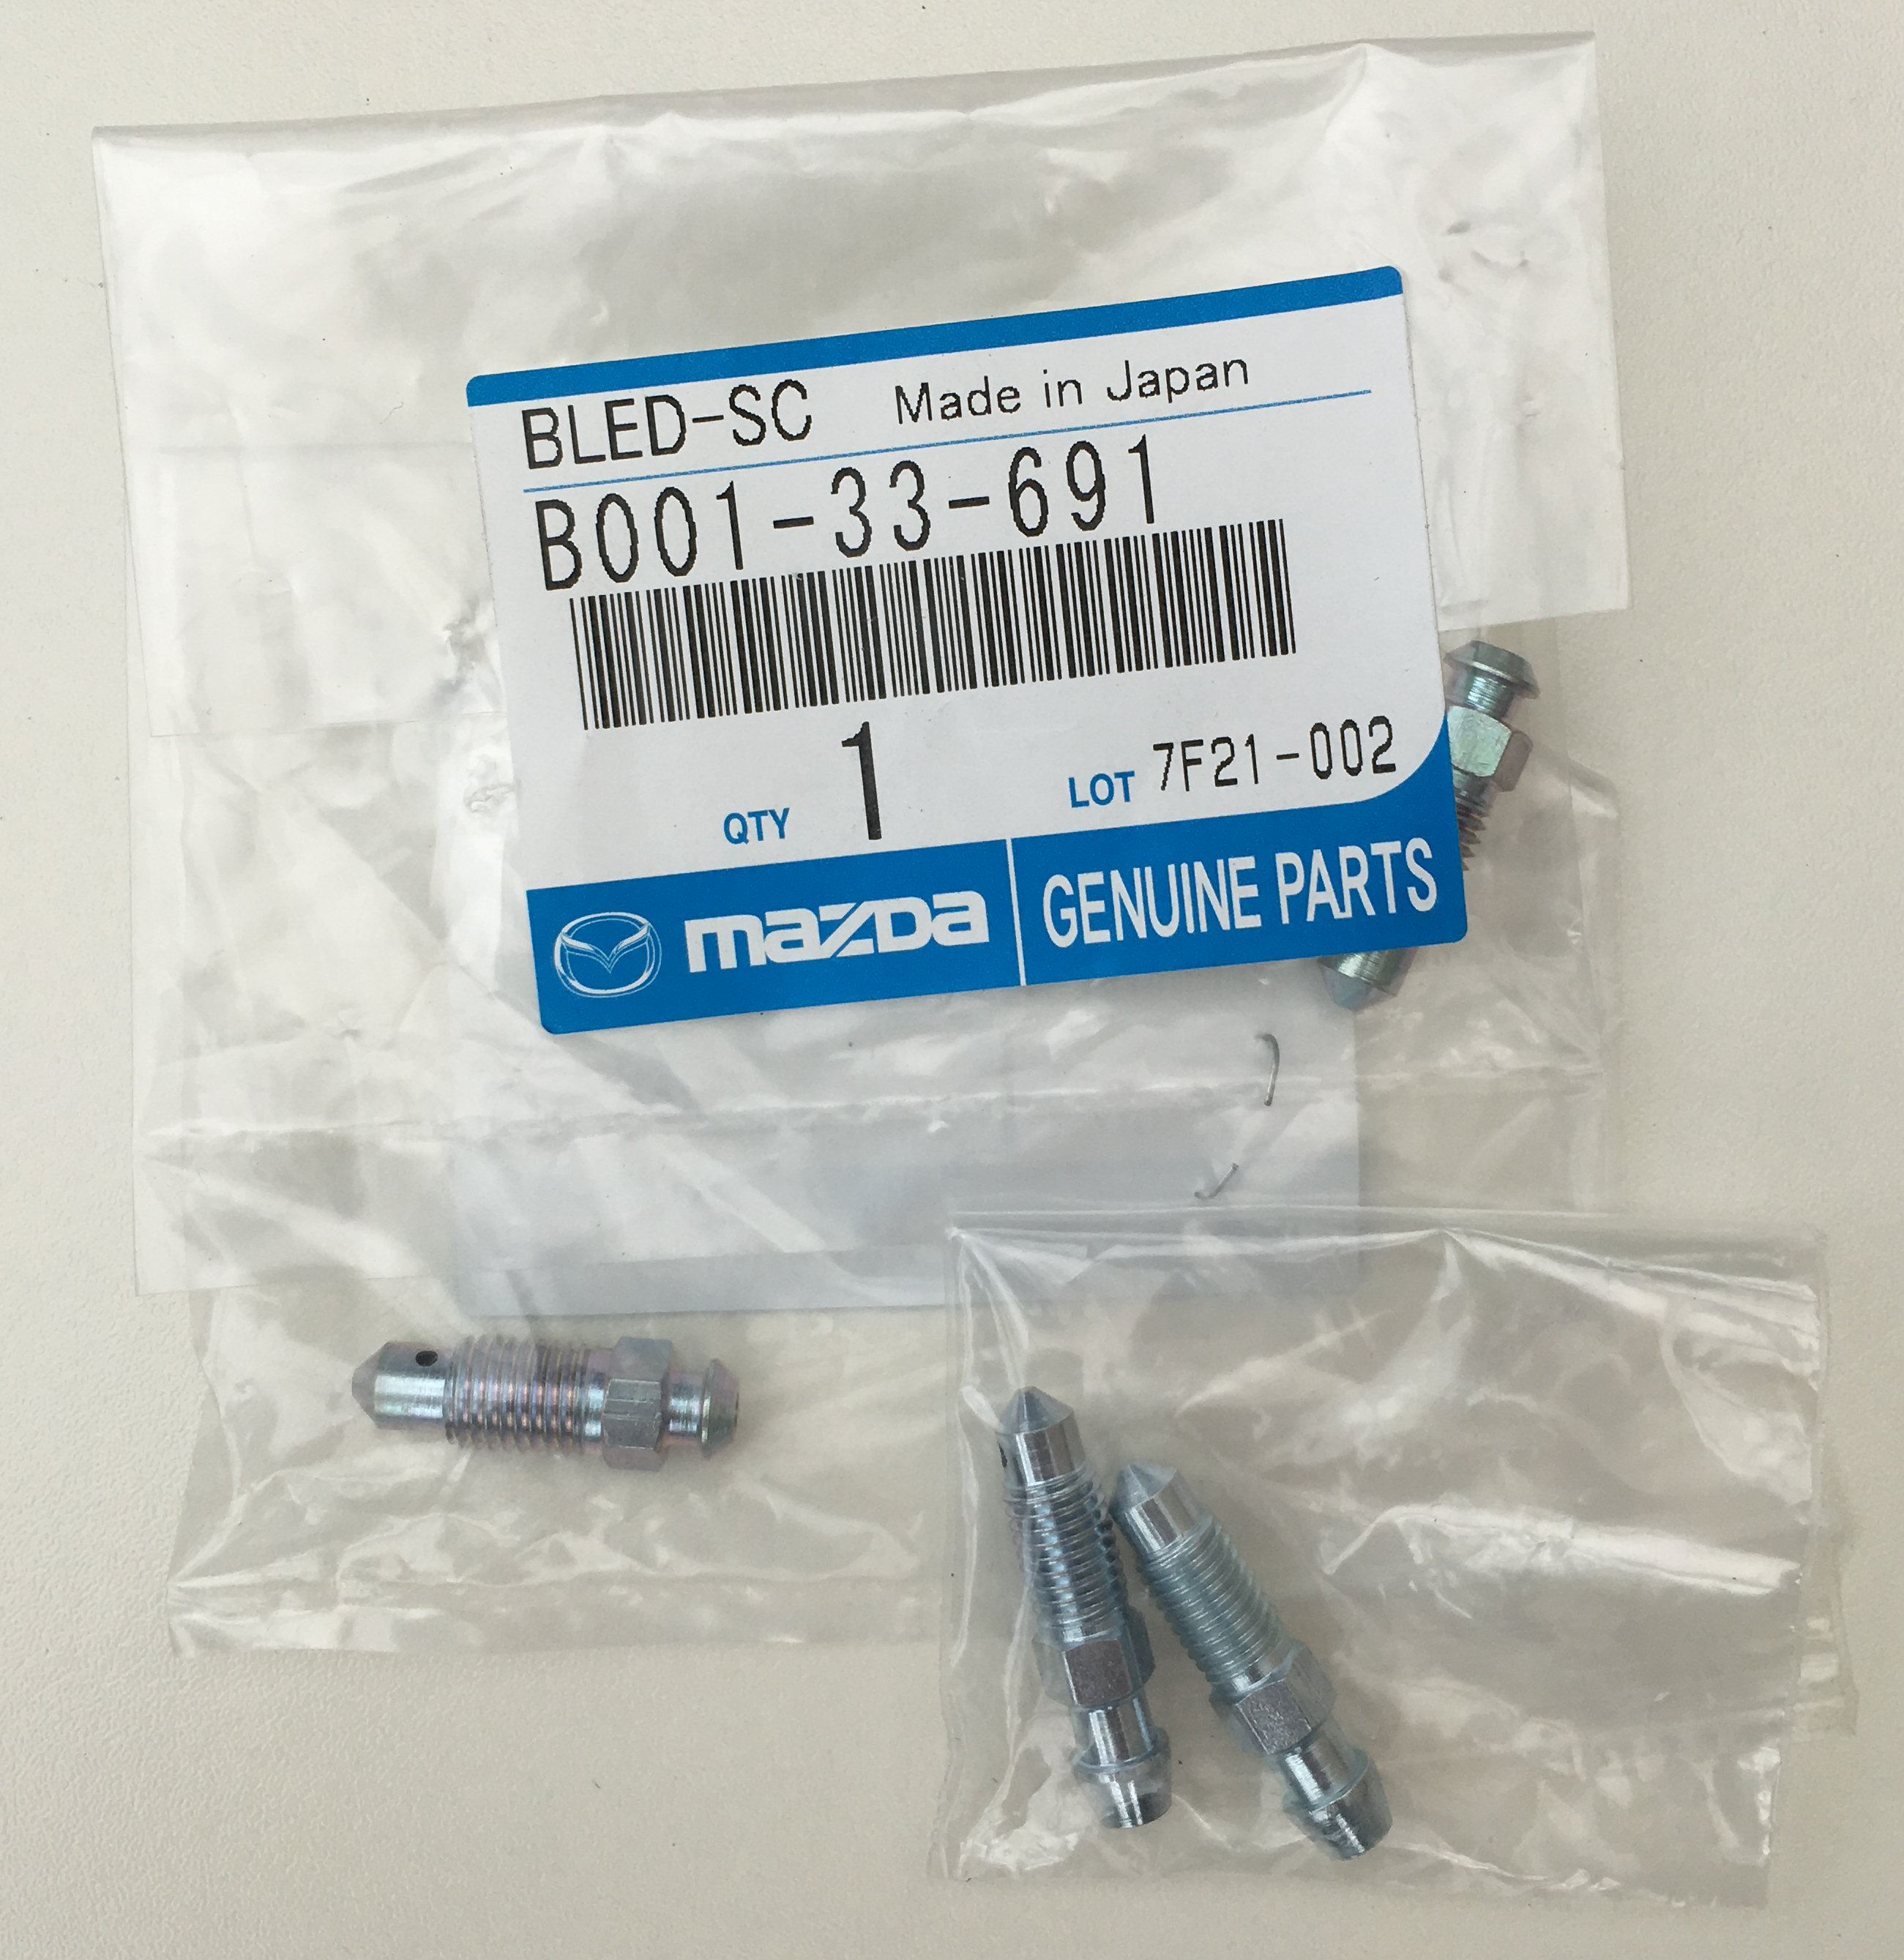
When I changed the brake fluid, I struggled with some of the bleed nipples, so they are also all being replaced.
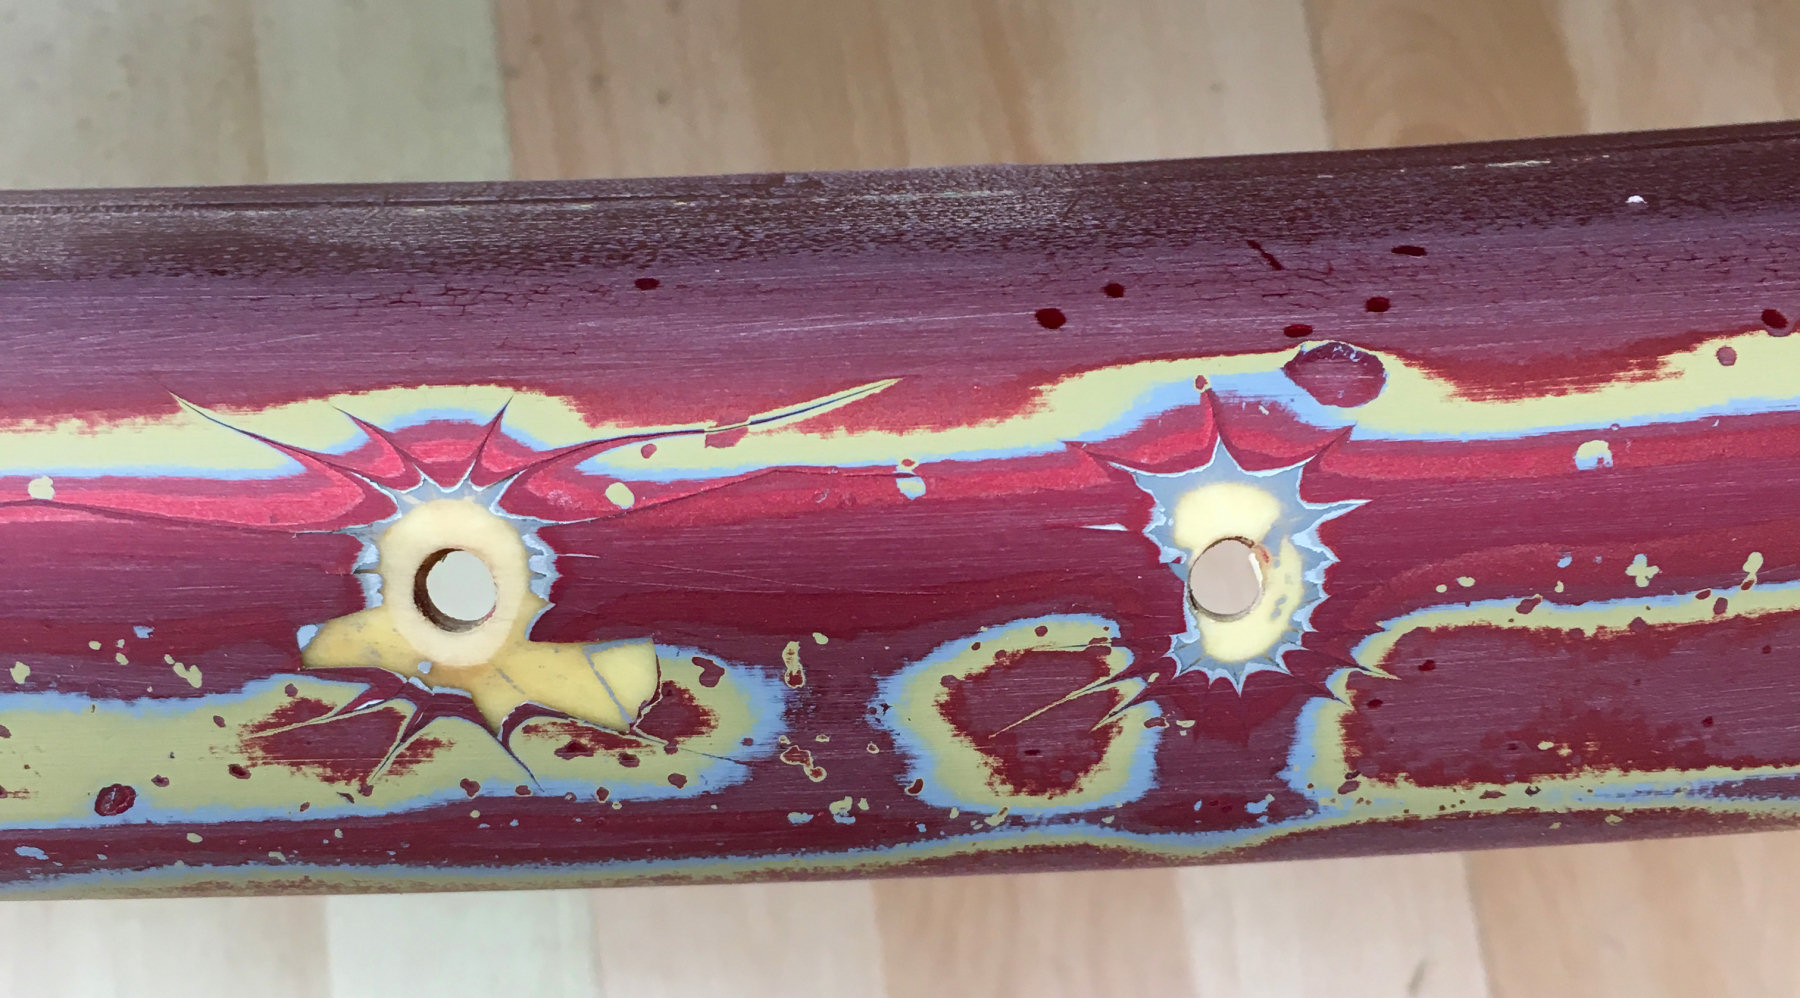
Spent some time preparing the front bumper for painting. This will be prepared properly by the paint shop but I wanted to investigate what was under the previously applied paint as some of it is very rough. I also want to fill in the holes used to mount the number plate using Isopon plastic bumper filler.

This is the plate that sits between the top of the rear bumper and the inner crash structure. This has been cleaned up and primed, ready for painting black.
We are nearly there now! I have three boxes of parts removed from the car and just the door seals to go now :-)

The rear crash structure mounting plate is now painted black.

This is the cleaned up plastic plinth that sits at the bottom of the windscreen. Brought back to life with some Back To Black. There are oval screw covers at each end, which are fairly easy to pop out. The other round covers were really hard to get out though and some of them need to be replaced.
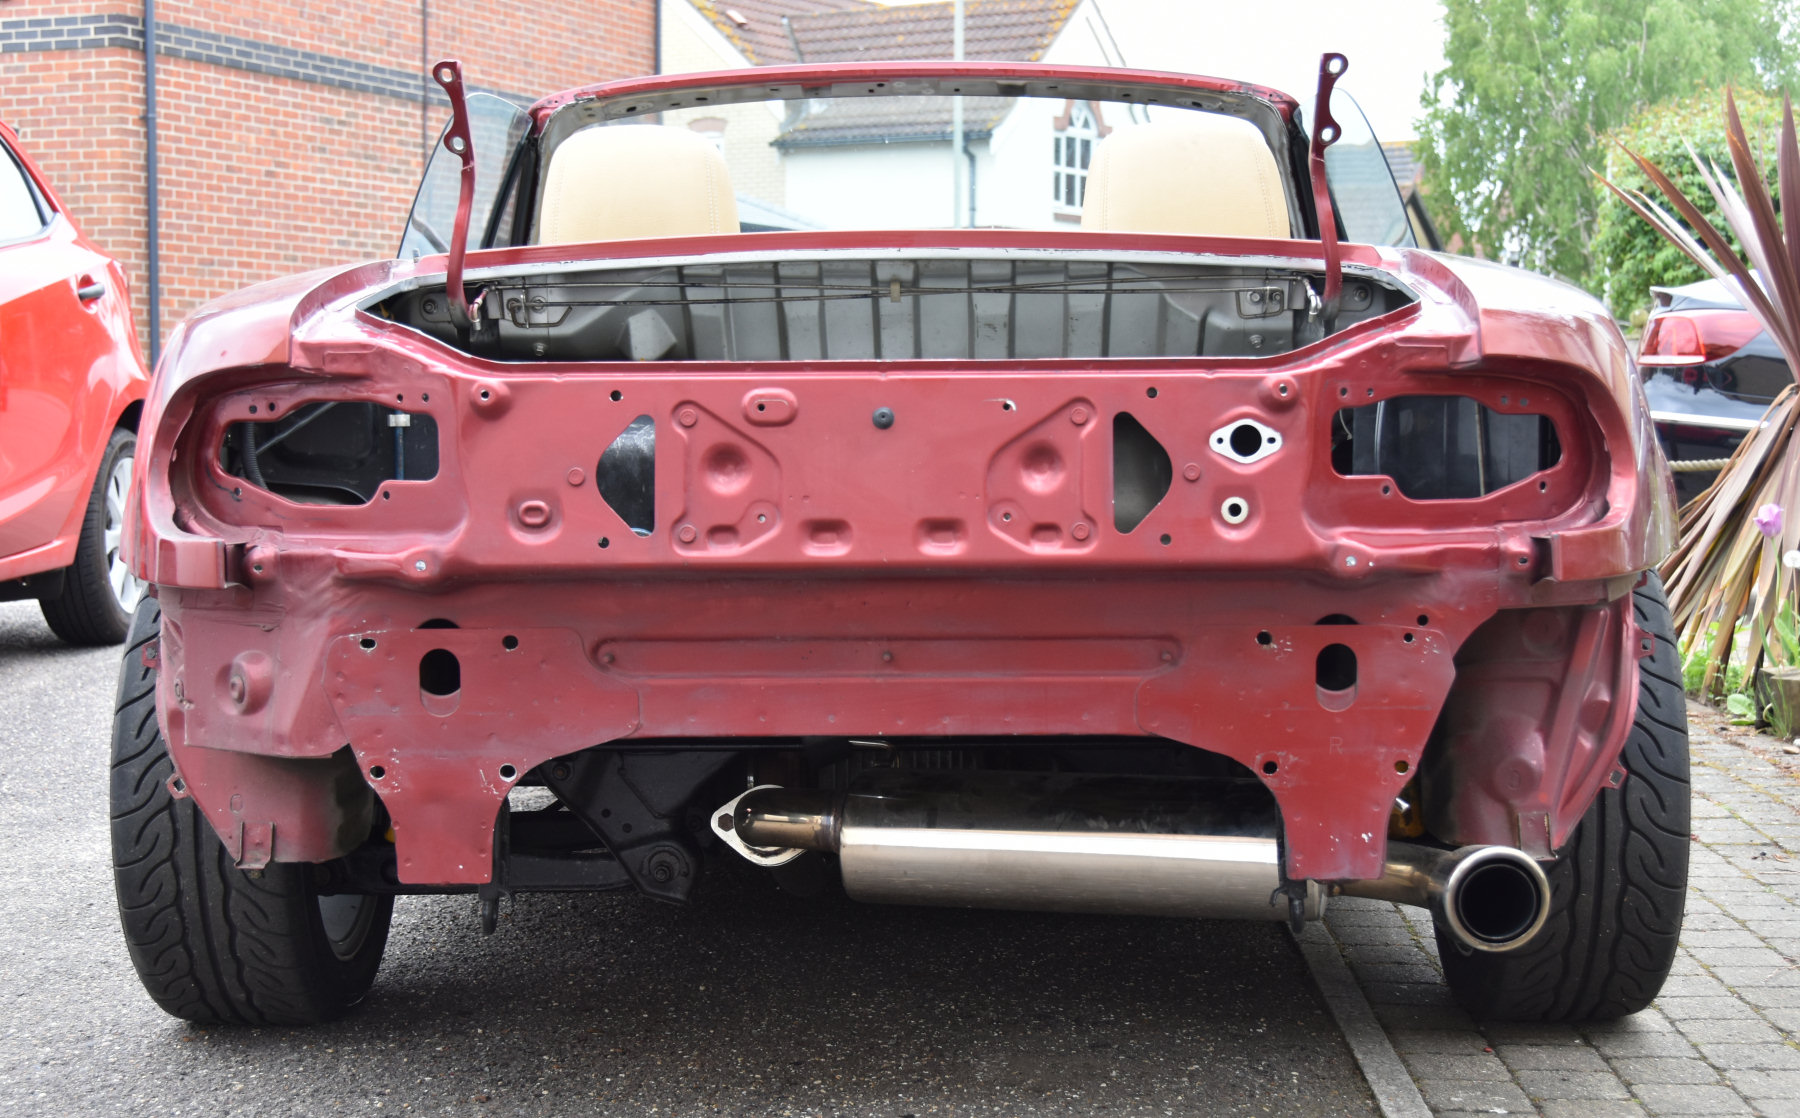
Finished removing all the bits on the rear of the car first. You can also see that I have stripped all the bits from the windscreen surround.
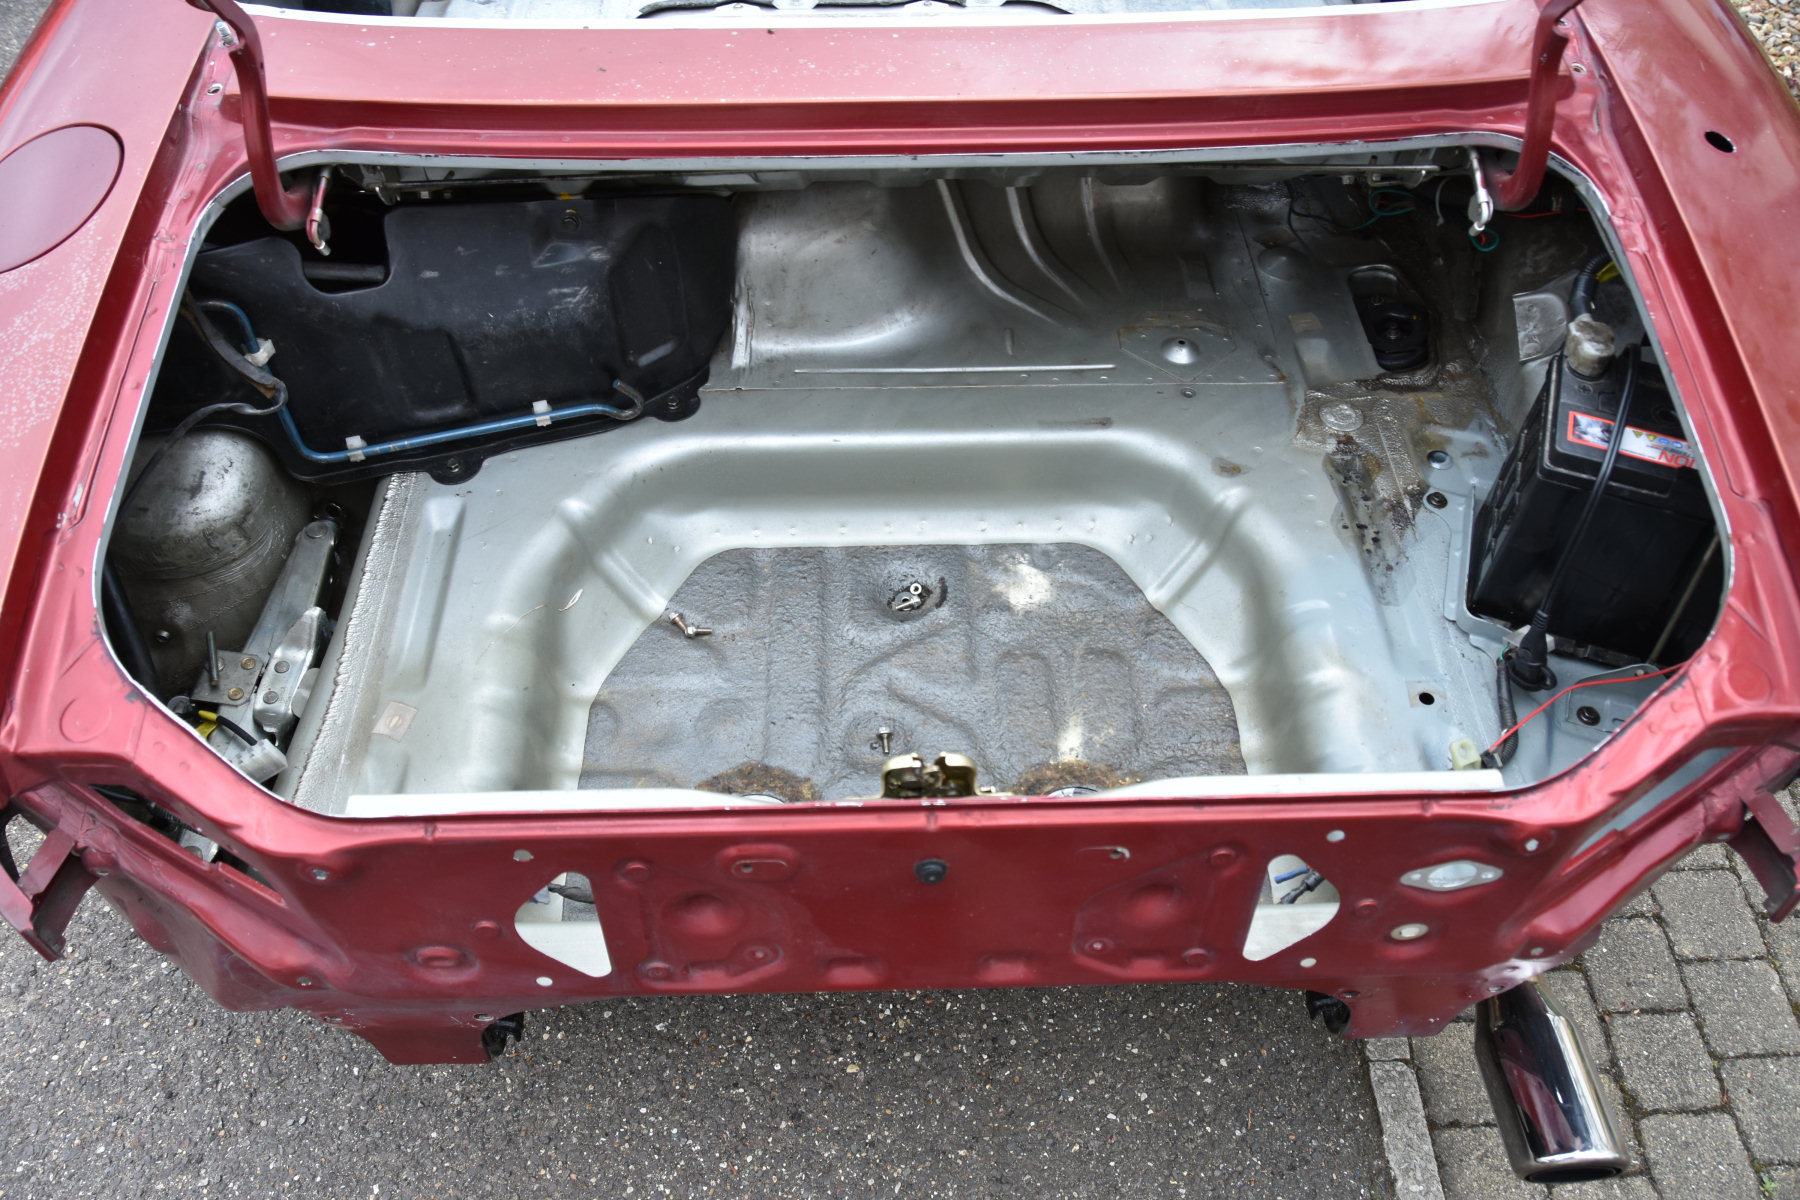
The boot had already been stripped out. It's very clean inside with no rust.
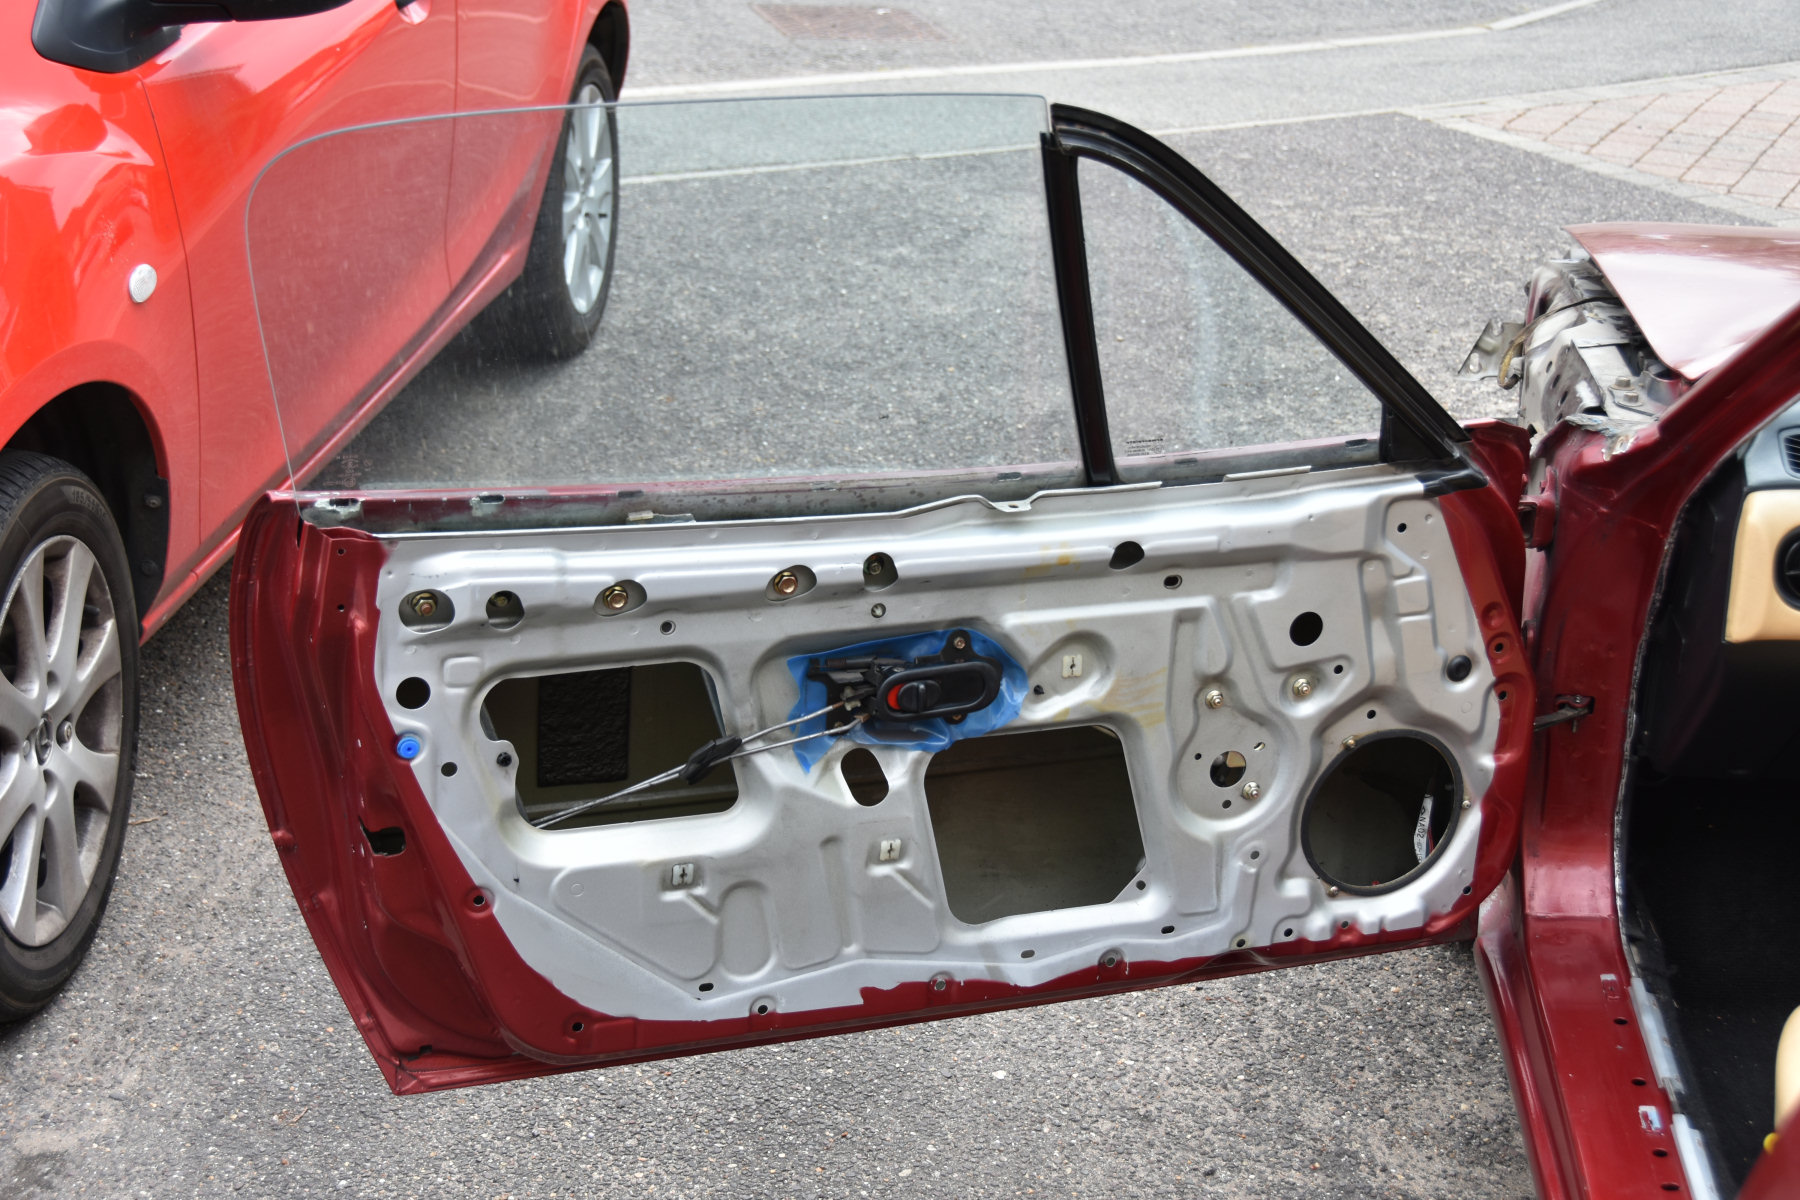
The passenger door has been stripped down, with locks removed. You can't see it here as it has all been cleaned off in this picture but the inner plastic seal had been restuck with black mastic. I was a complete mess and had gone everywhere. It took over an hour to clean each door :-(
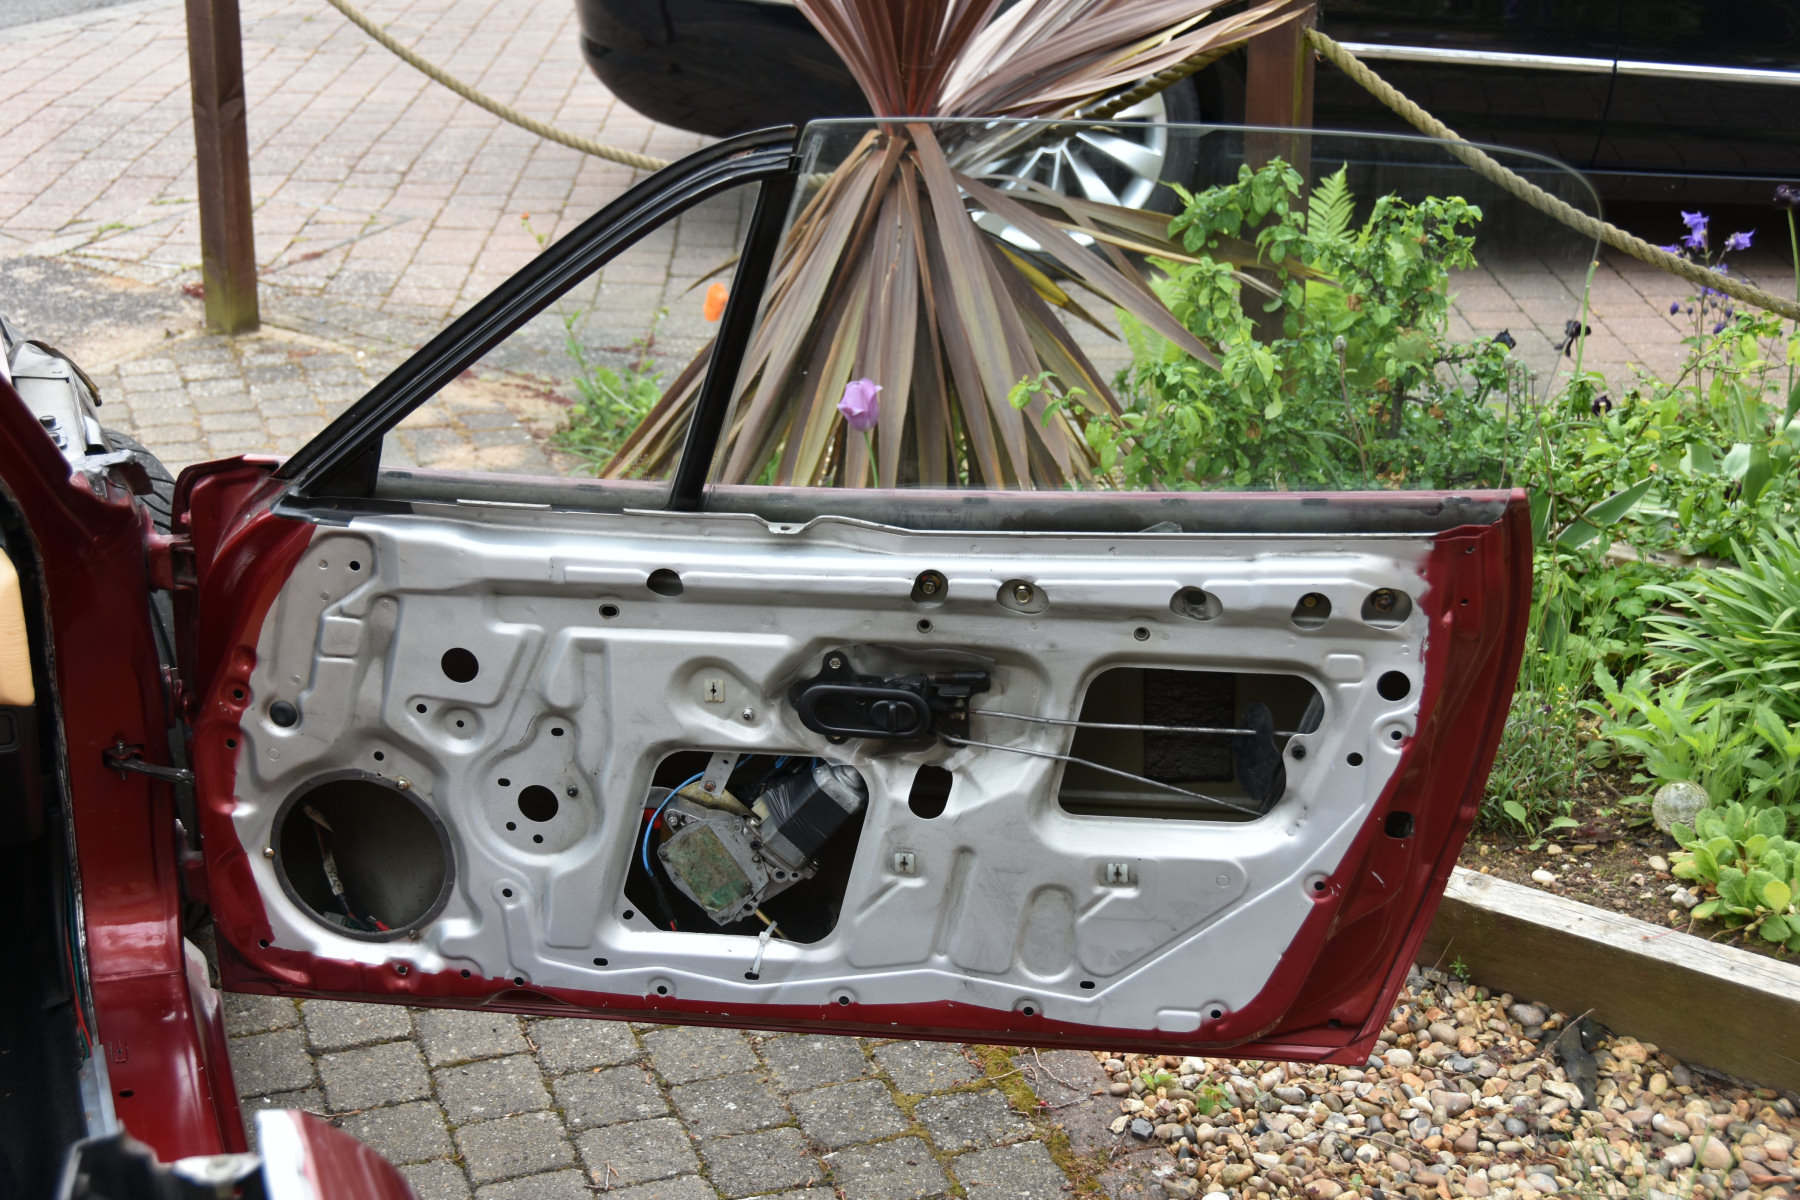
Both doors are in excellent condition with zero rust and very clean inside. The plastic inner liners have been cut away because they were covered in a sticky mess of black mastic sealant. New ones will be cut and fitted before the new door cards are attached. The electric window winder mechanism on the drivers side has had some bodge work done on it but it will be removed and fitted correctly.
The seals are held on the doors by loads of little diamond shaped plastic clips. These have all been taken out and some were loose and some broke, so a load more have been ordered.
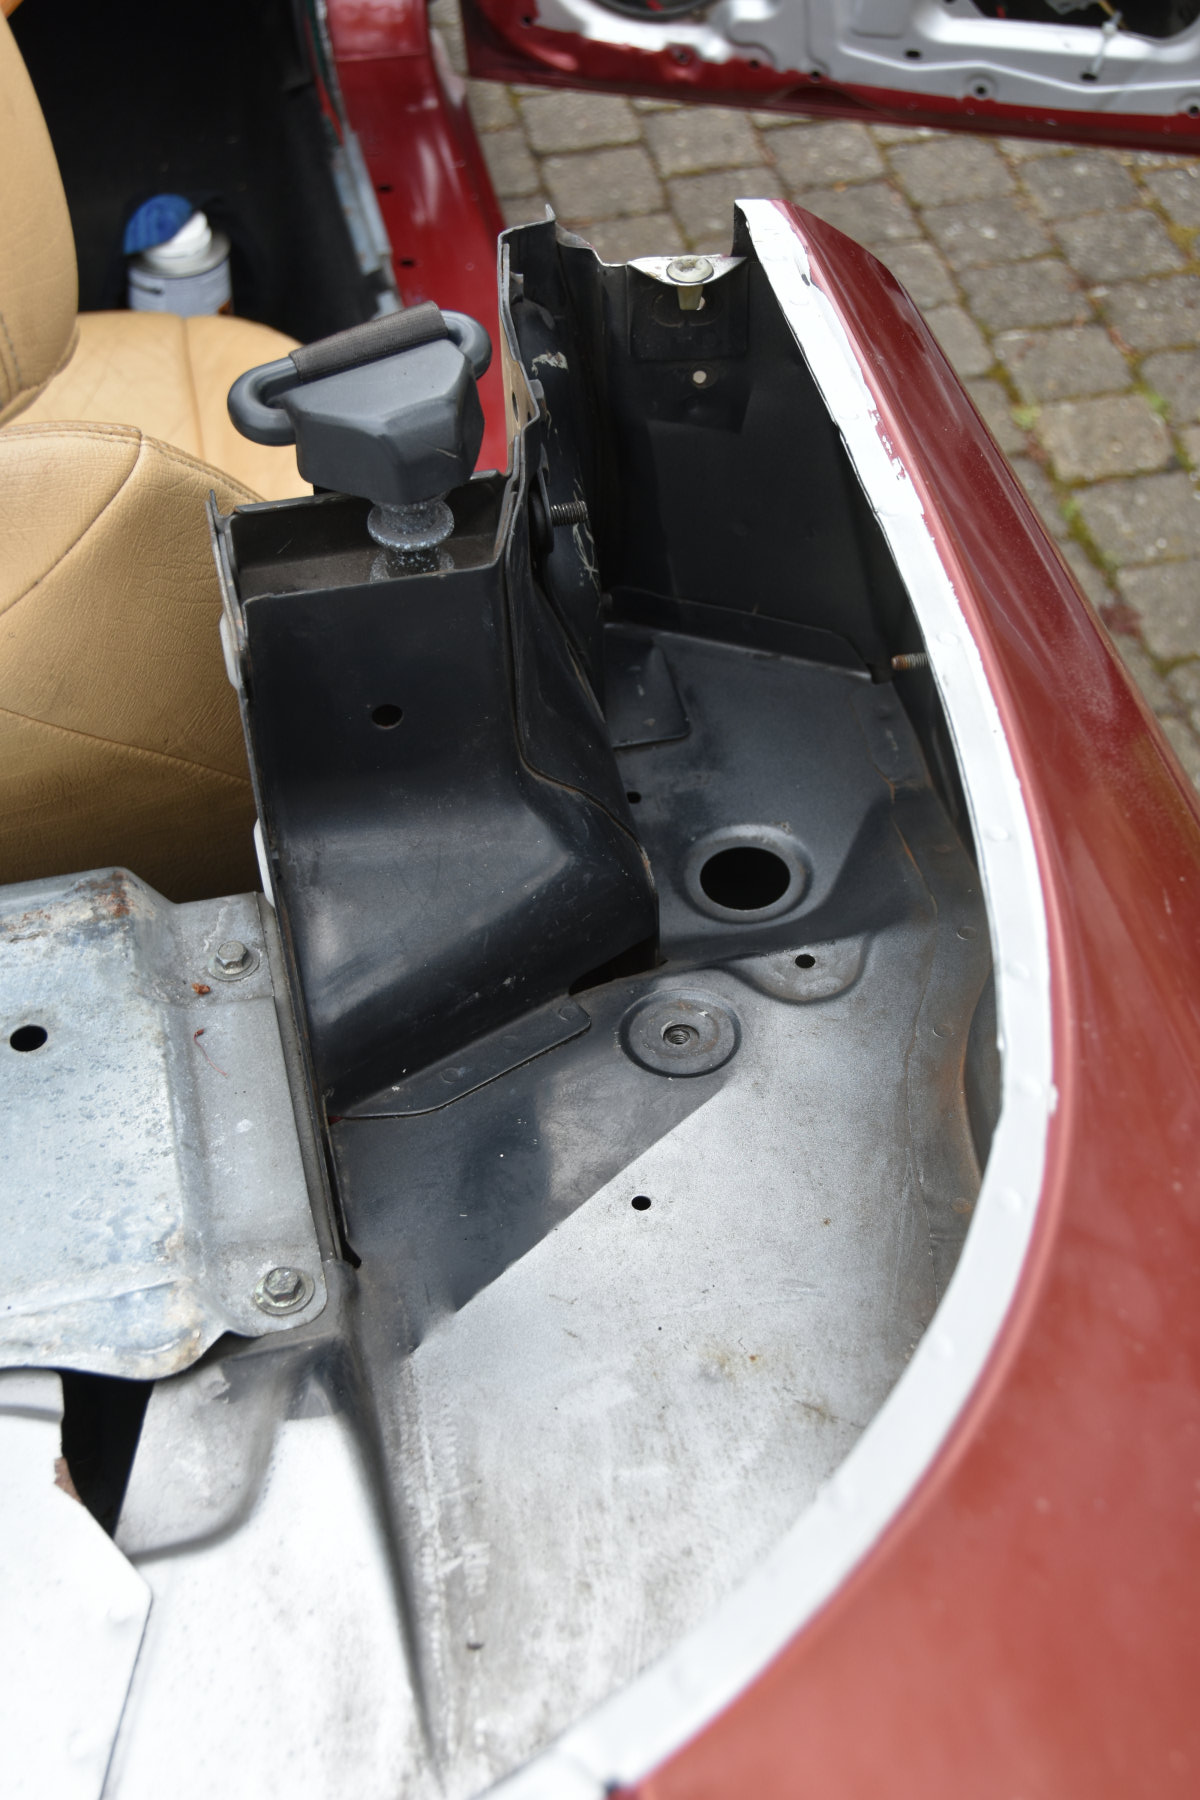
Good to see that the drainage holes on both sides were clean and on removing the water collector, it was very clean and tidy underneath.
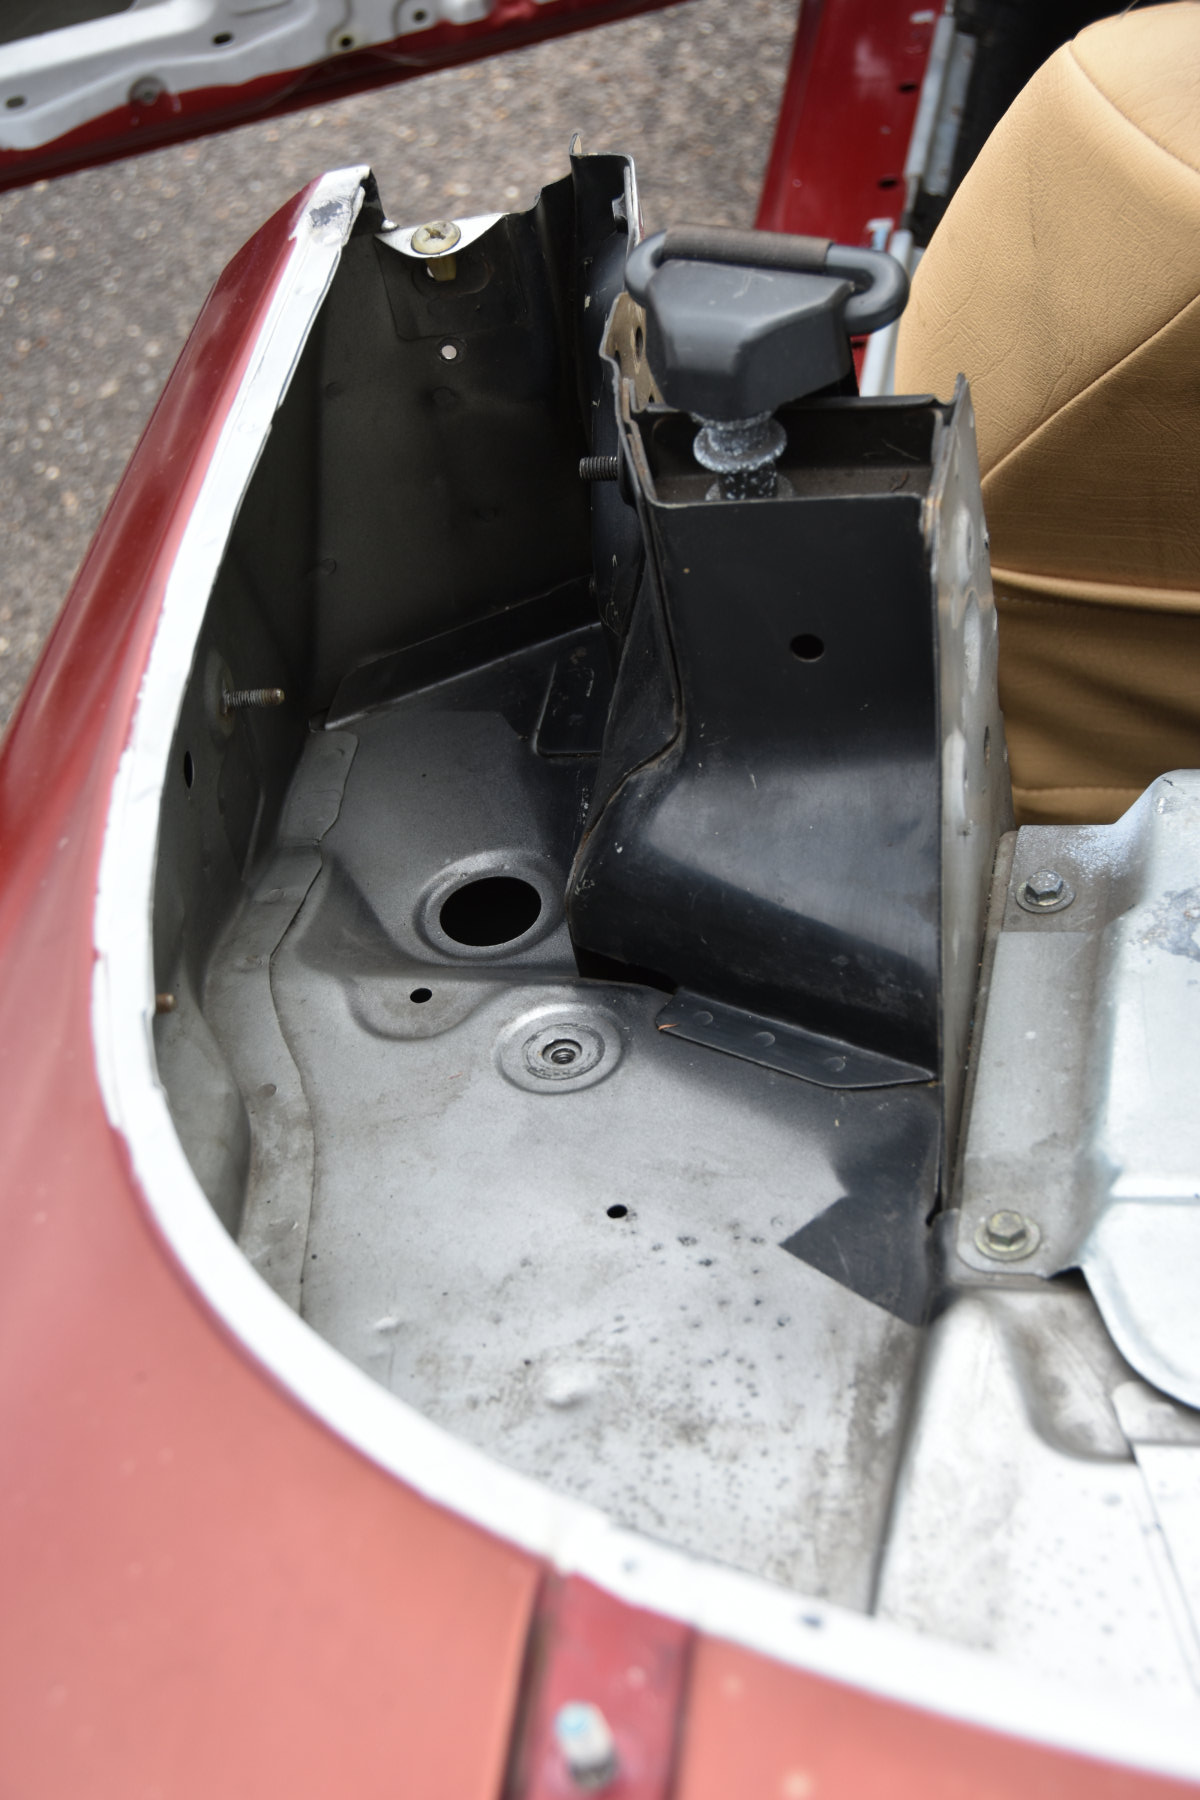
Inside this space is a plastic 'cup', which has a tube that runs down to the underside of the car. At the bottom of this is a one way valve and in many early cars, the tube gets blocked leading to water leaking into the sills. Having inspected inside the sills with a USB camera, they are spotless. Like it left the factory nearly 29 years ago :-)
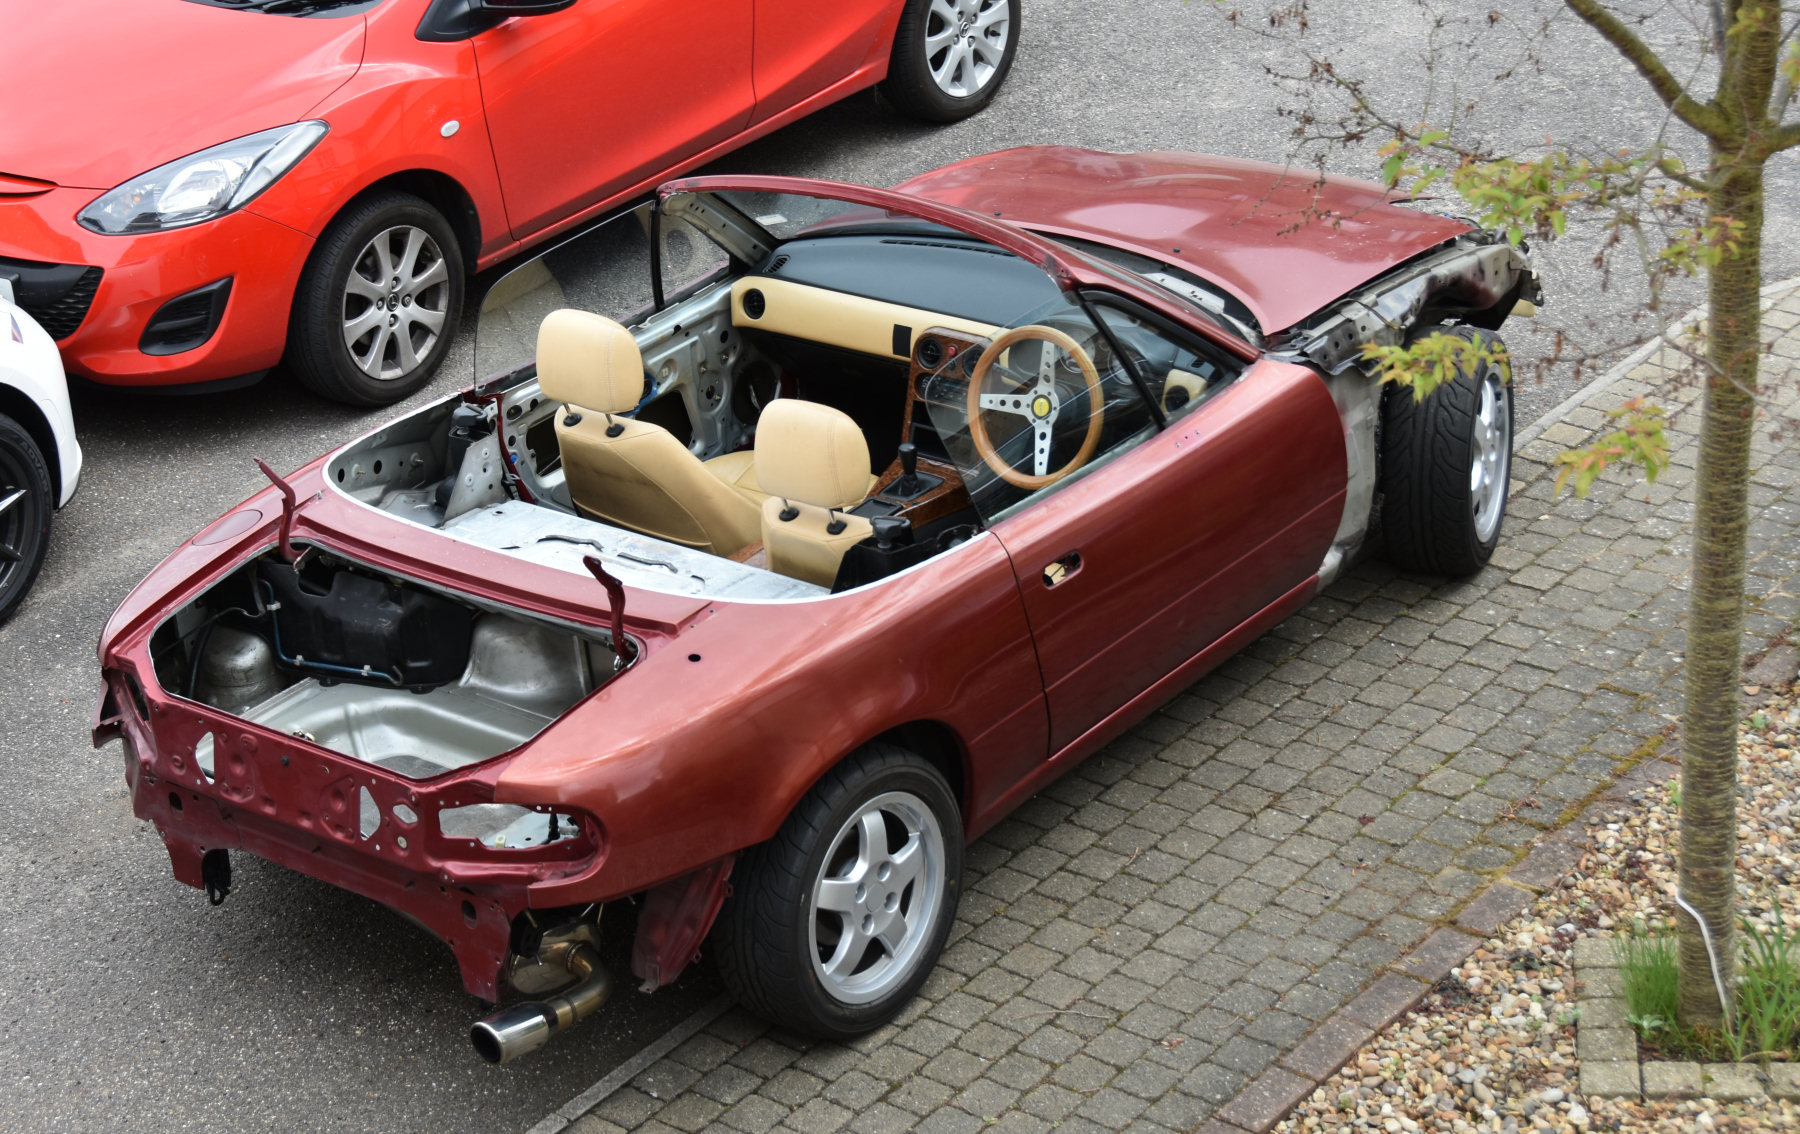
The car is now ready to go off to the paint shop :-)
The metal work had to be removed from the front bumper. The top mount is in three parts and sandwiches the plastic. Nine self tapping screws hold it together but every single one had corroded and wouldn't budge. These had to be drilled out and the remaining parts removed using mole grips. The metal parts have been rust treated and painted carefully, as there are rubber seals on the lower parts.
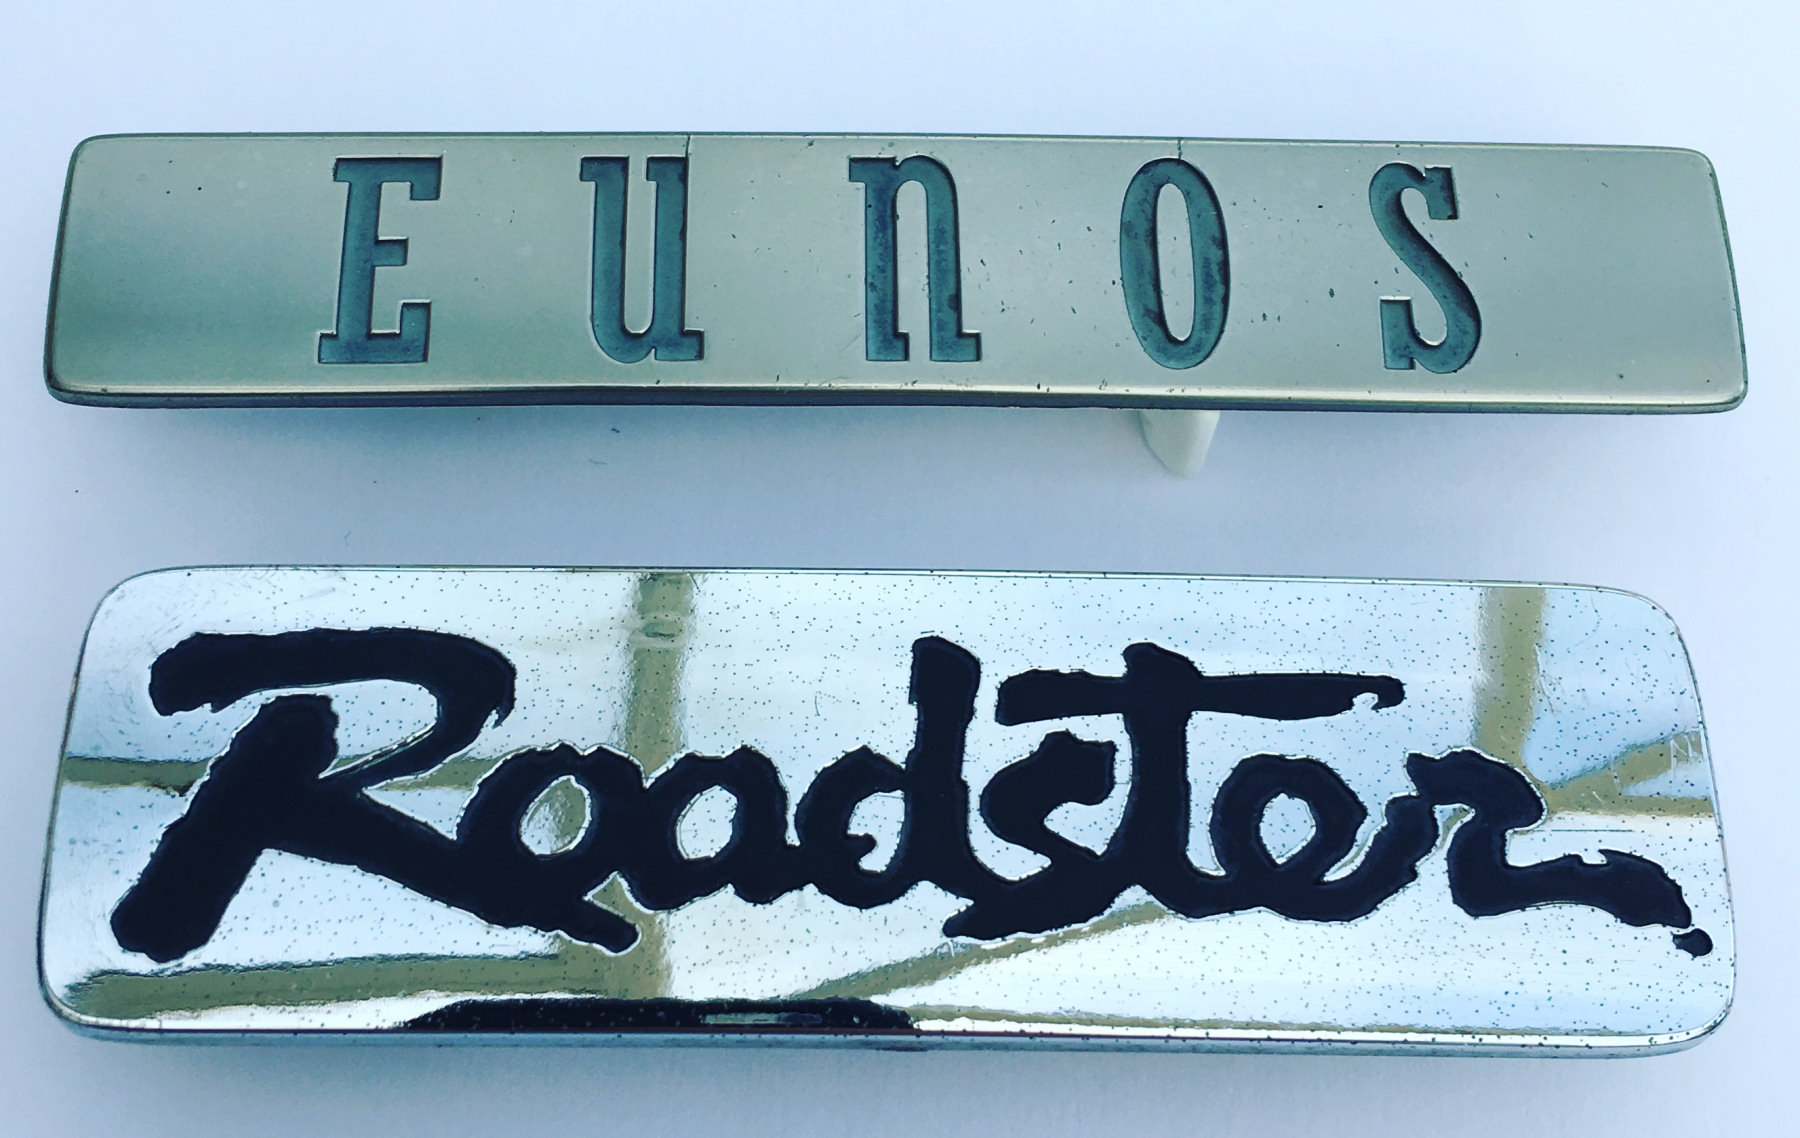
The badges were simply held on with double sided tape. They have cleaned up nicely.
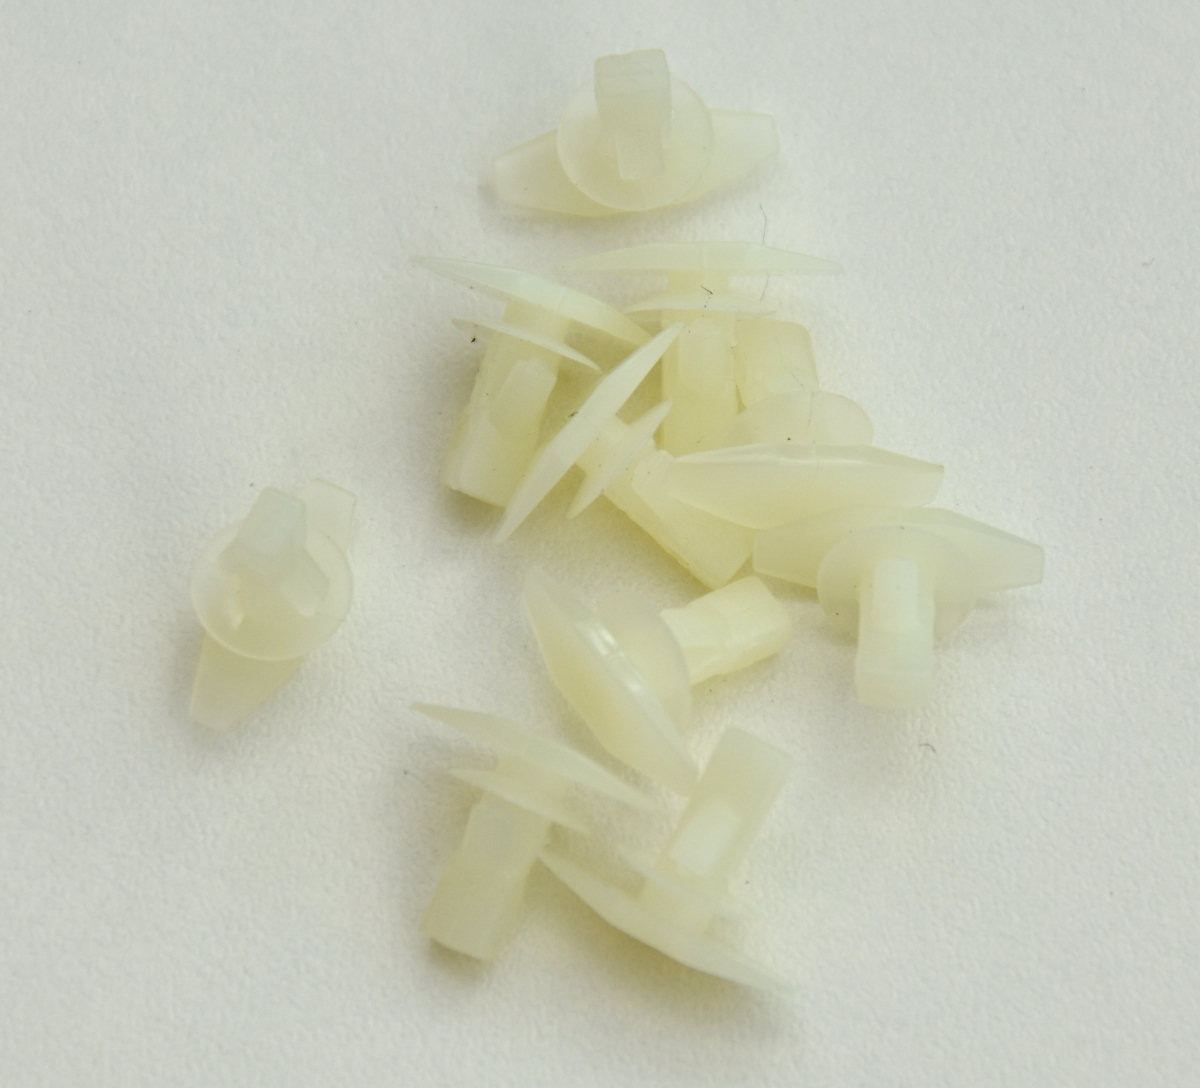
These are new door seal clips ordered from eBay. I've bought 40 just in case.
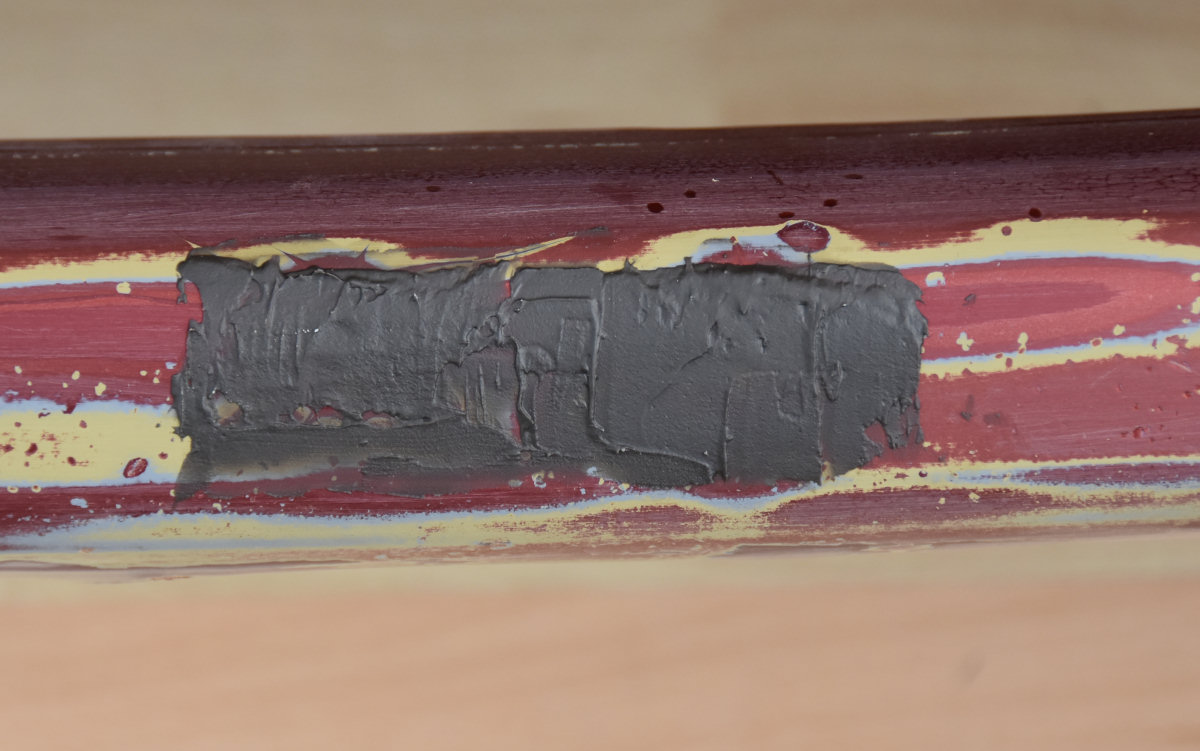
This is what the repair to the front bumper currently looks like, to fill the holes where the number plate was fixed. It needs to be rubbed down and made smooth.