
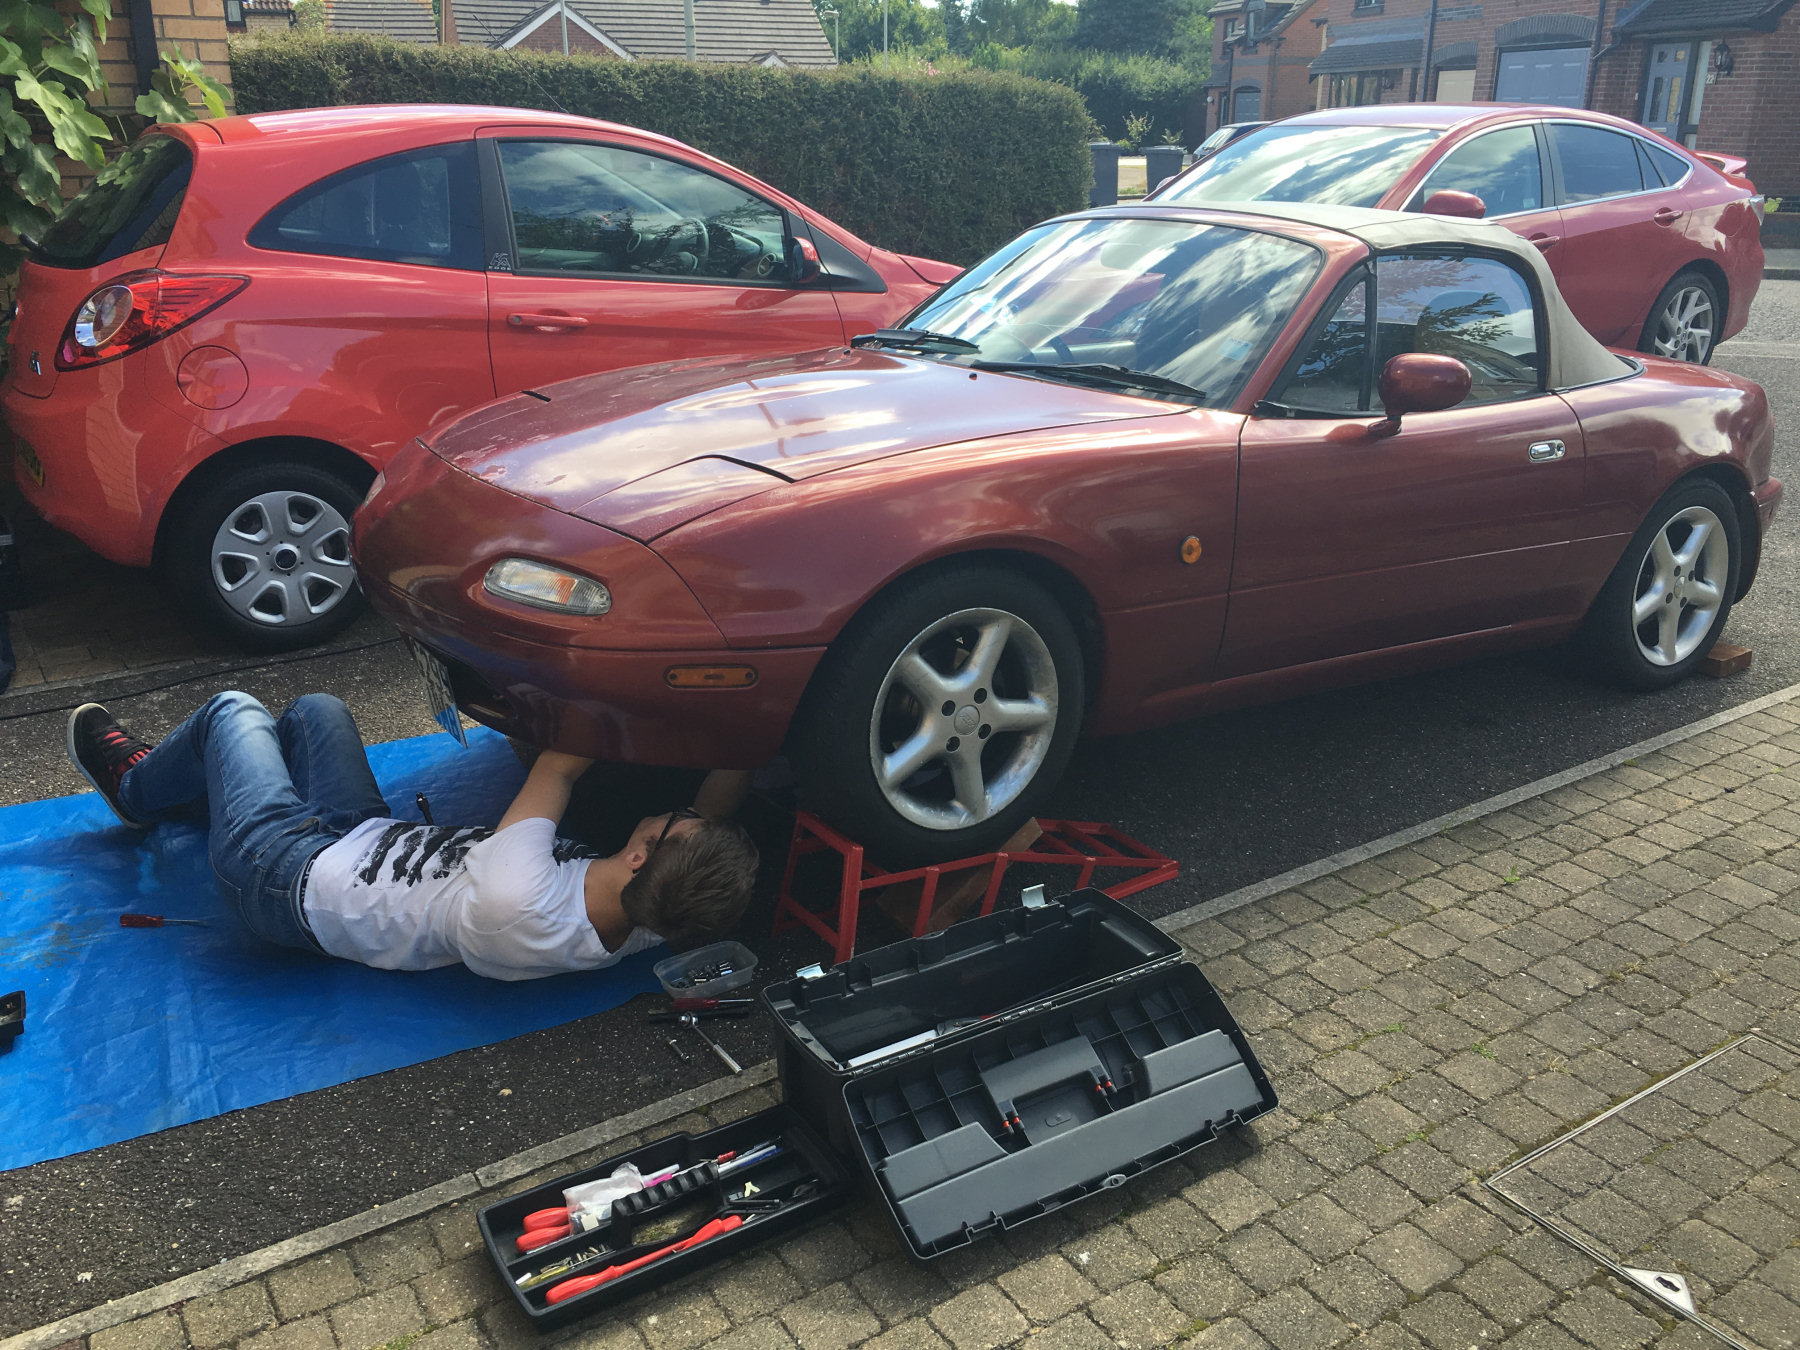
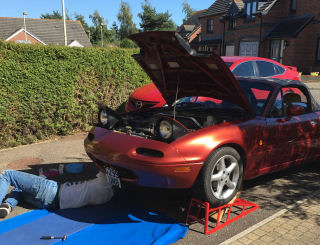
| Long break from working on the Eunos, whilst in California on holiday for 3 weeks :-) The car has was stored away in a relatives garage whilst we were away. Pleased that it started first time after not being touched for 4 weeks. |
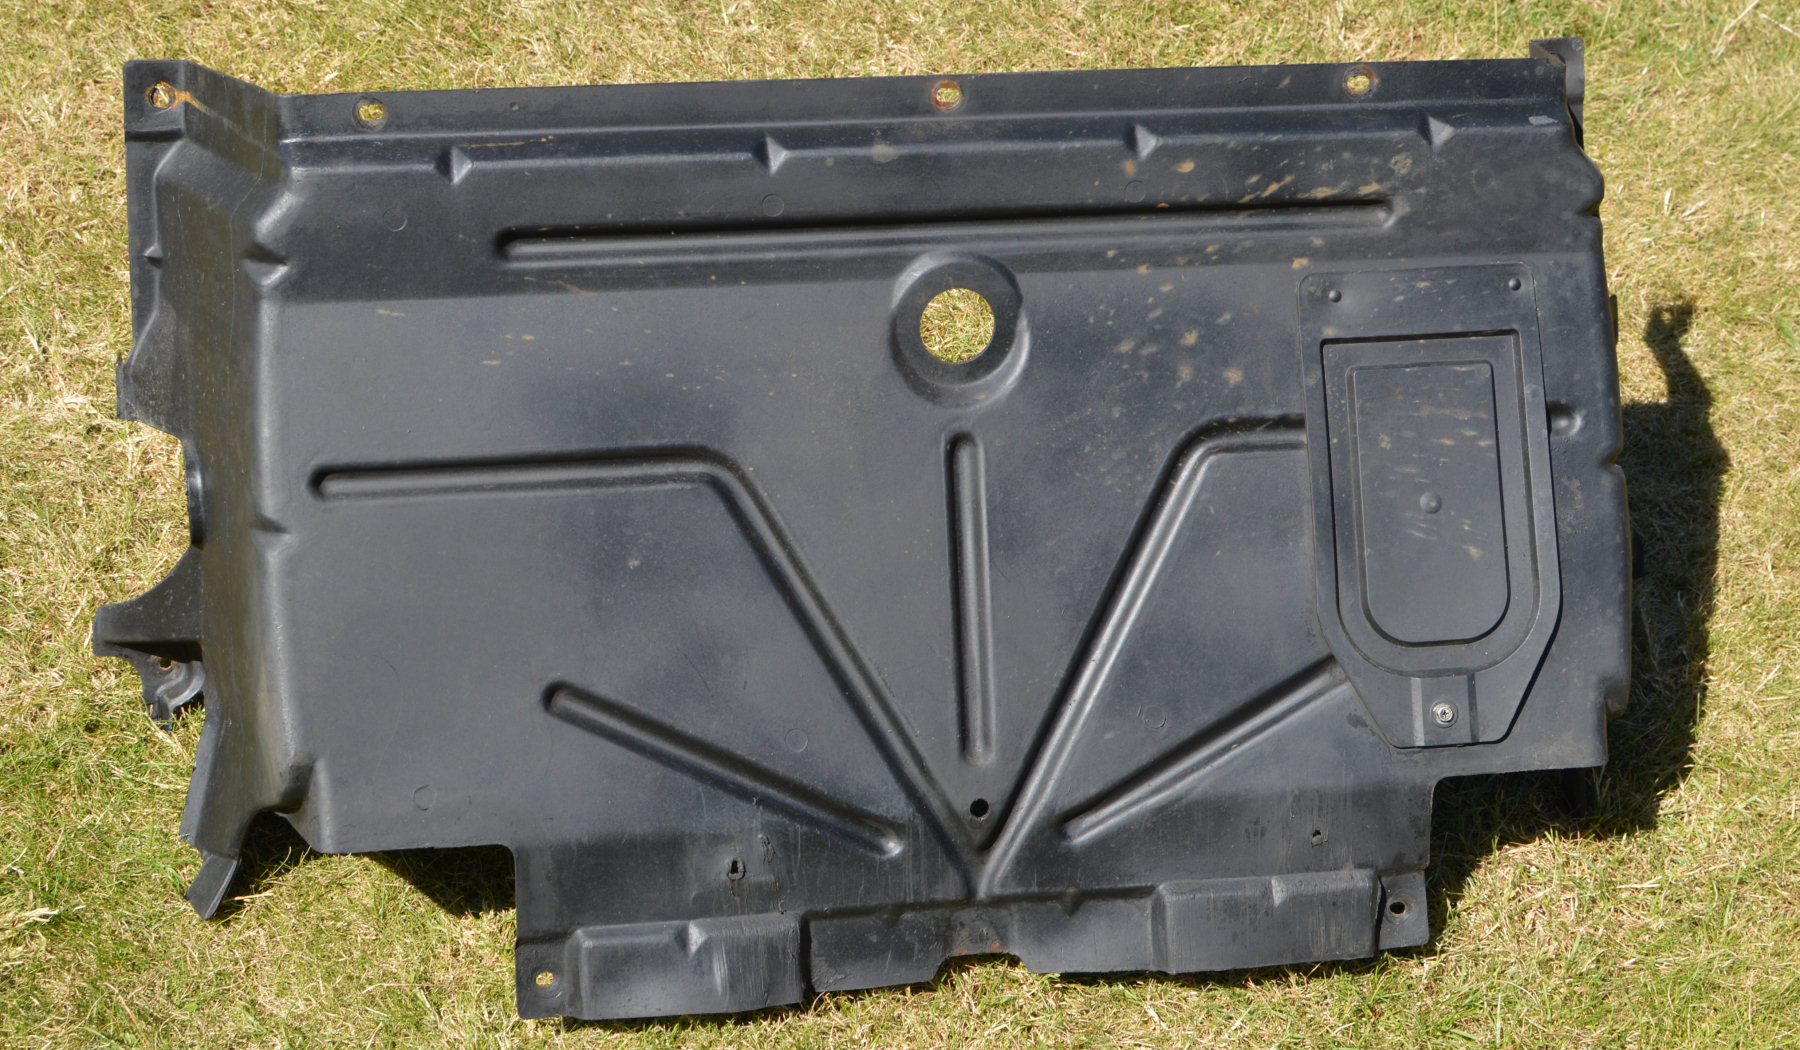
| First job was to remove the undertray, to make it easier to clean under the car and investigate any leaks. |
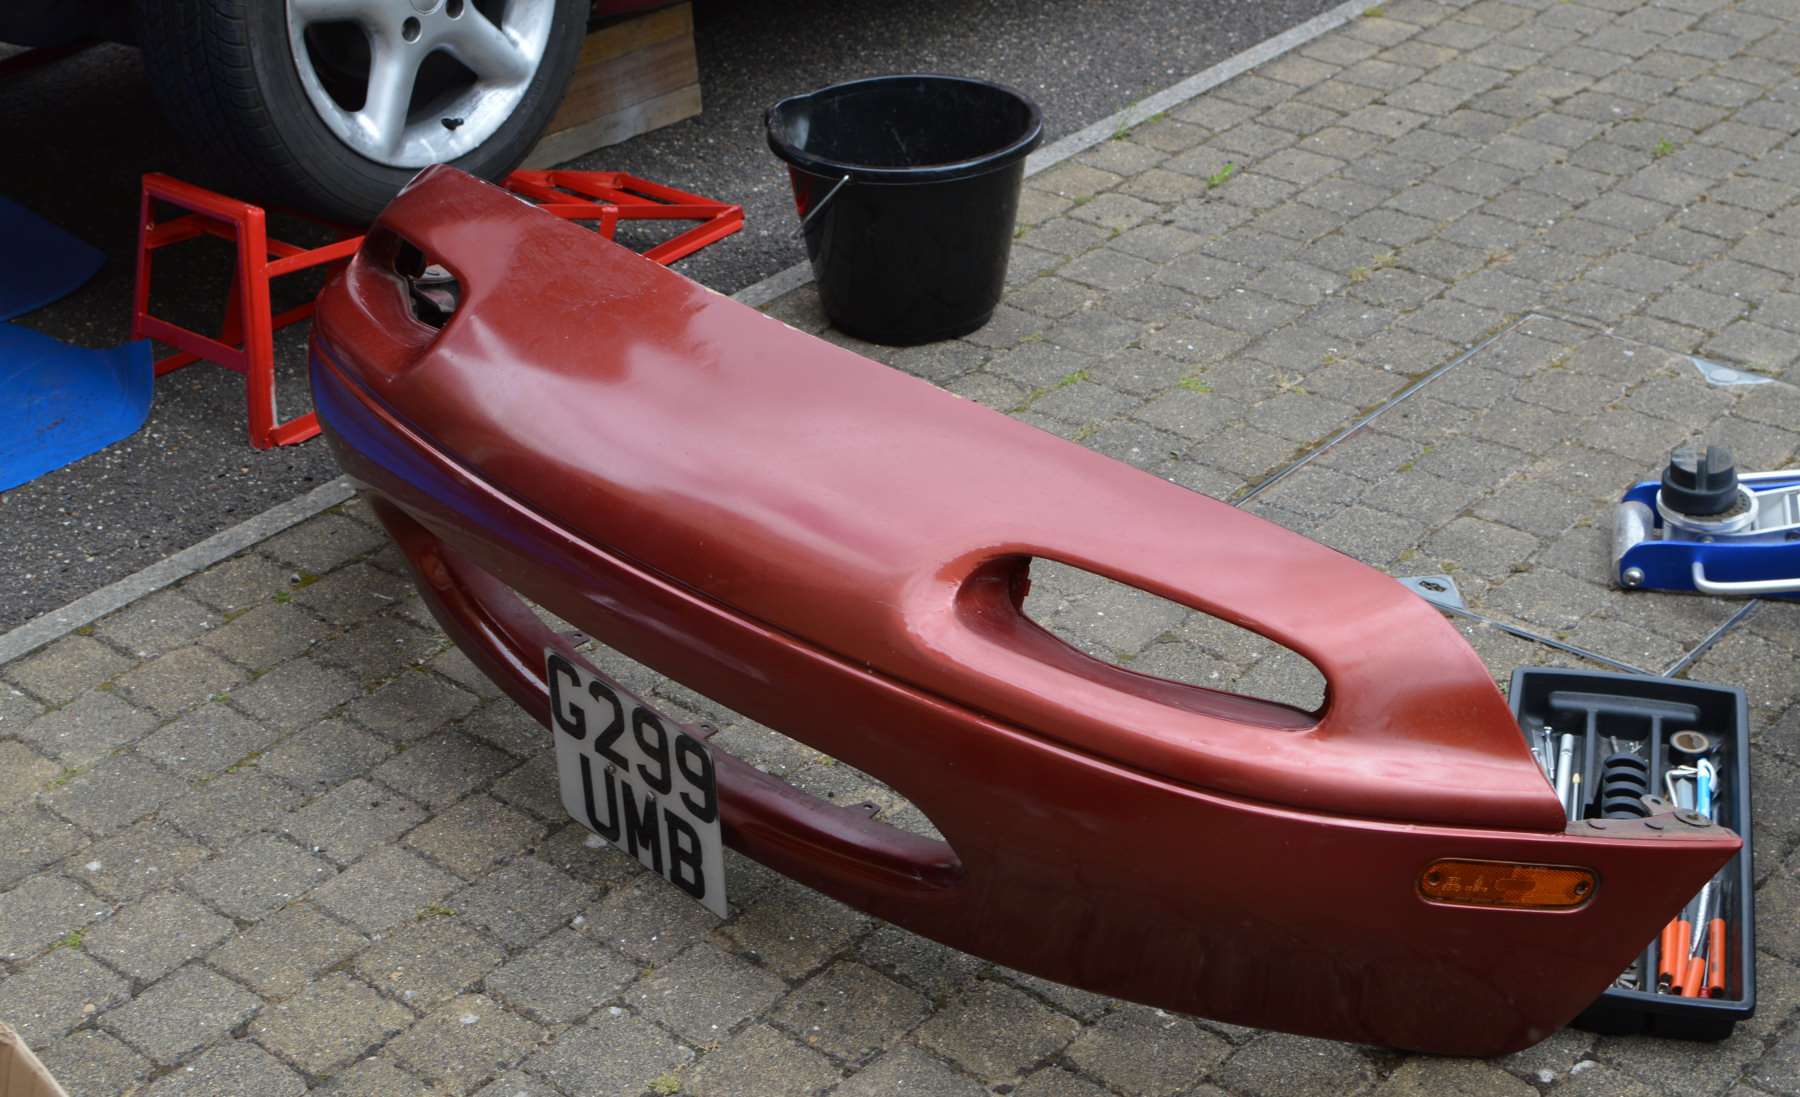
| I then set about removing the front bumper to see what is behind it. This was harder than it looked as many of the metal fasteners were corroded and broke. Most of the plastic ones were brittle and broke too. Lots of new bit ordered! |

| Not shown here is the plastic air duct which is fixed to the chassis and bumper. Above/behind that is the white nylon impact structure. This is fixed with 8 large bolts. |

| Once the impact structure is removed, we get access to the chassis metalwork. On the face of it, this looks pretty good but we did see some rust, so we kept going. |
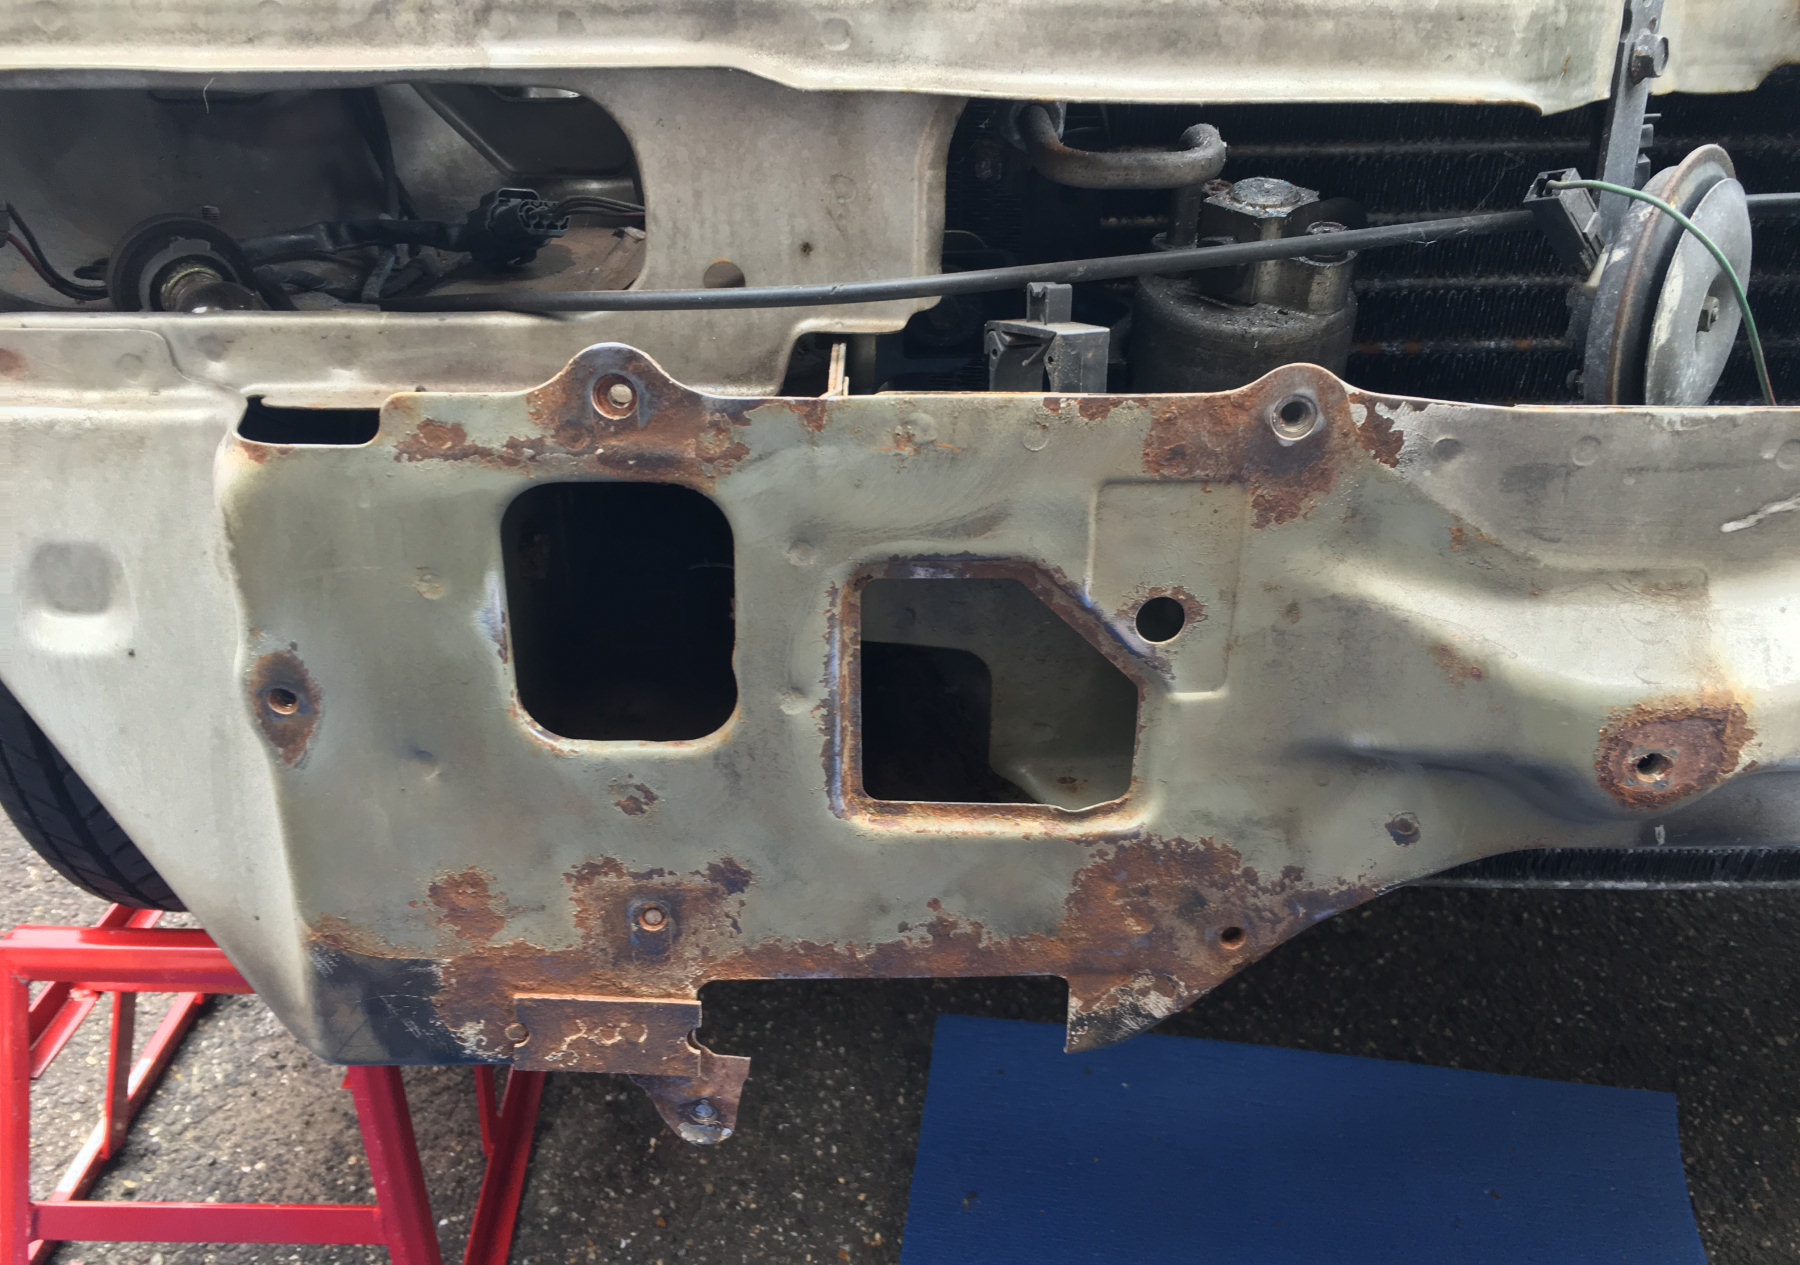
| Having removed the brackets that the impact structure mounts to, we found some more rust. Some of these bolts snapped too and these were drilled out and removed with an extraction tool. |

| All the rust was treated and the front of the chassis resprayed. Looking much better now! |

| The mounts were also cleaned of rust, treated and resprayed. |
| Spent a lot of today putting the front of the car back together. |
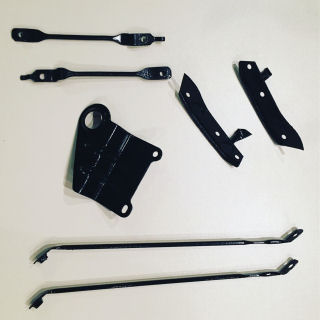
| Various brackets spray painted. Front bumper stays and side mounting brackets. Also shown is the air box mounting bracket. |
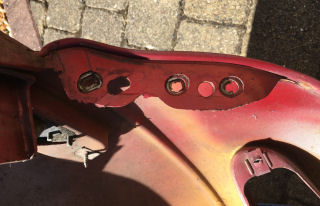
| The front bumper has two metal 'side' mounting brackets' (shown above) used at the edges of the front bumper, to bolt it to the chassis. These were corroded and one bolt on each side sheared when undoing the nuts. These are held in place by three plastic pop studs and were easily removed to clean the brackets up and respray them. This photo shows the bracket removed. |
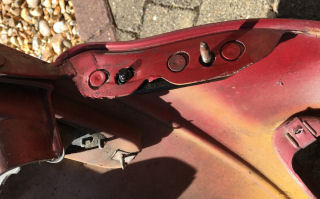
| And this is what it looks like with the brackets refixed. You can see where one of the fixing studs sheared when removing this from the car. Because there are so many other fixings holding it in place, I have just used the one good stud to hold it in place. You can buy new brackets from MX5 Parts but they are £8+ each. |
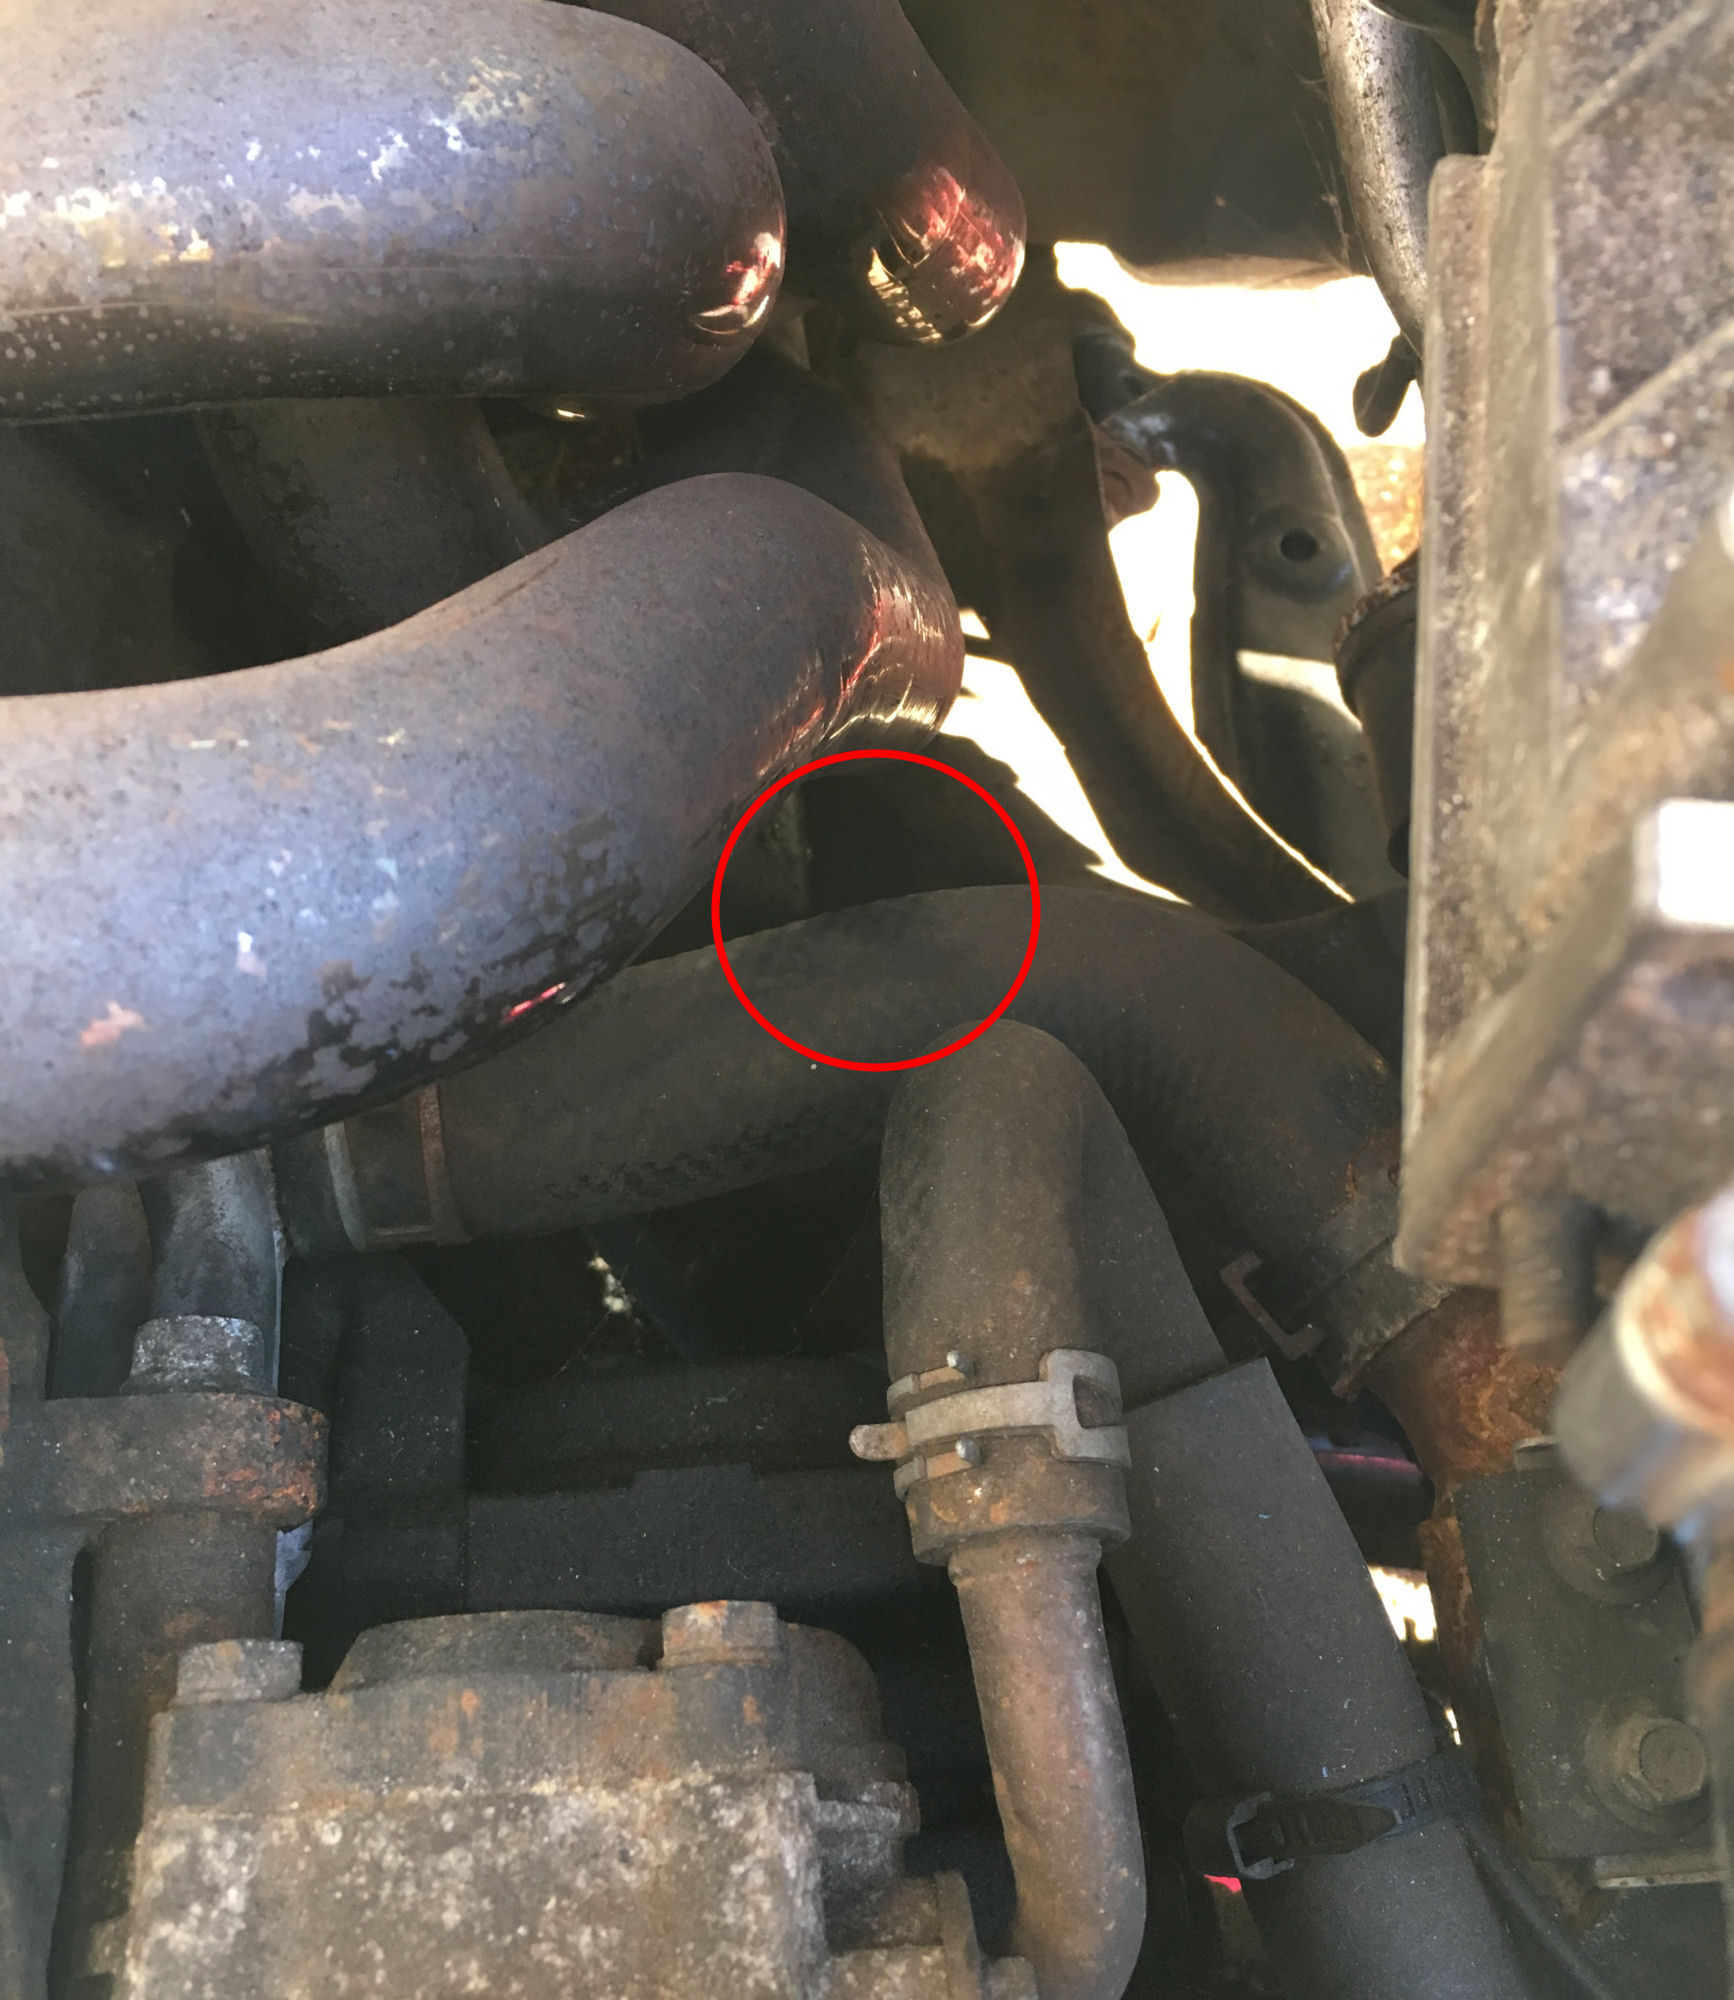
| Worked out where the coolant leak was coming from. It had been getting worse over the last few days. With the engine running a fine spray was coming from a tiny hole in the lower bottom radiator hose. This is the one that runs from the bottom left hand side of the radiator (as you are sitting in the car) and joins to the metal pipe that leads to the waterpump inlet. Bought a silicon replacement from MX5 Parts. |

| Fitting the front light pods back today. Had to clean up the front left indicator bulb and bulb mount as it was working intermittently. The lugs on the plastic bulb mounts for both front side lights are gone, so these are held in with tape for now. Need to source some new bulb holders later. |
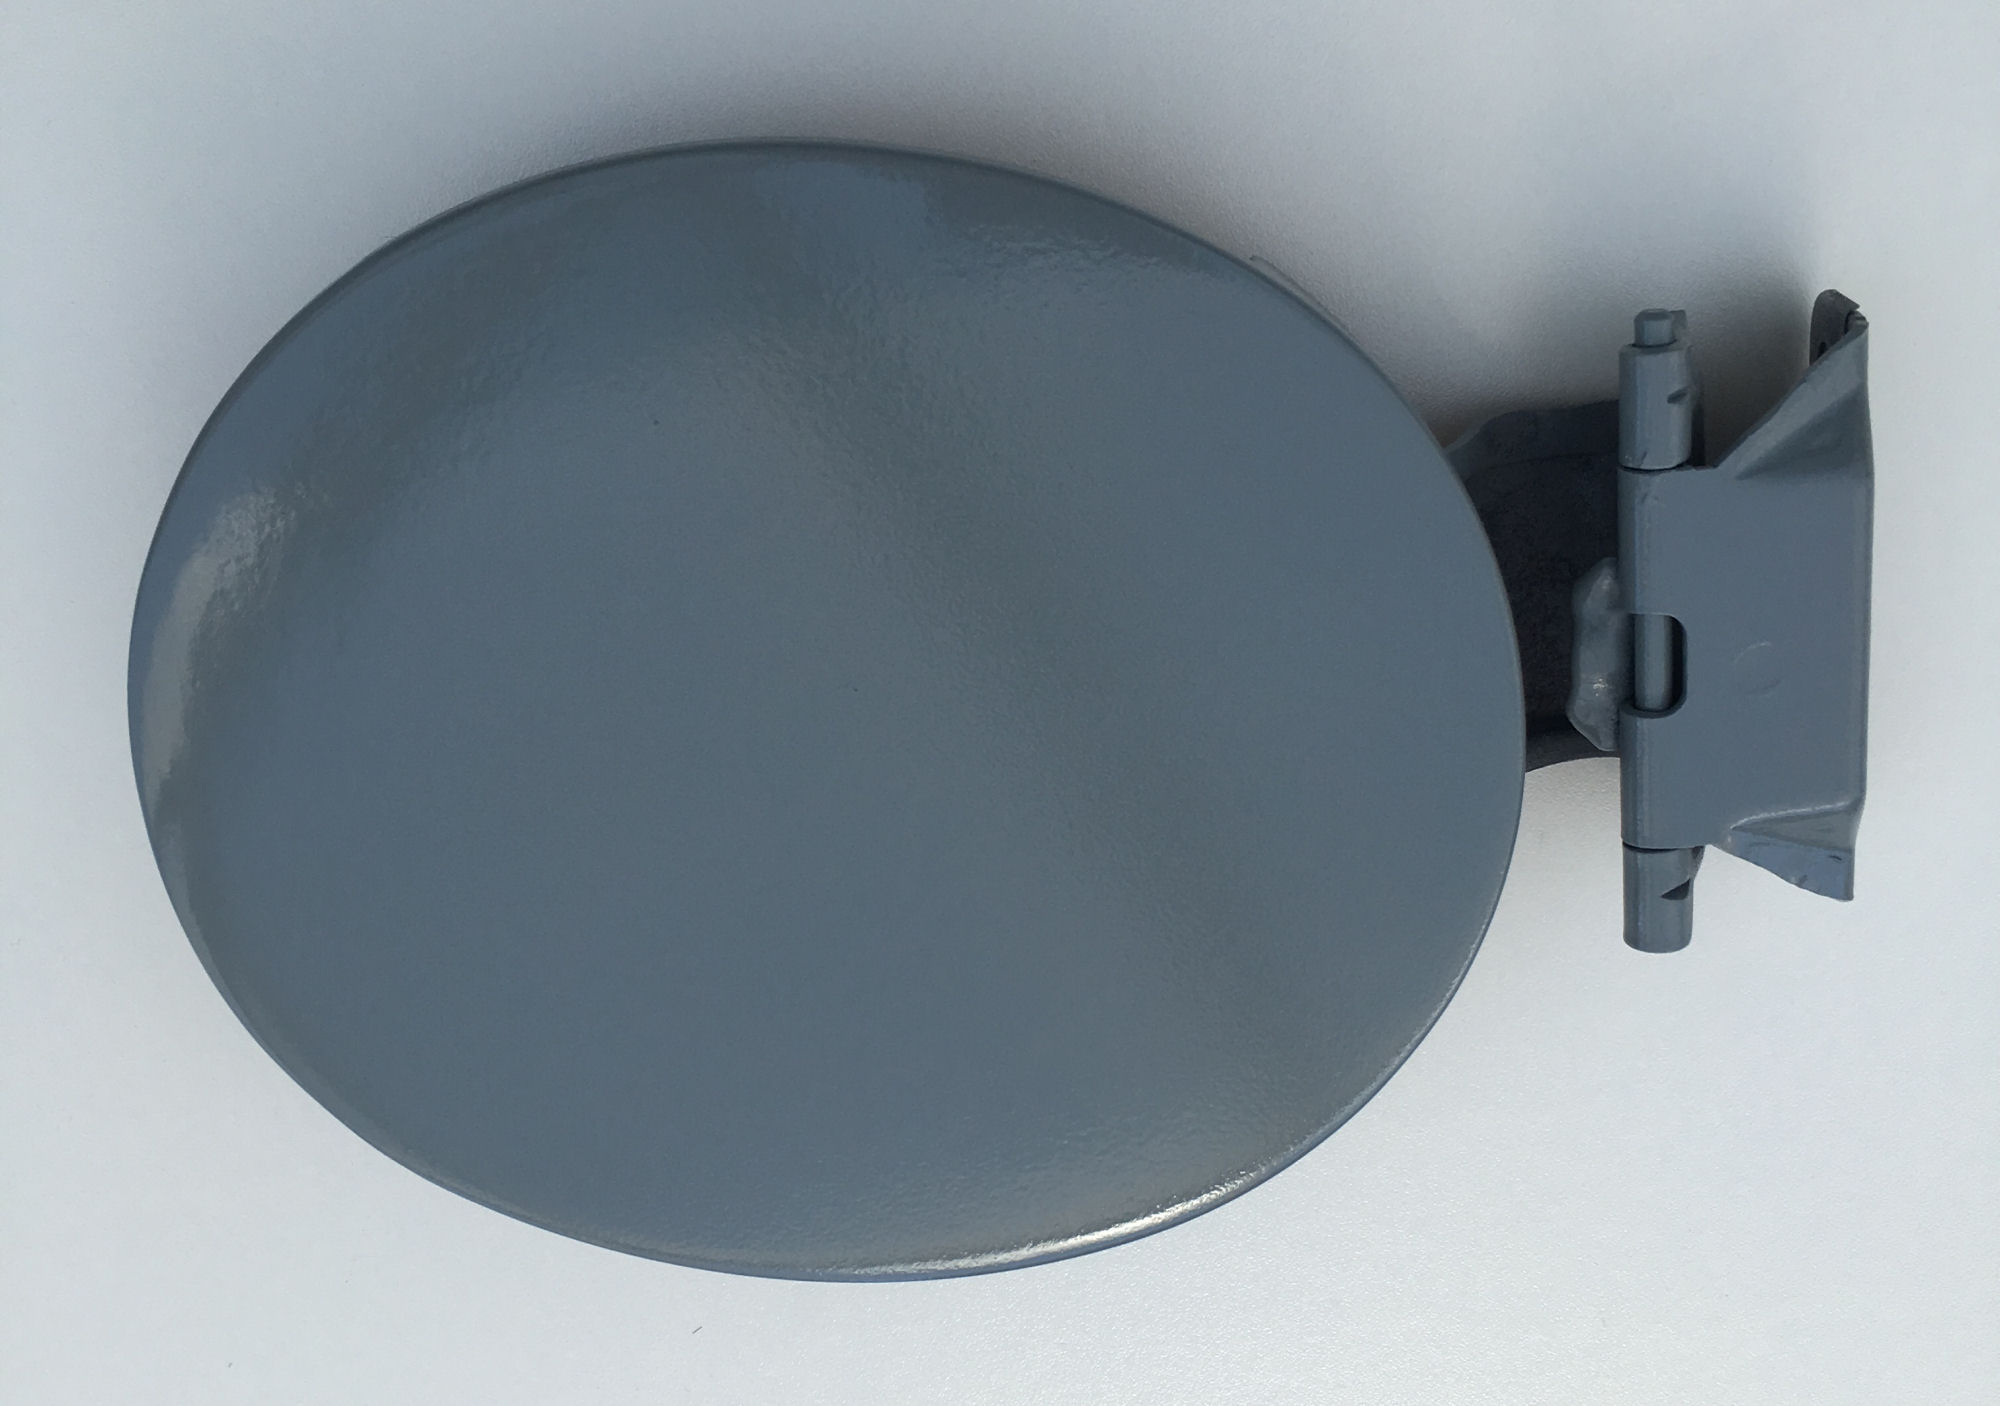
| Finished preparation of the filler cap, ready to spray with the 'Copper Red' metallic paint. This is the first part of the car to be resprayed and I'm using it to practice on and see how well it comes out, before tackling larger panels. |
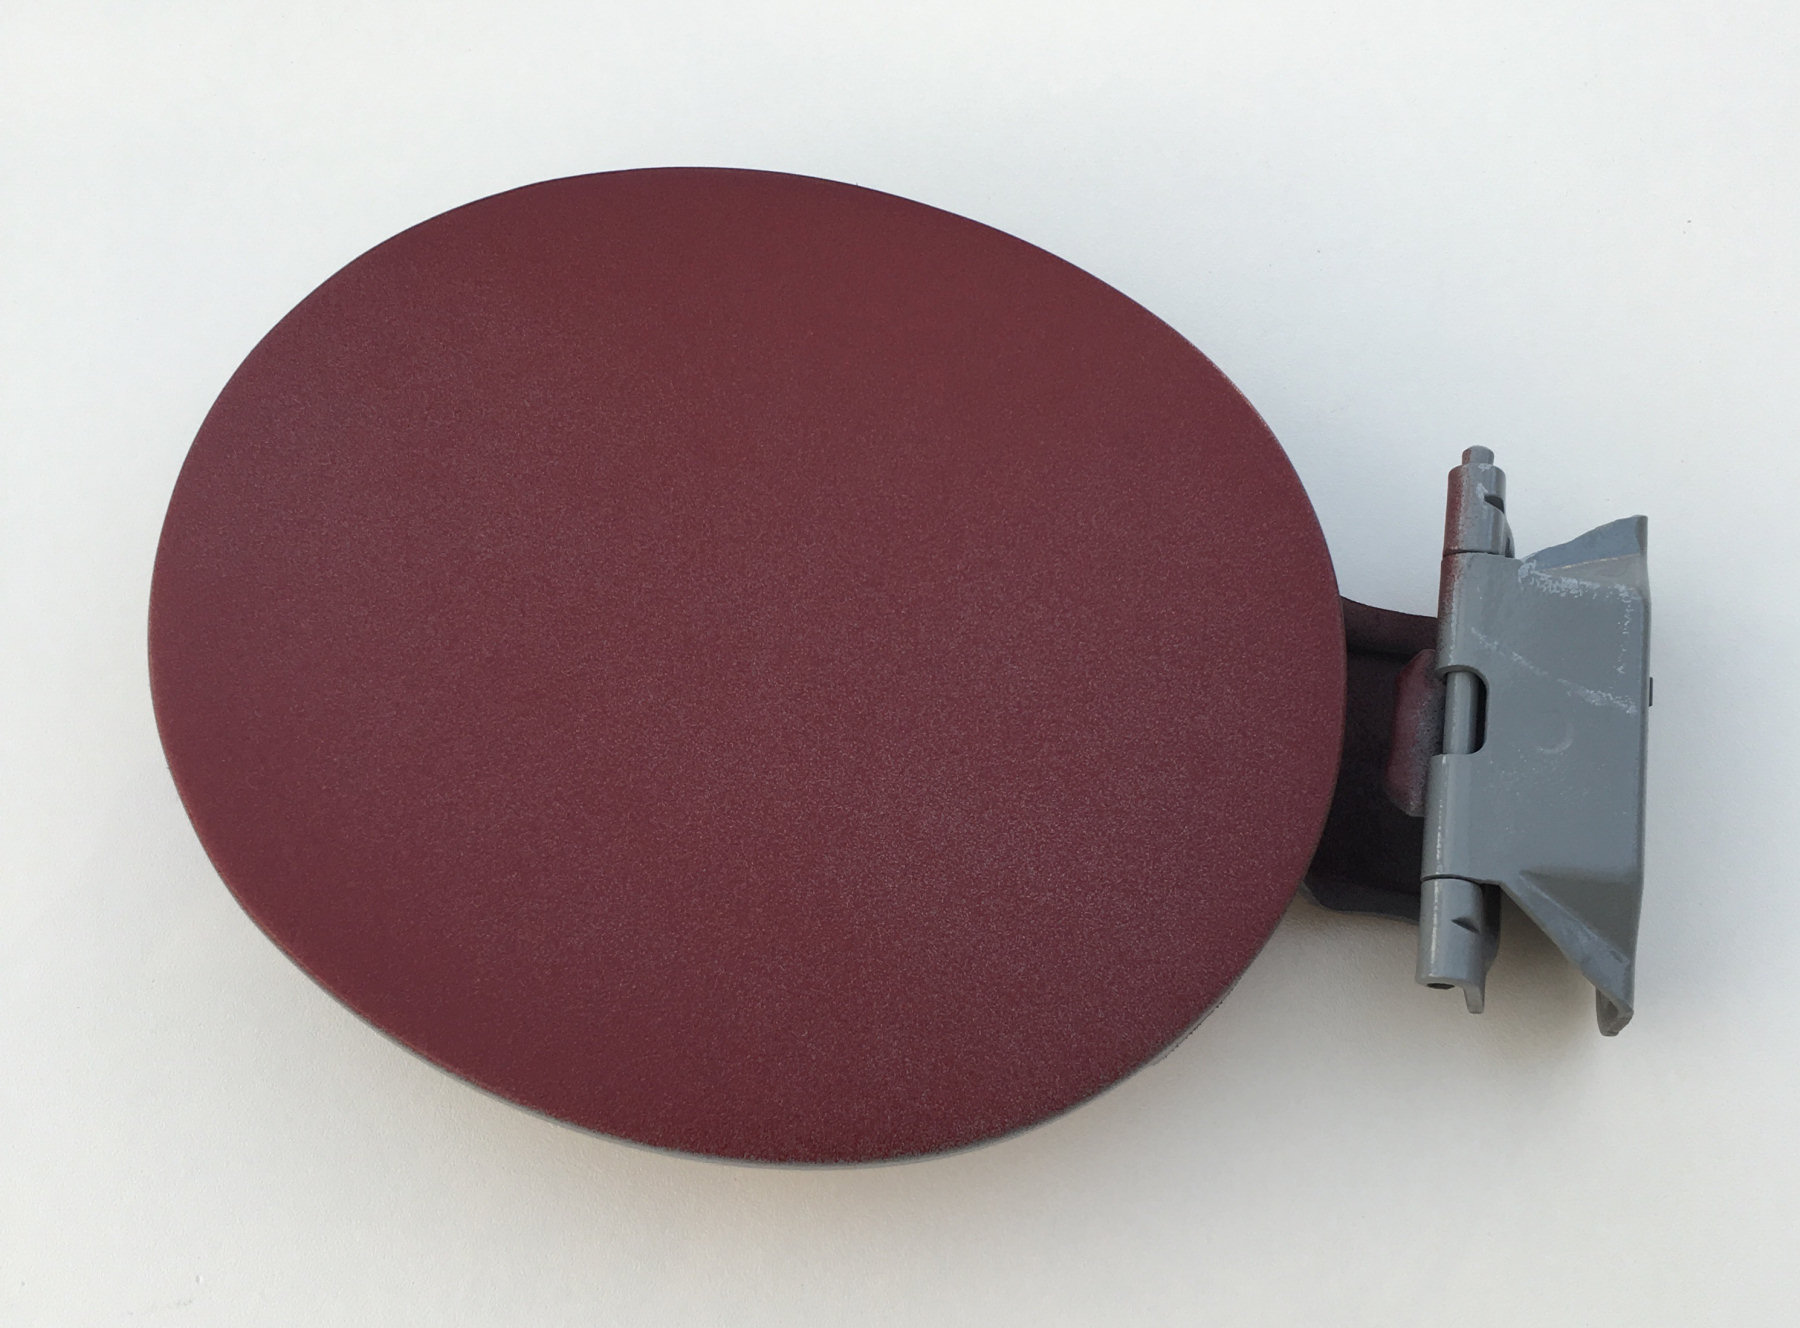
| First thin layer of 'Copper Red' metallic base coat goes on. |
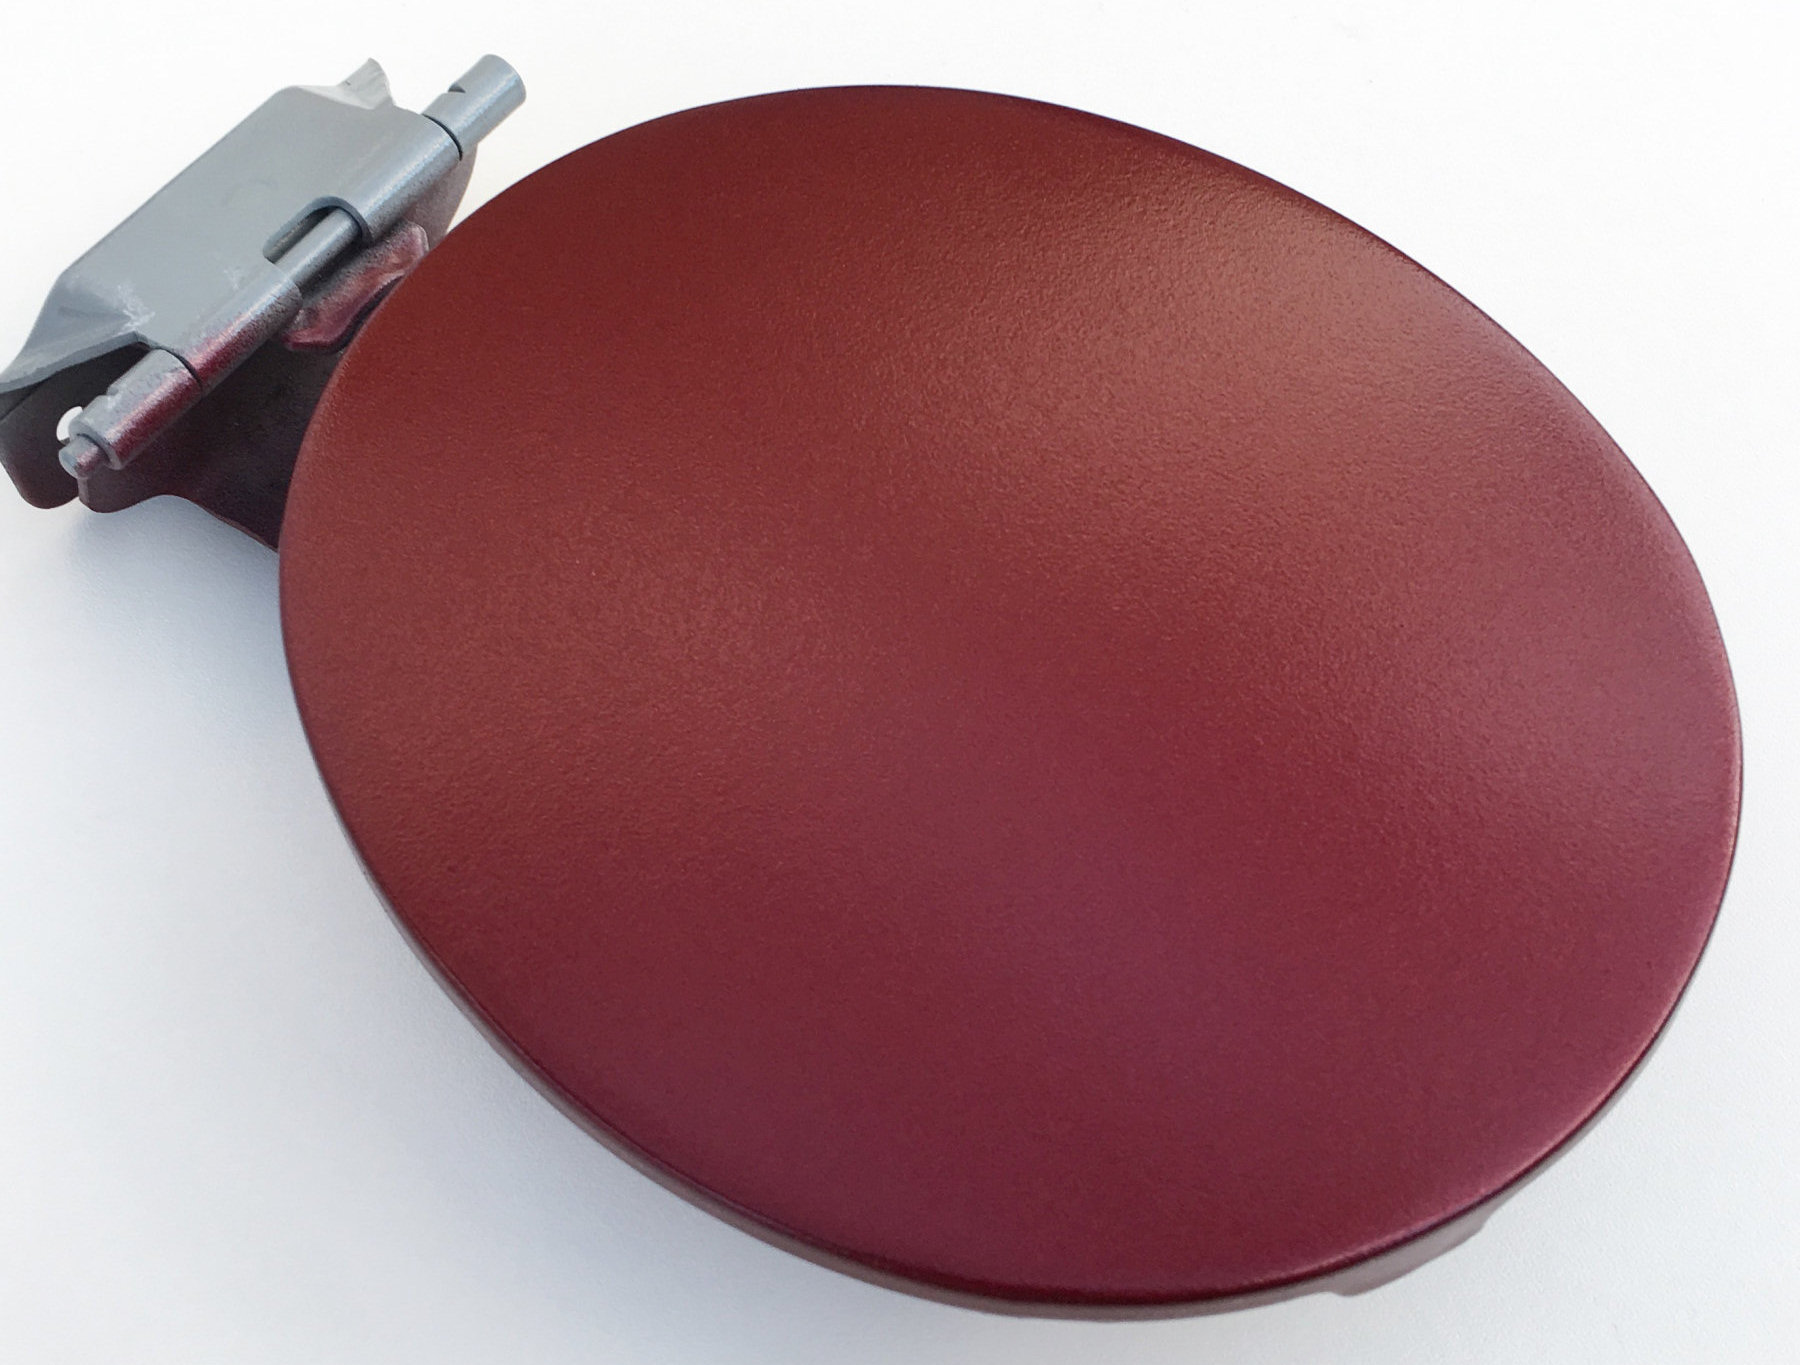
| Final layers of base coat have now been applied, ready for the lacquer top coat. |